
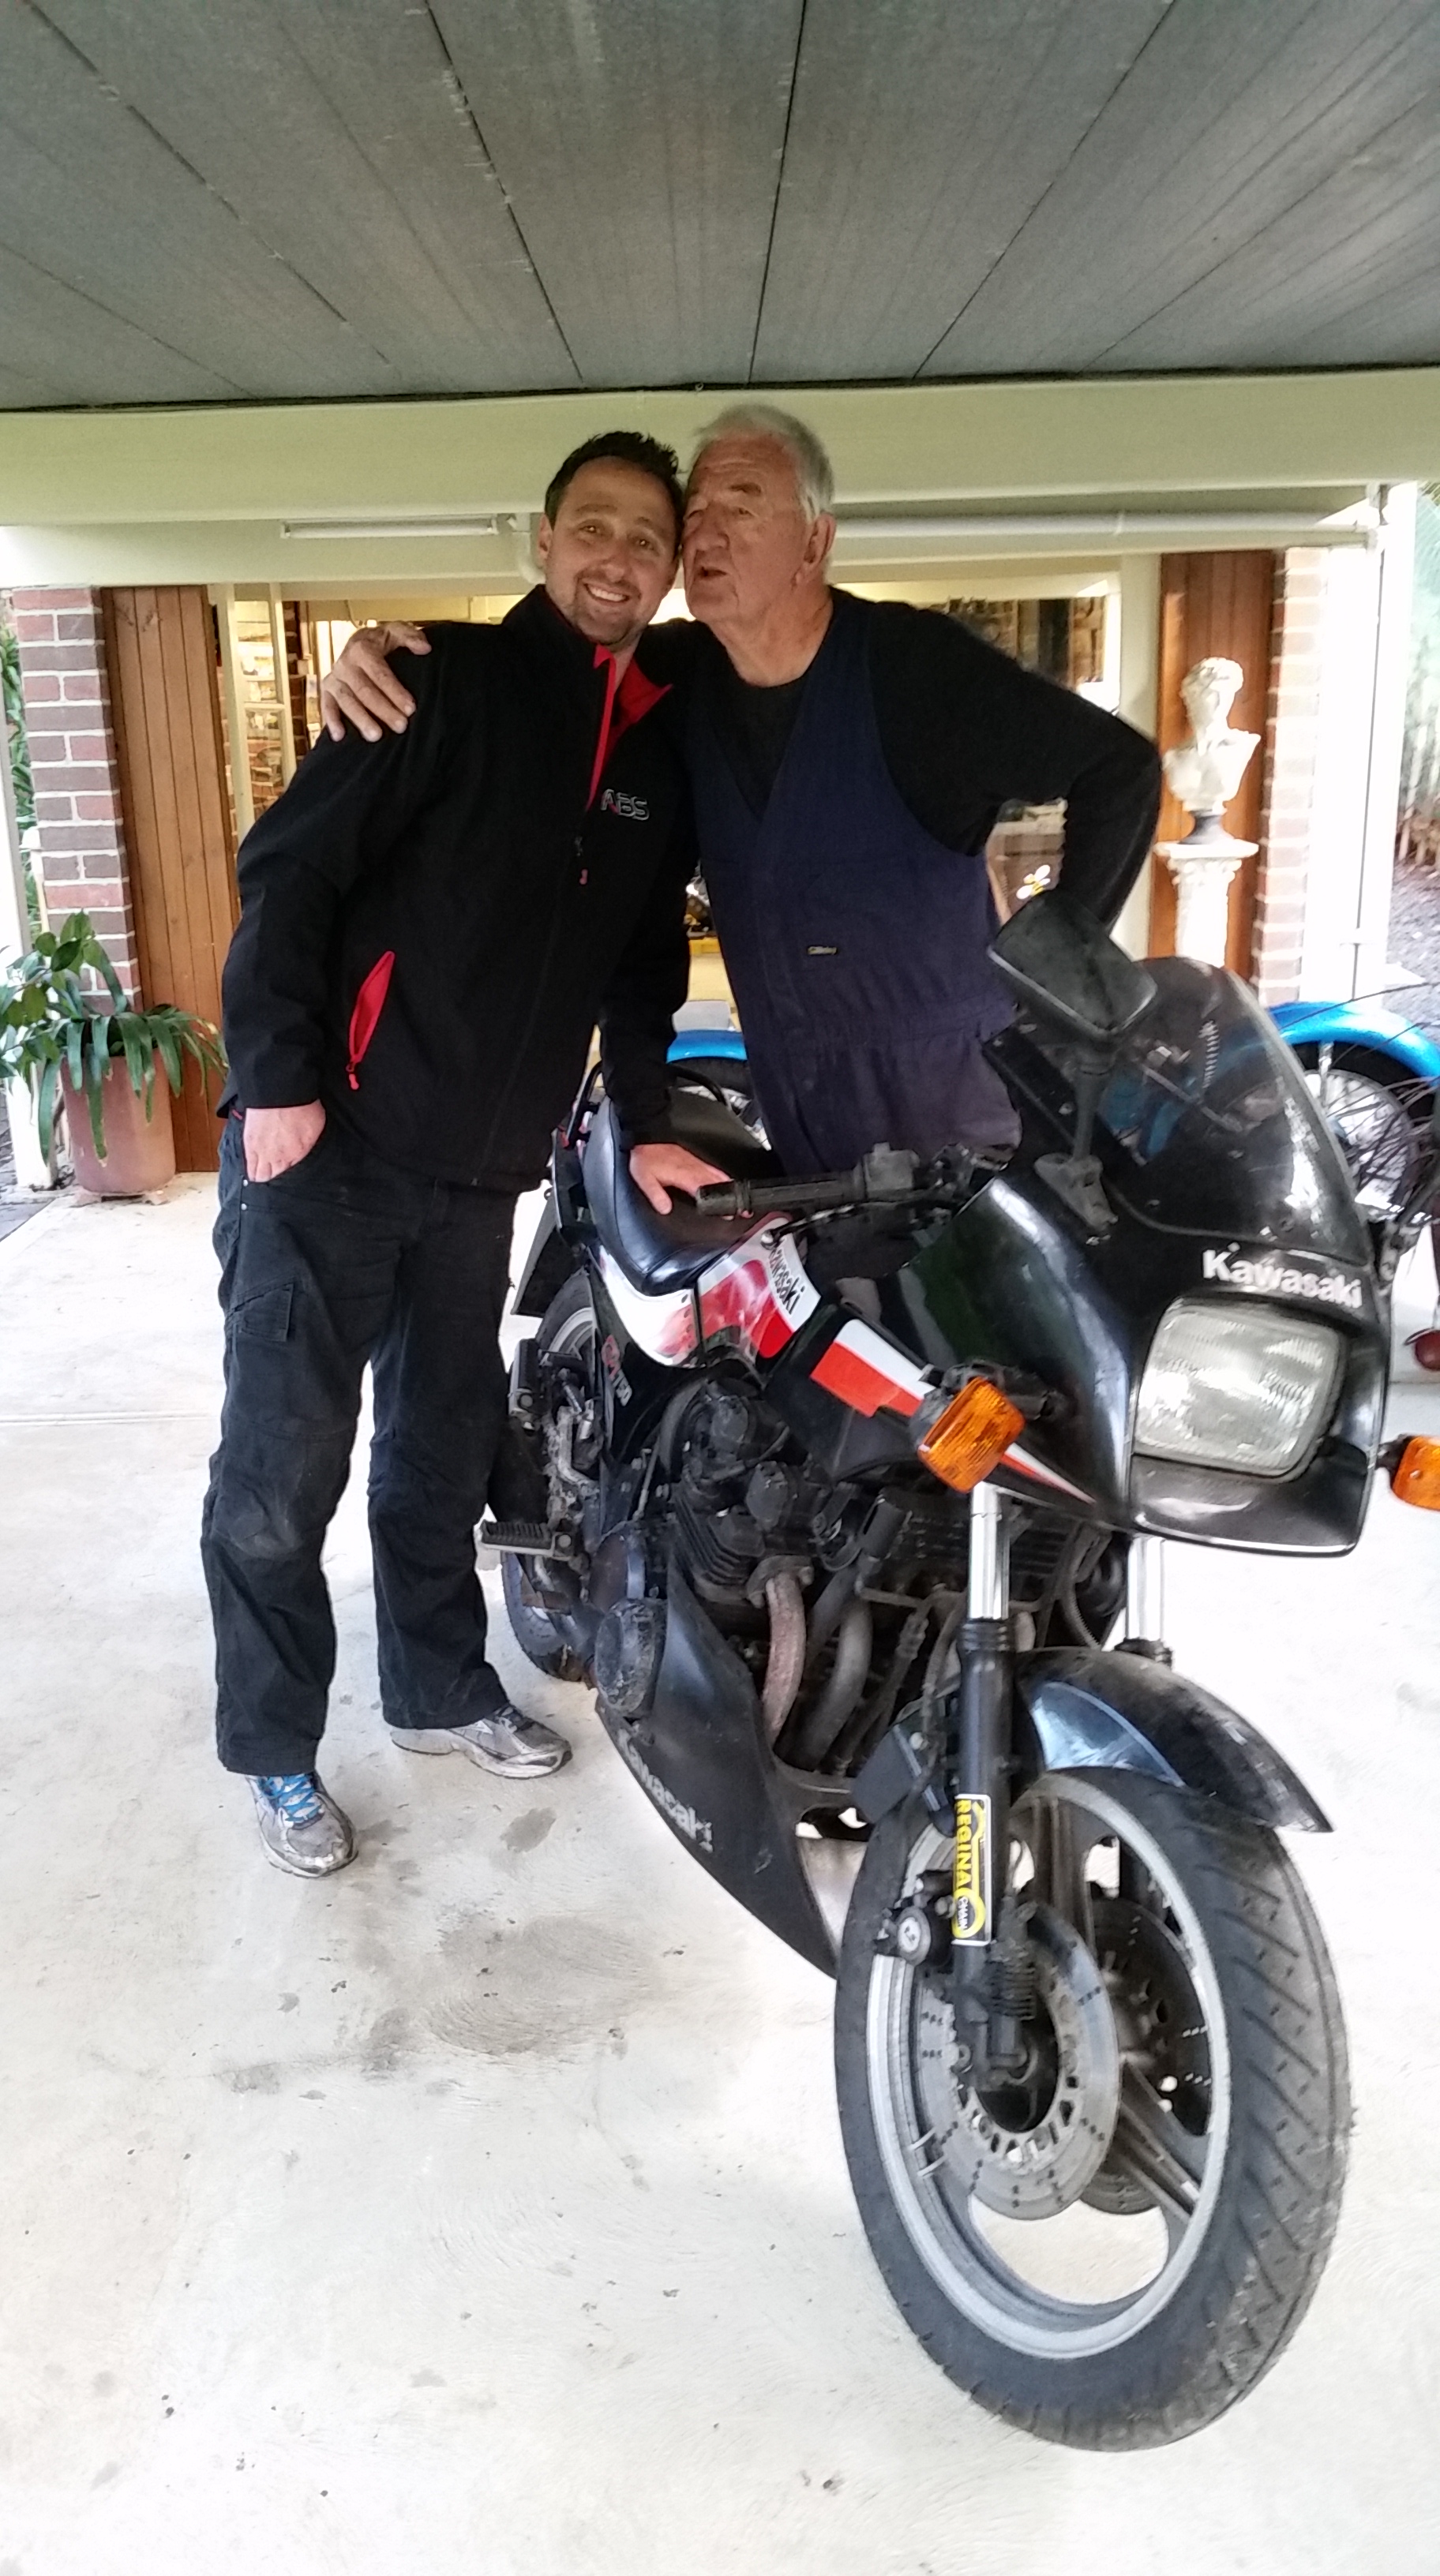
My cousin Lukas gave me a Kawasaki GPZ750.
It had a sump full of fuel. First we changed the oil, added some fuel and a new battery. It tried to start before covering the workshop floor with fuel. The carbies were leaking like sieves.
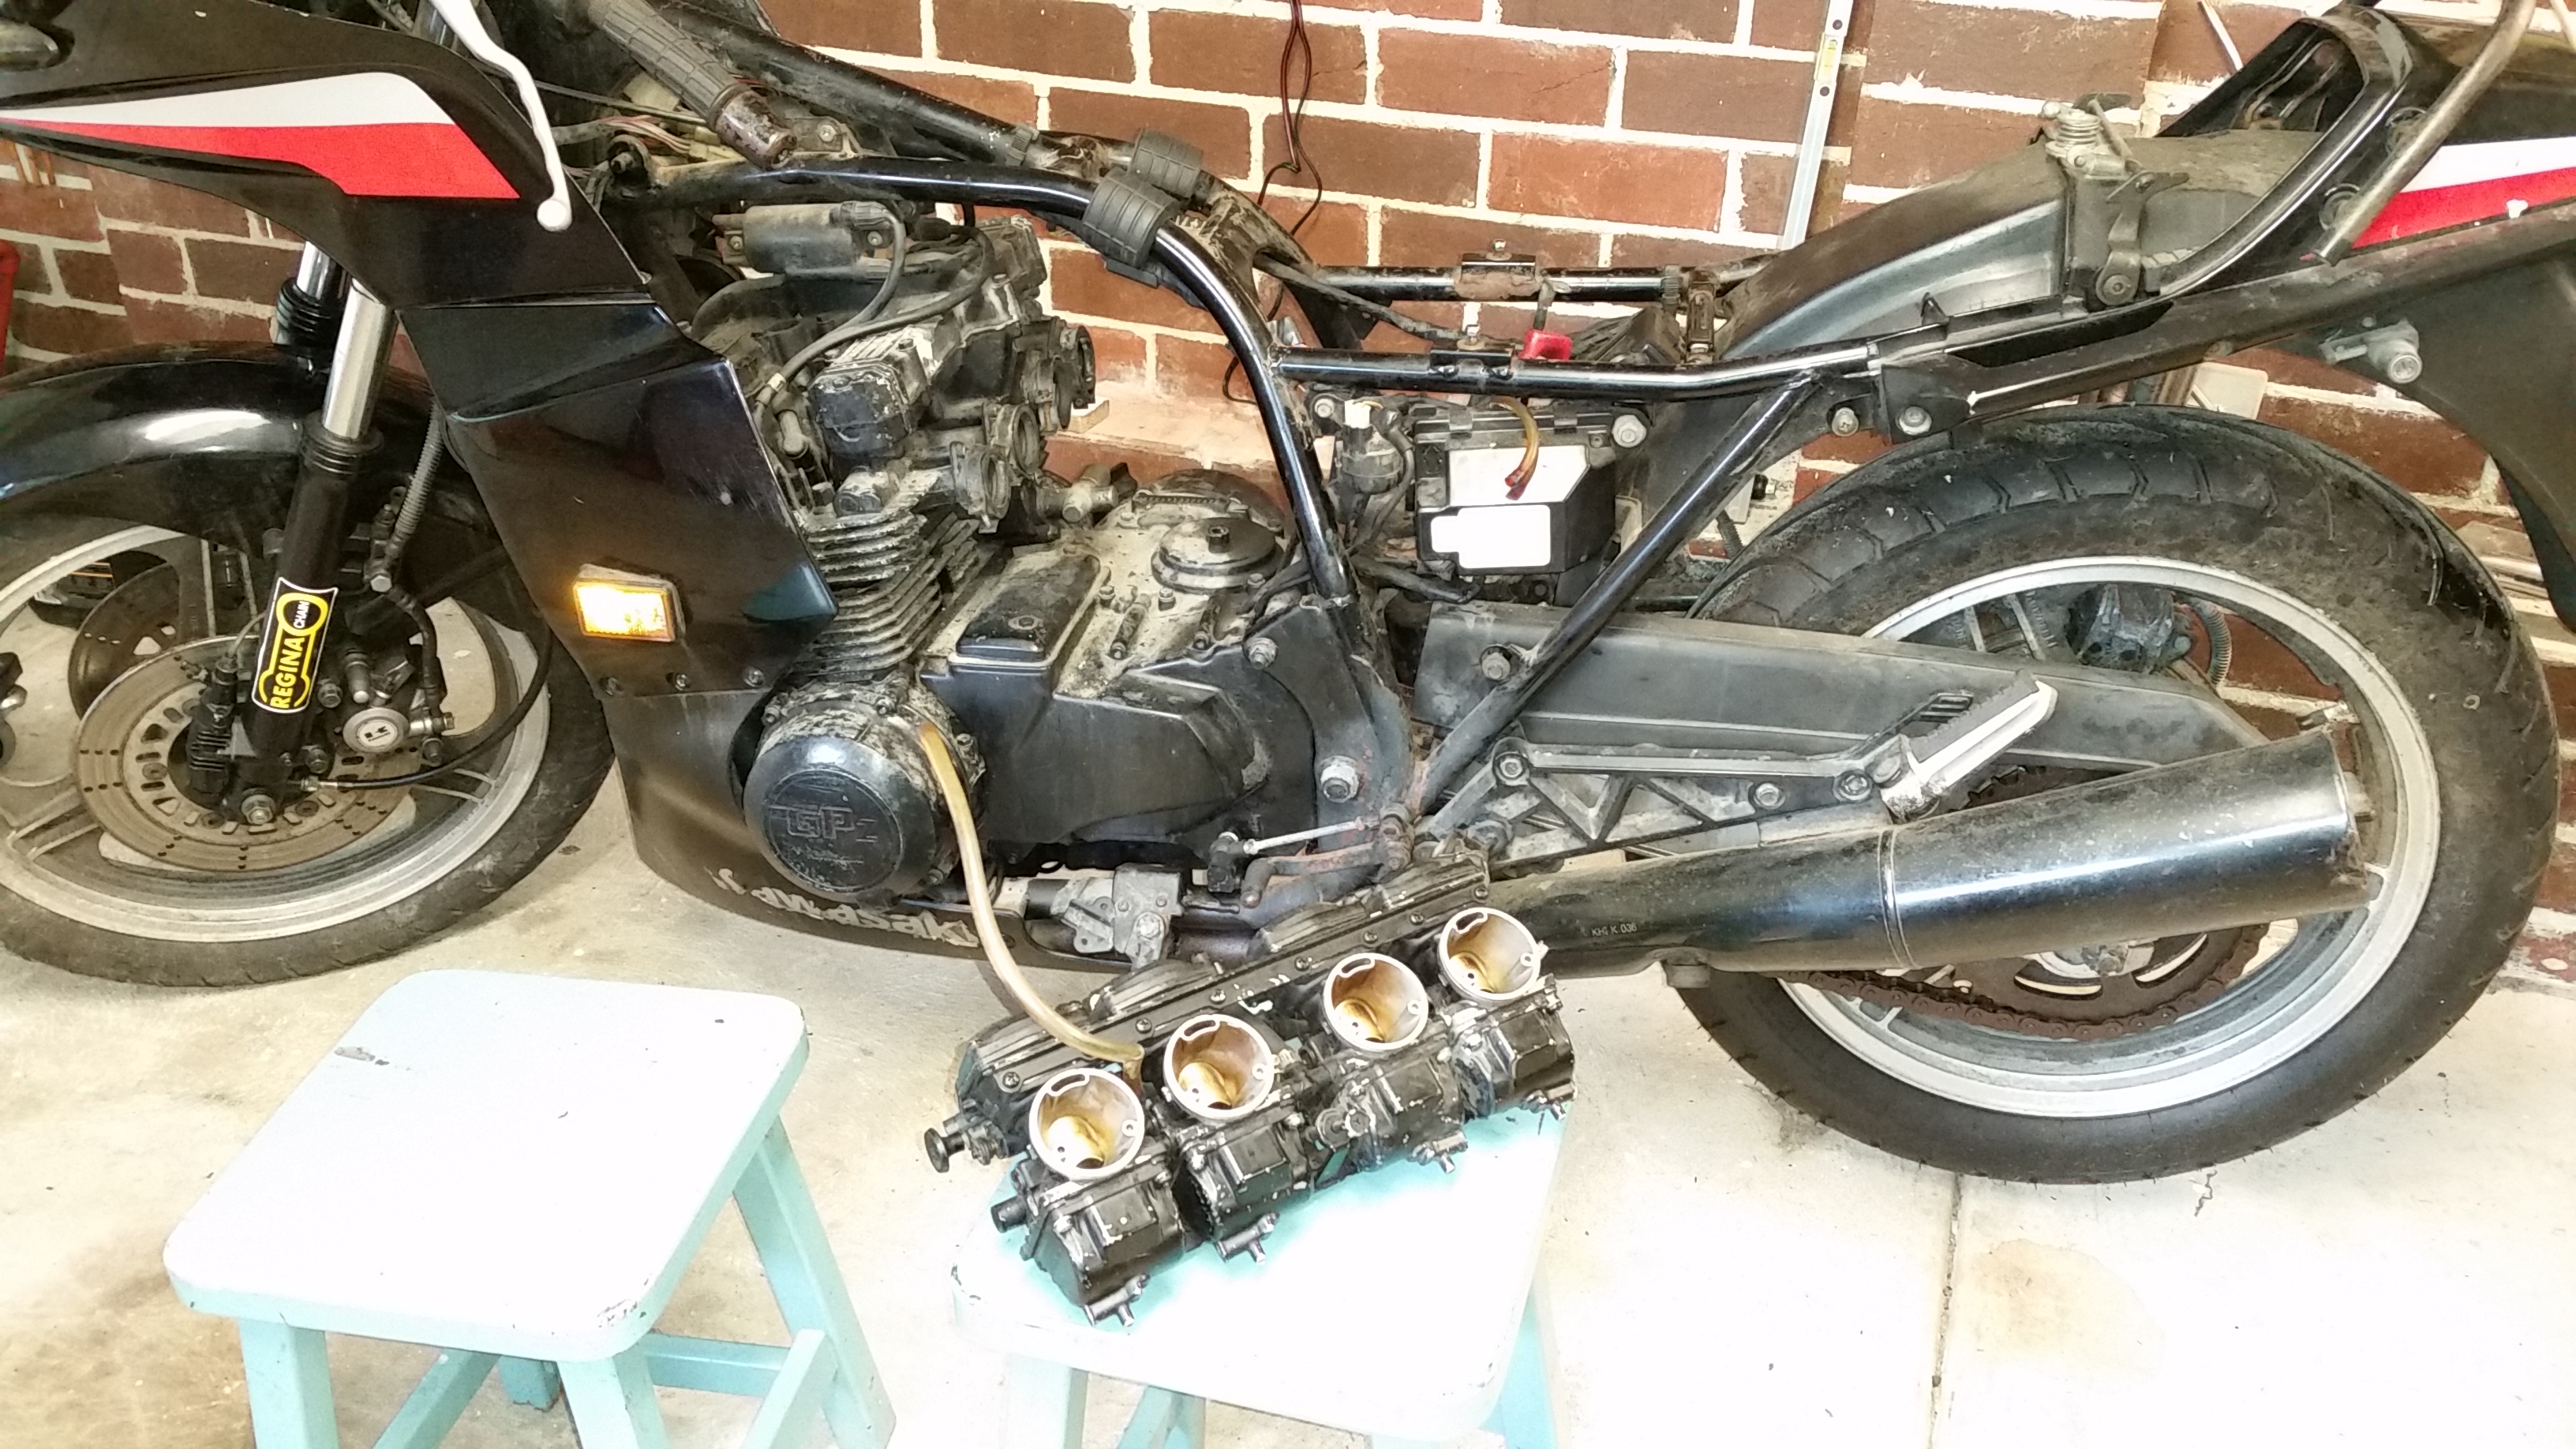
Looks like a carby kit is needed!

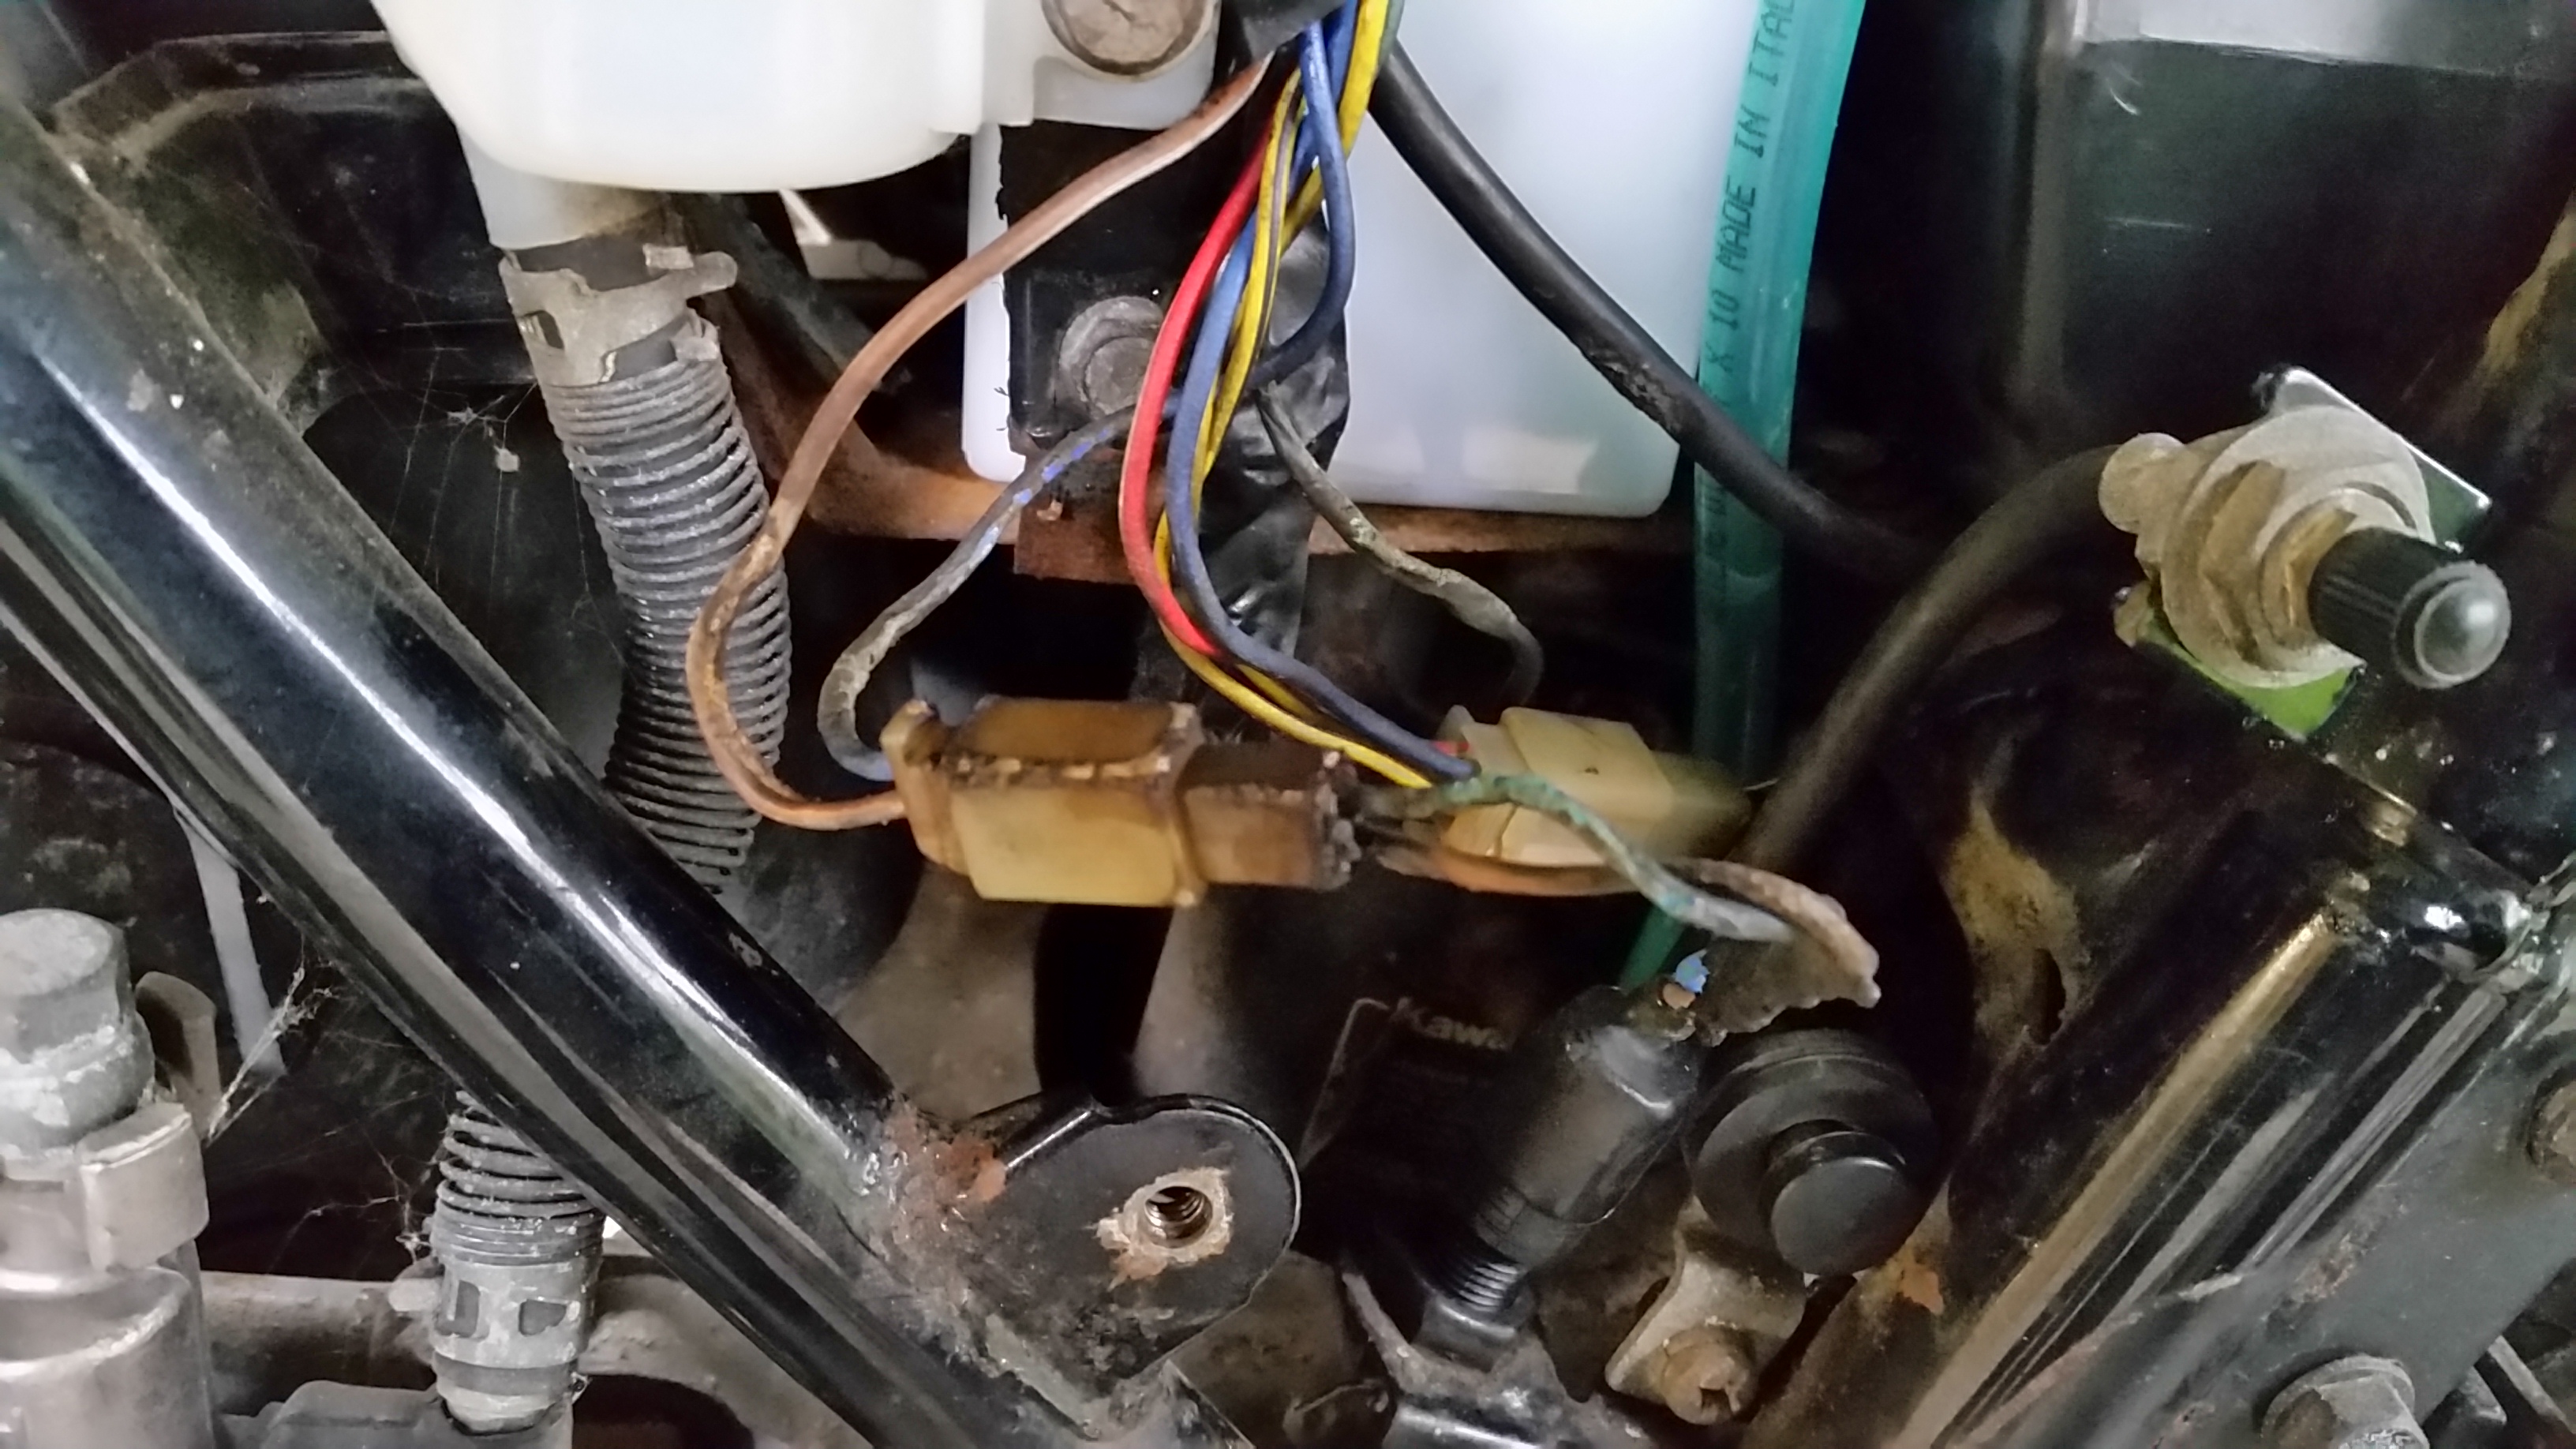
No carby kit, but all pilot jets were blocked, and main jets restricted. A float was stuck and the fuel petcock also needed a new diaphragm. After wrestling the air box back on the carbs (what a crap design!) it actually ran pretty well. Took it for a run up the street and back. Now to find why the horn, indicator and brake lights aren’t working, then tidy it up for a roadworthy. My cousin has told us that it hasn’t run in over eight years, and he accidentally set it on fire a few years ago! Got the electrics working, some cooked wiring didn’t help.
Still not happy with how it’s running, so will pull the carbies off again. Have a spare set of carbies, so will give them a crack.
After a carby kit, new plugs, and coil, it finally is running ok and has a roadworthy certificate. Now I just need to learn how to adjust valve clearances. I’ll be getting it on club rego through Classic and Custom Japanese Motorcycle Club.
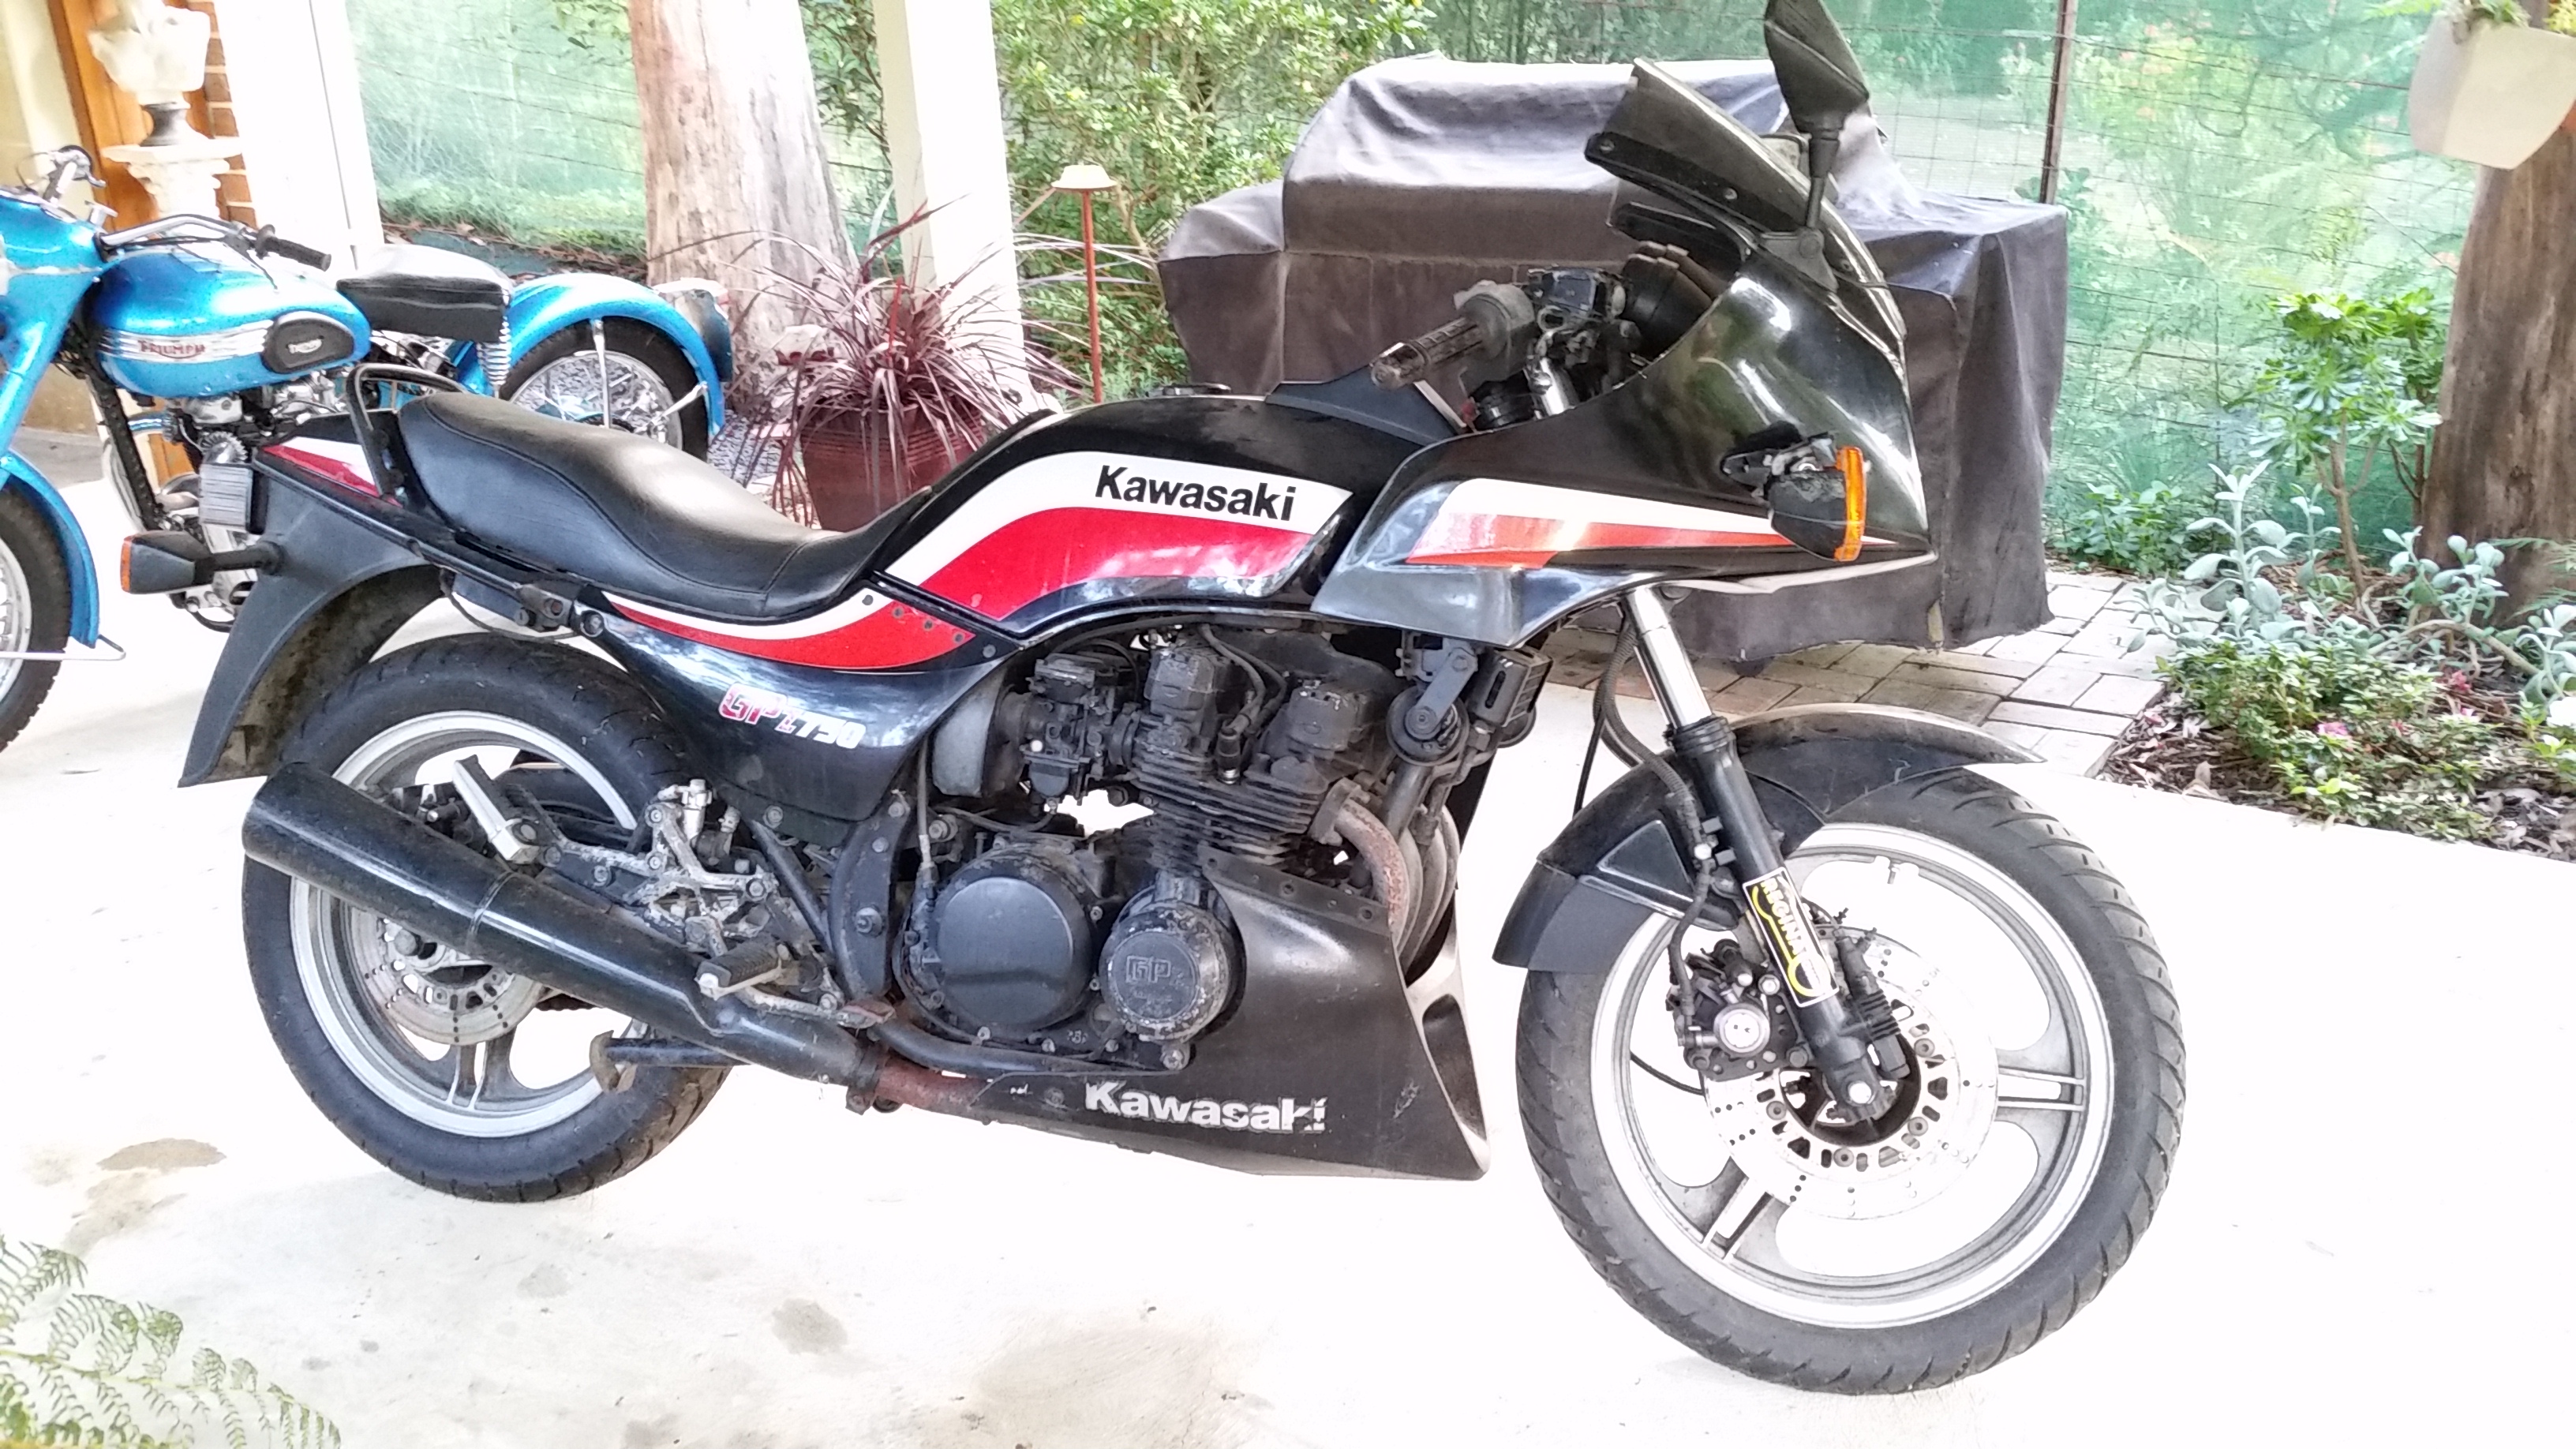
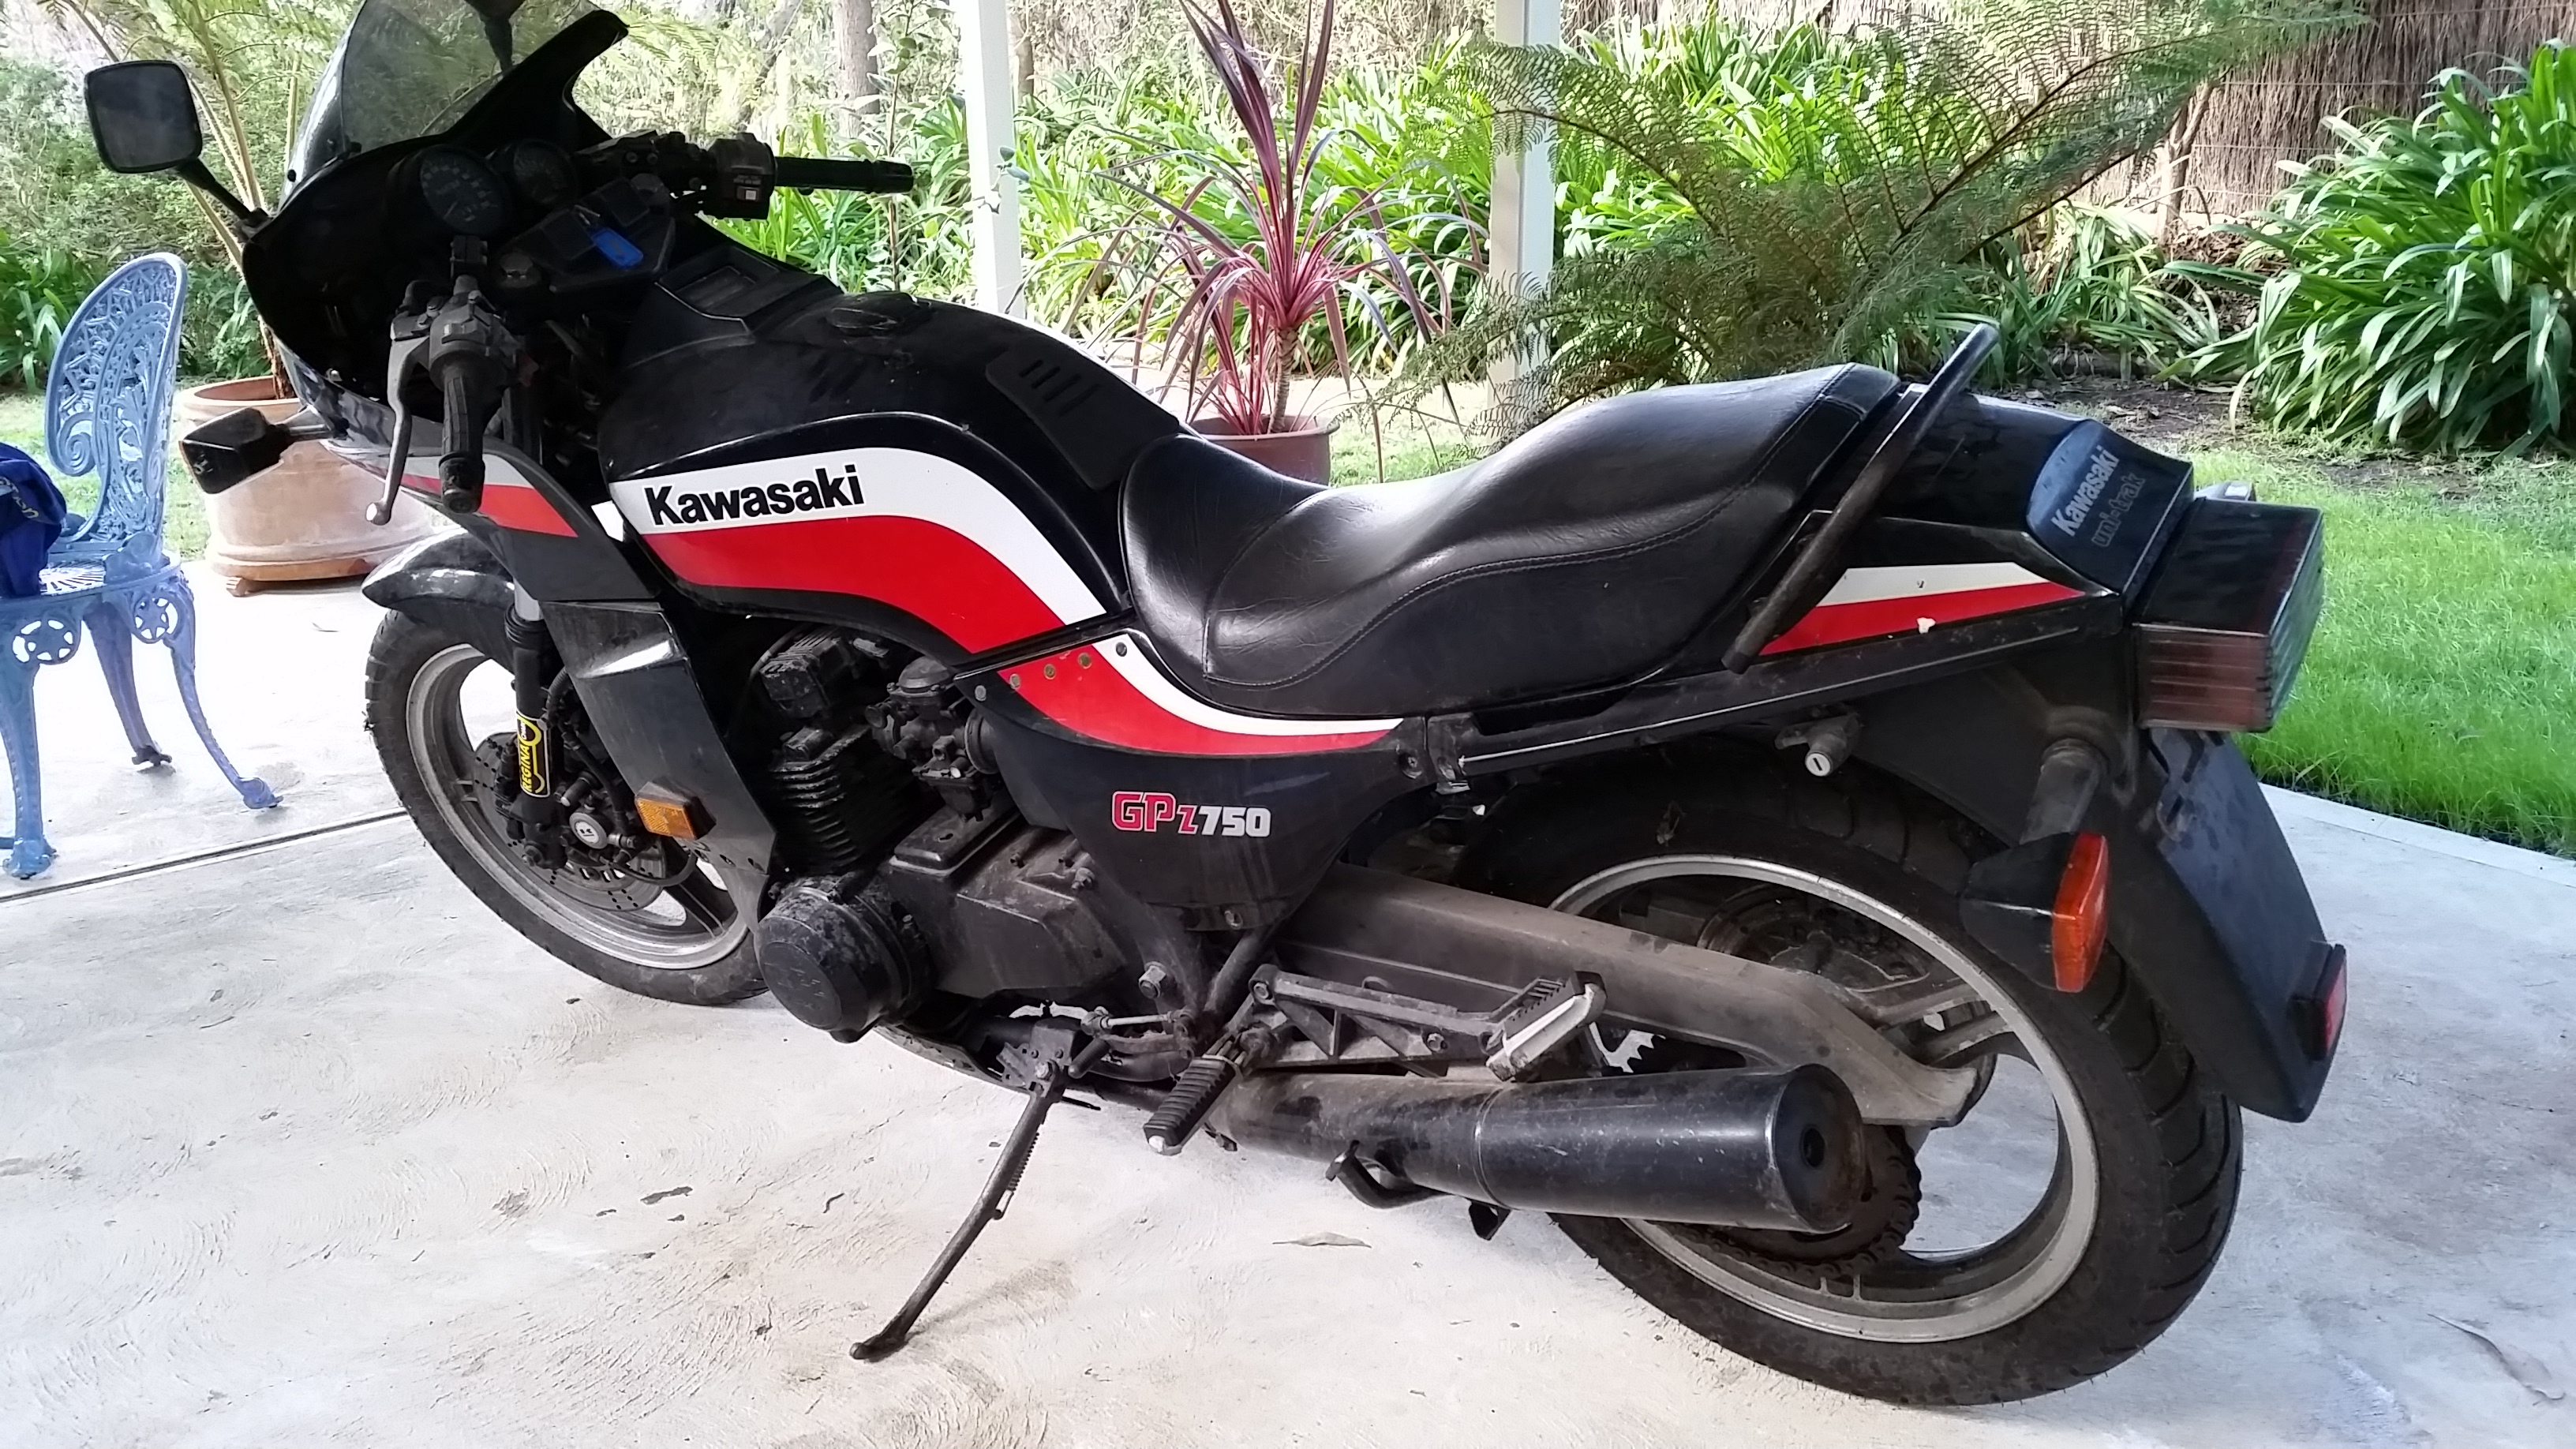
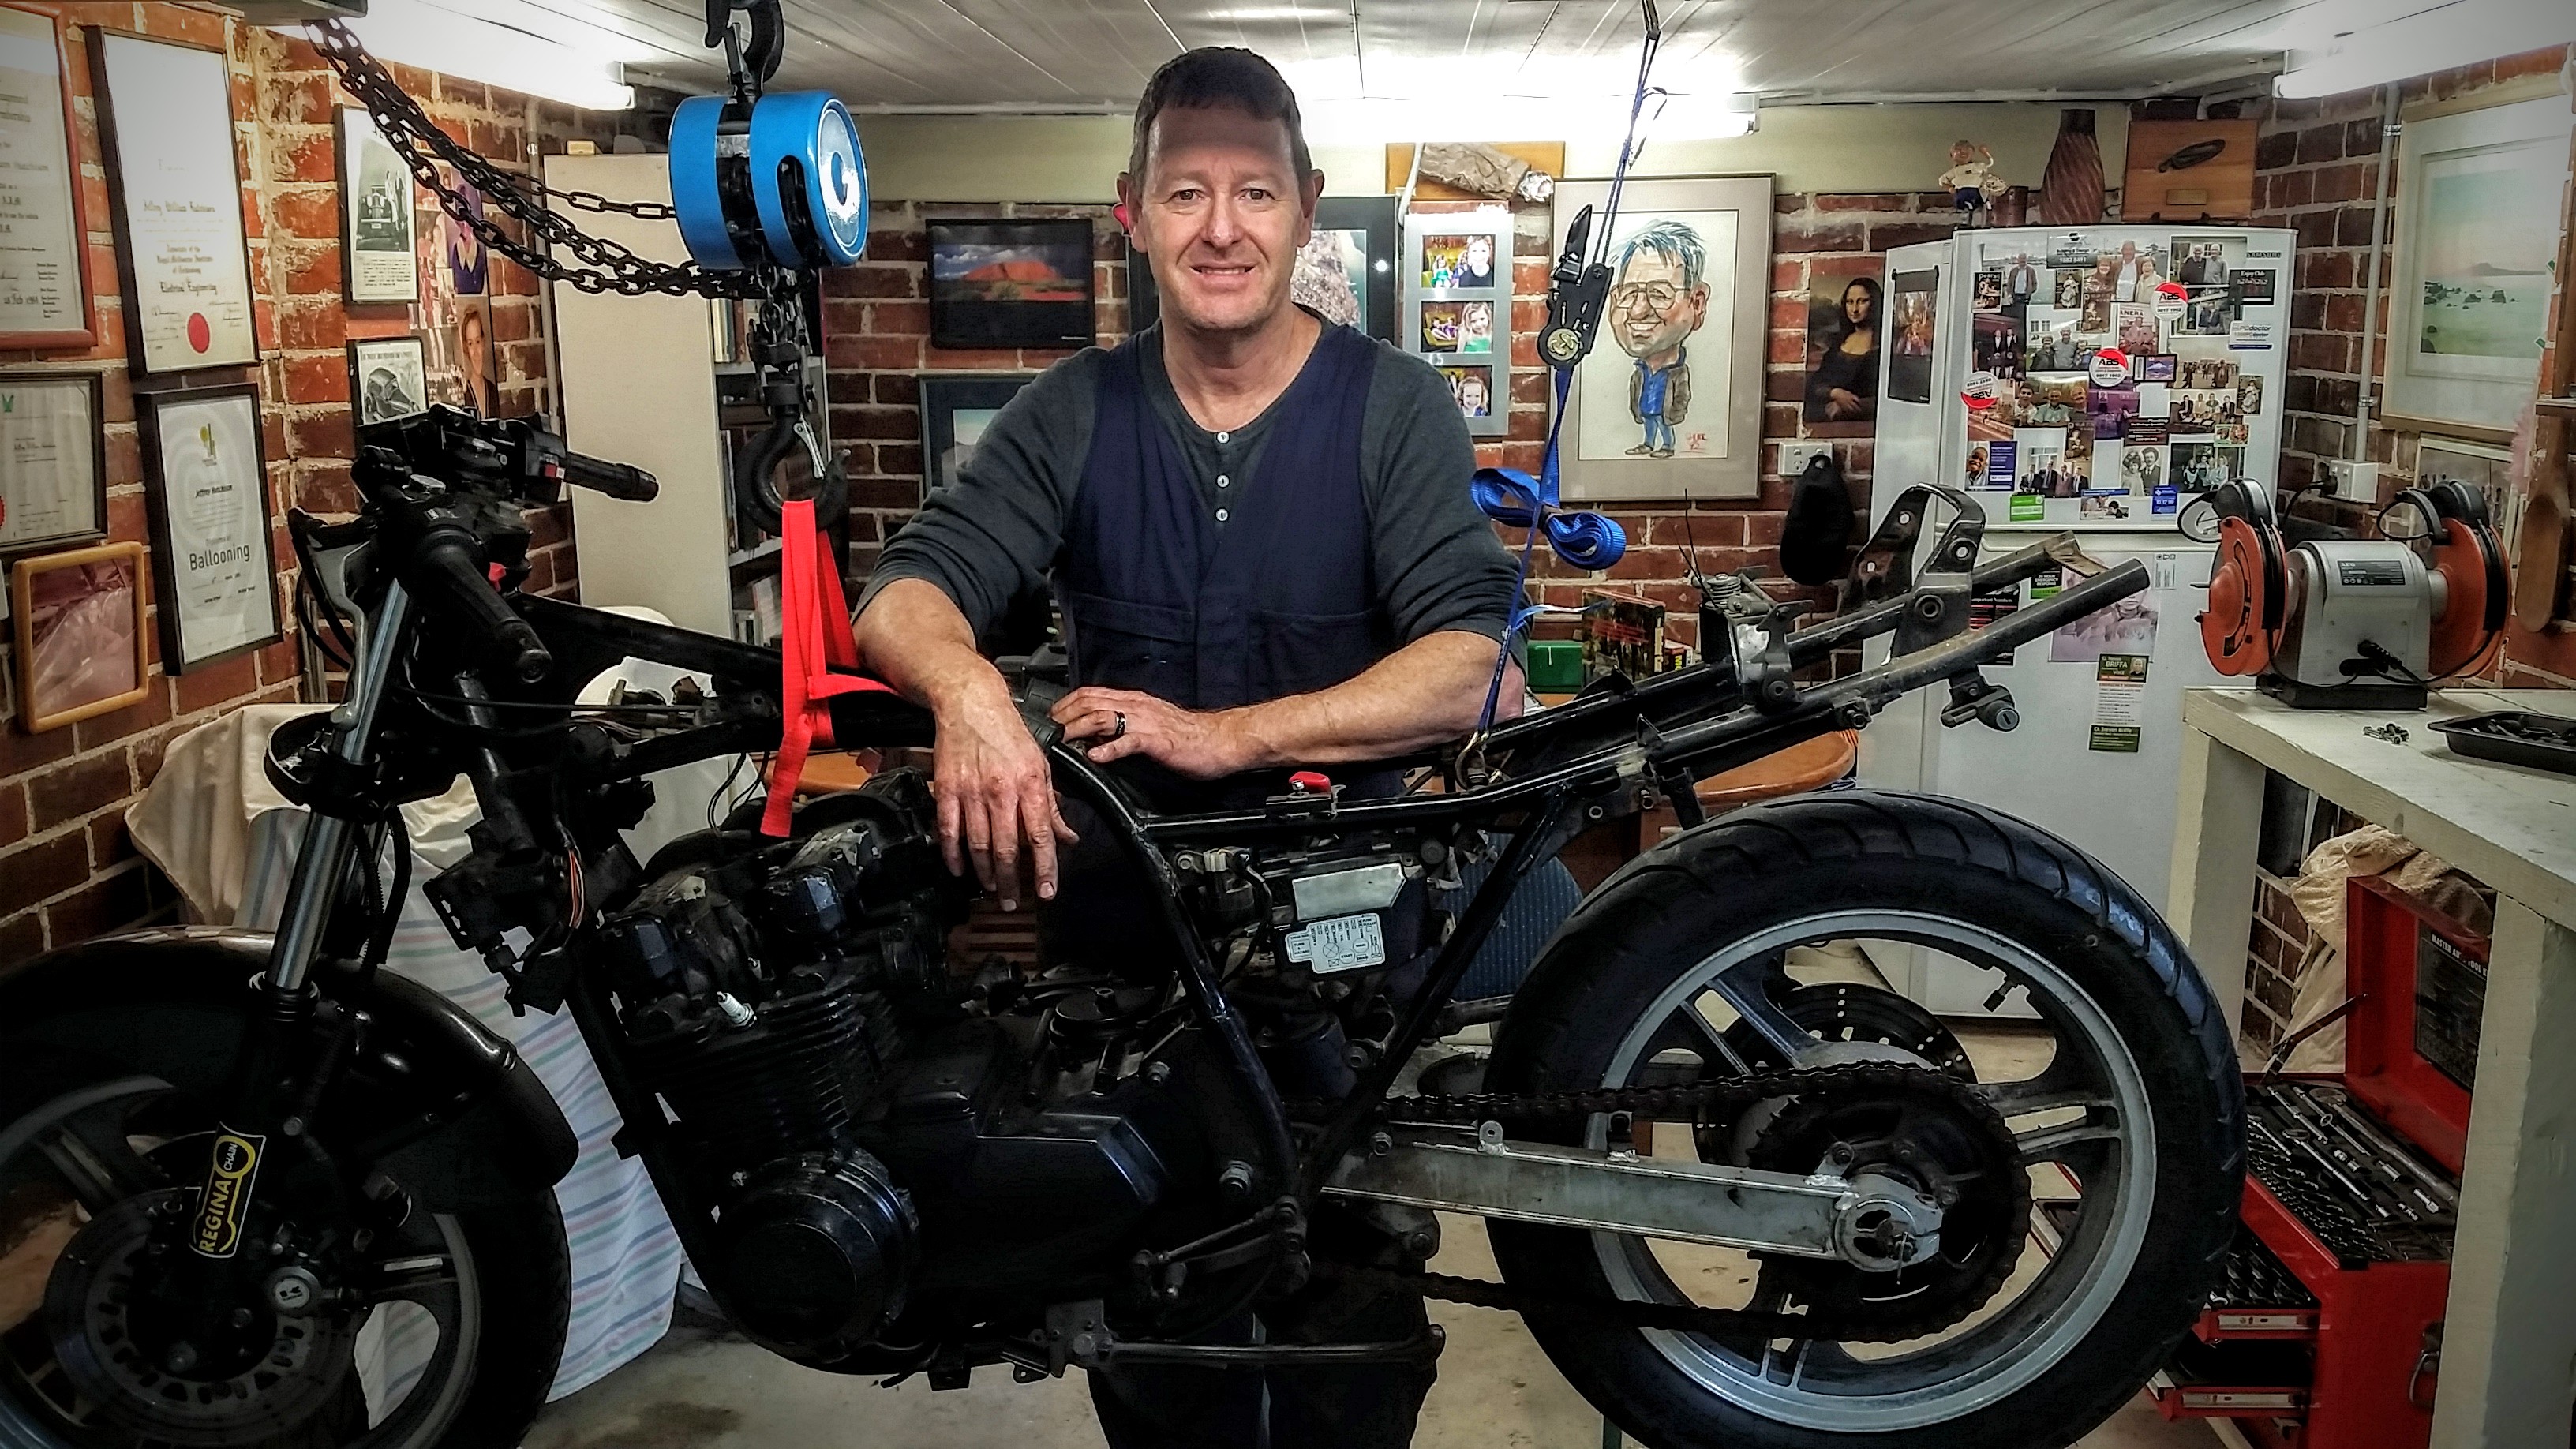
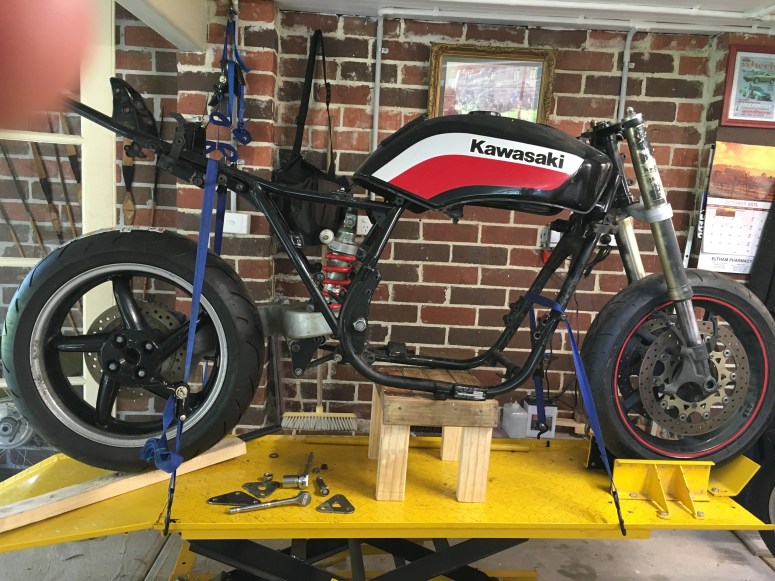
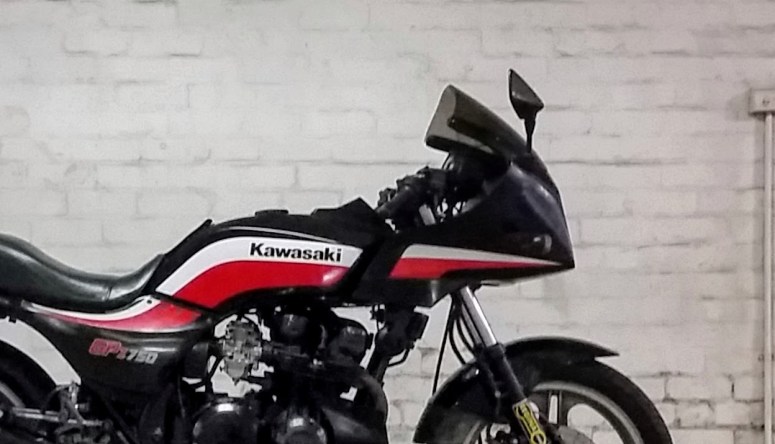
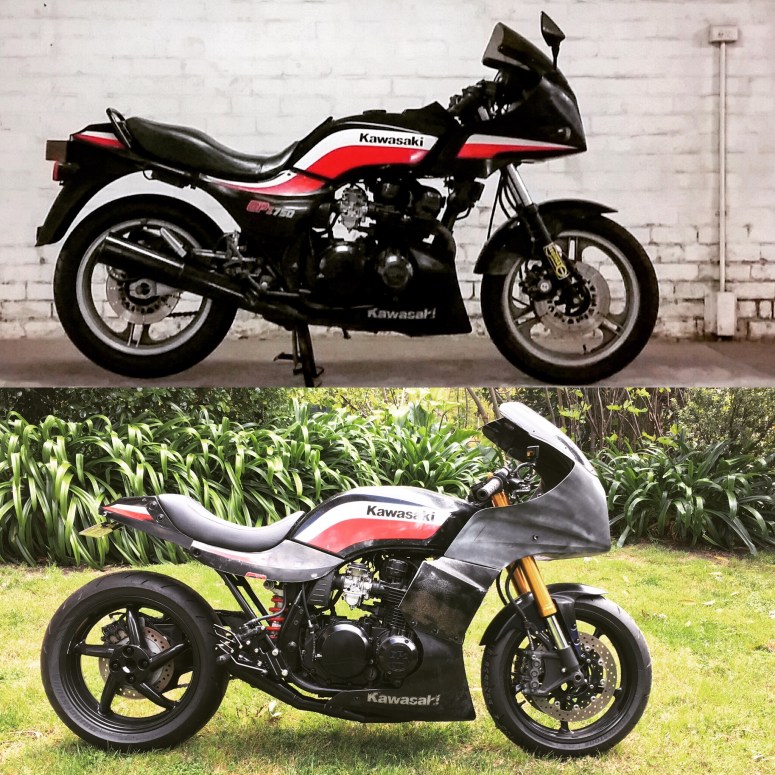
Here is the ‘before’ photo. I can finally start work on it.
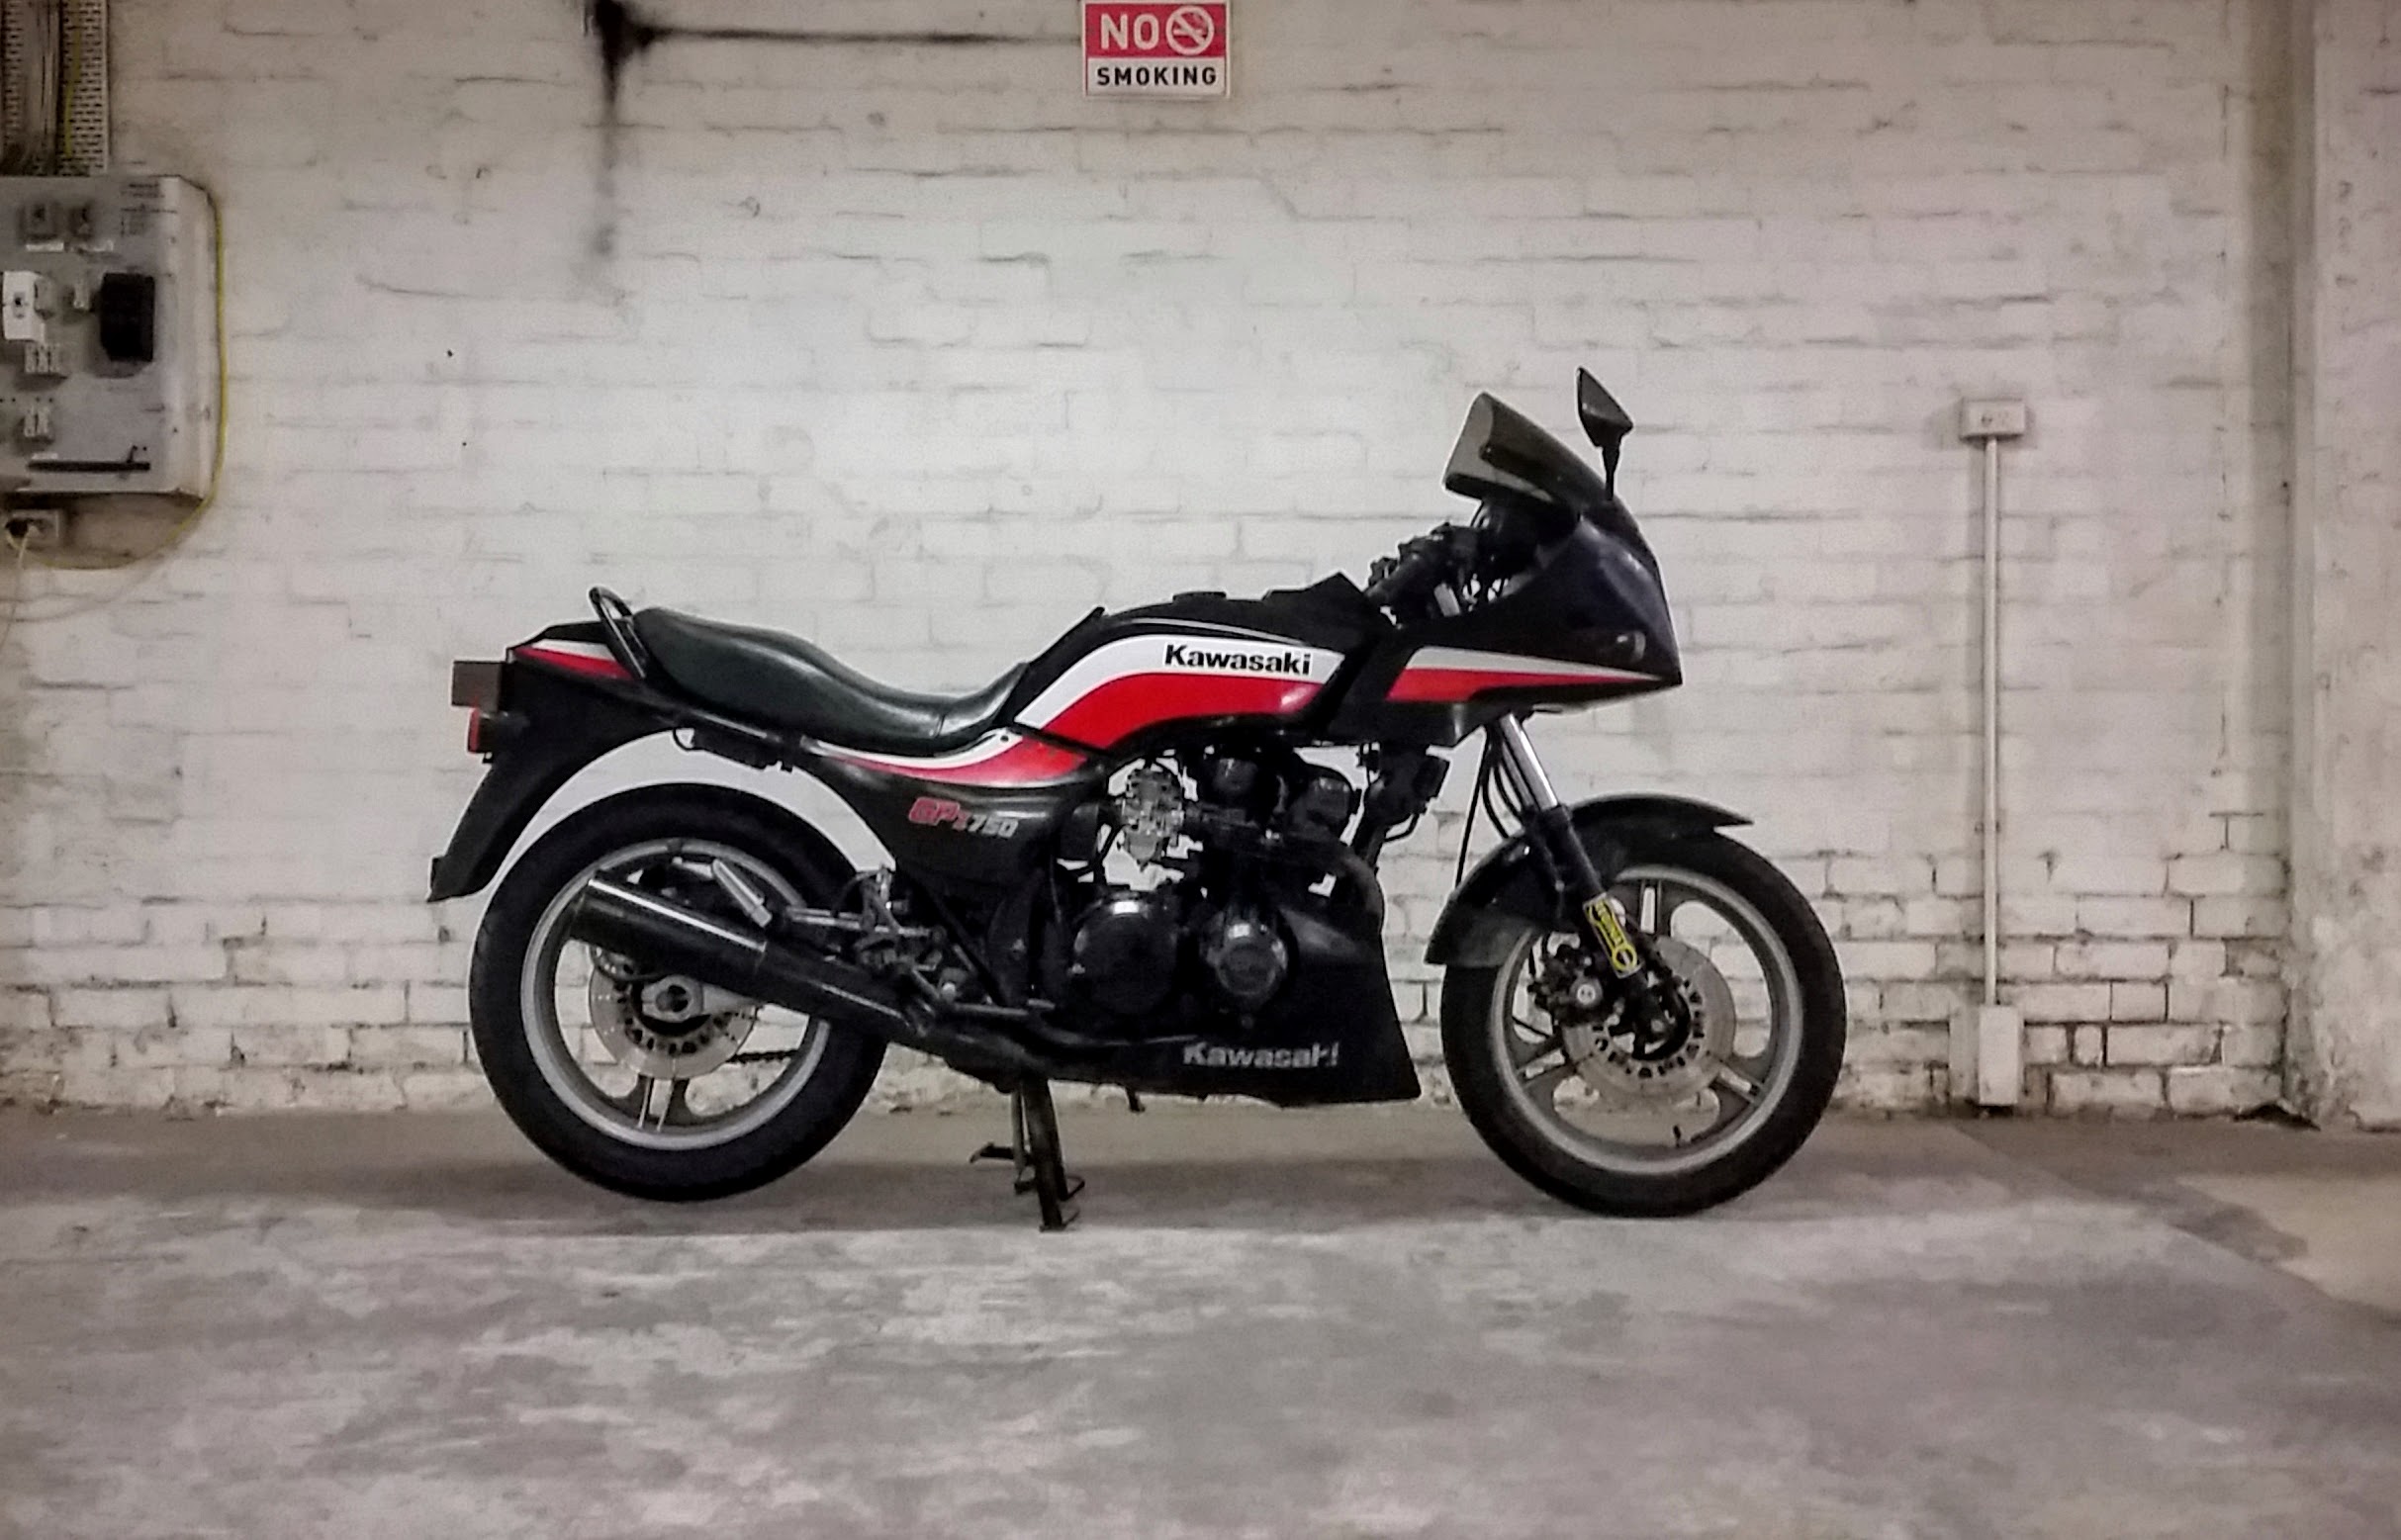
As inspiration, I do like the Icon “Old Ghost”.
![]()
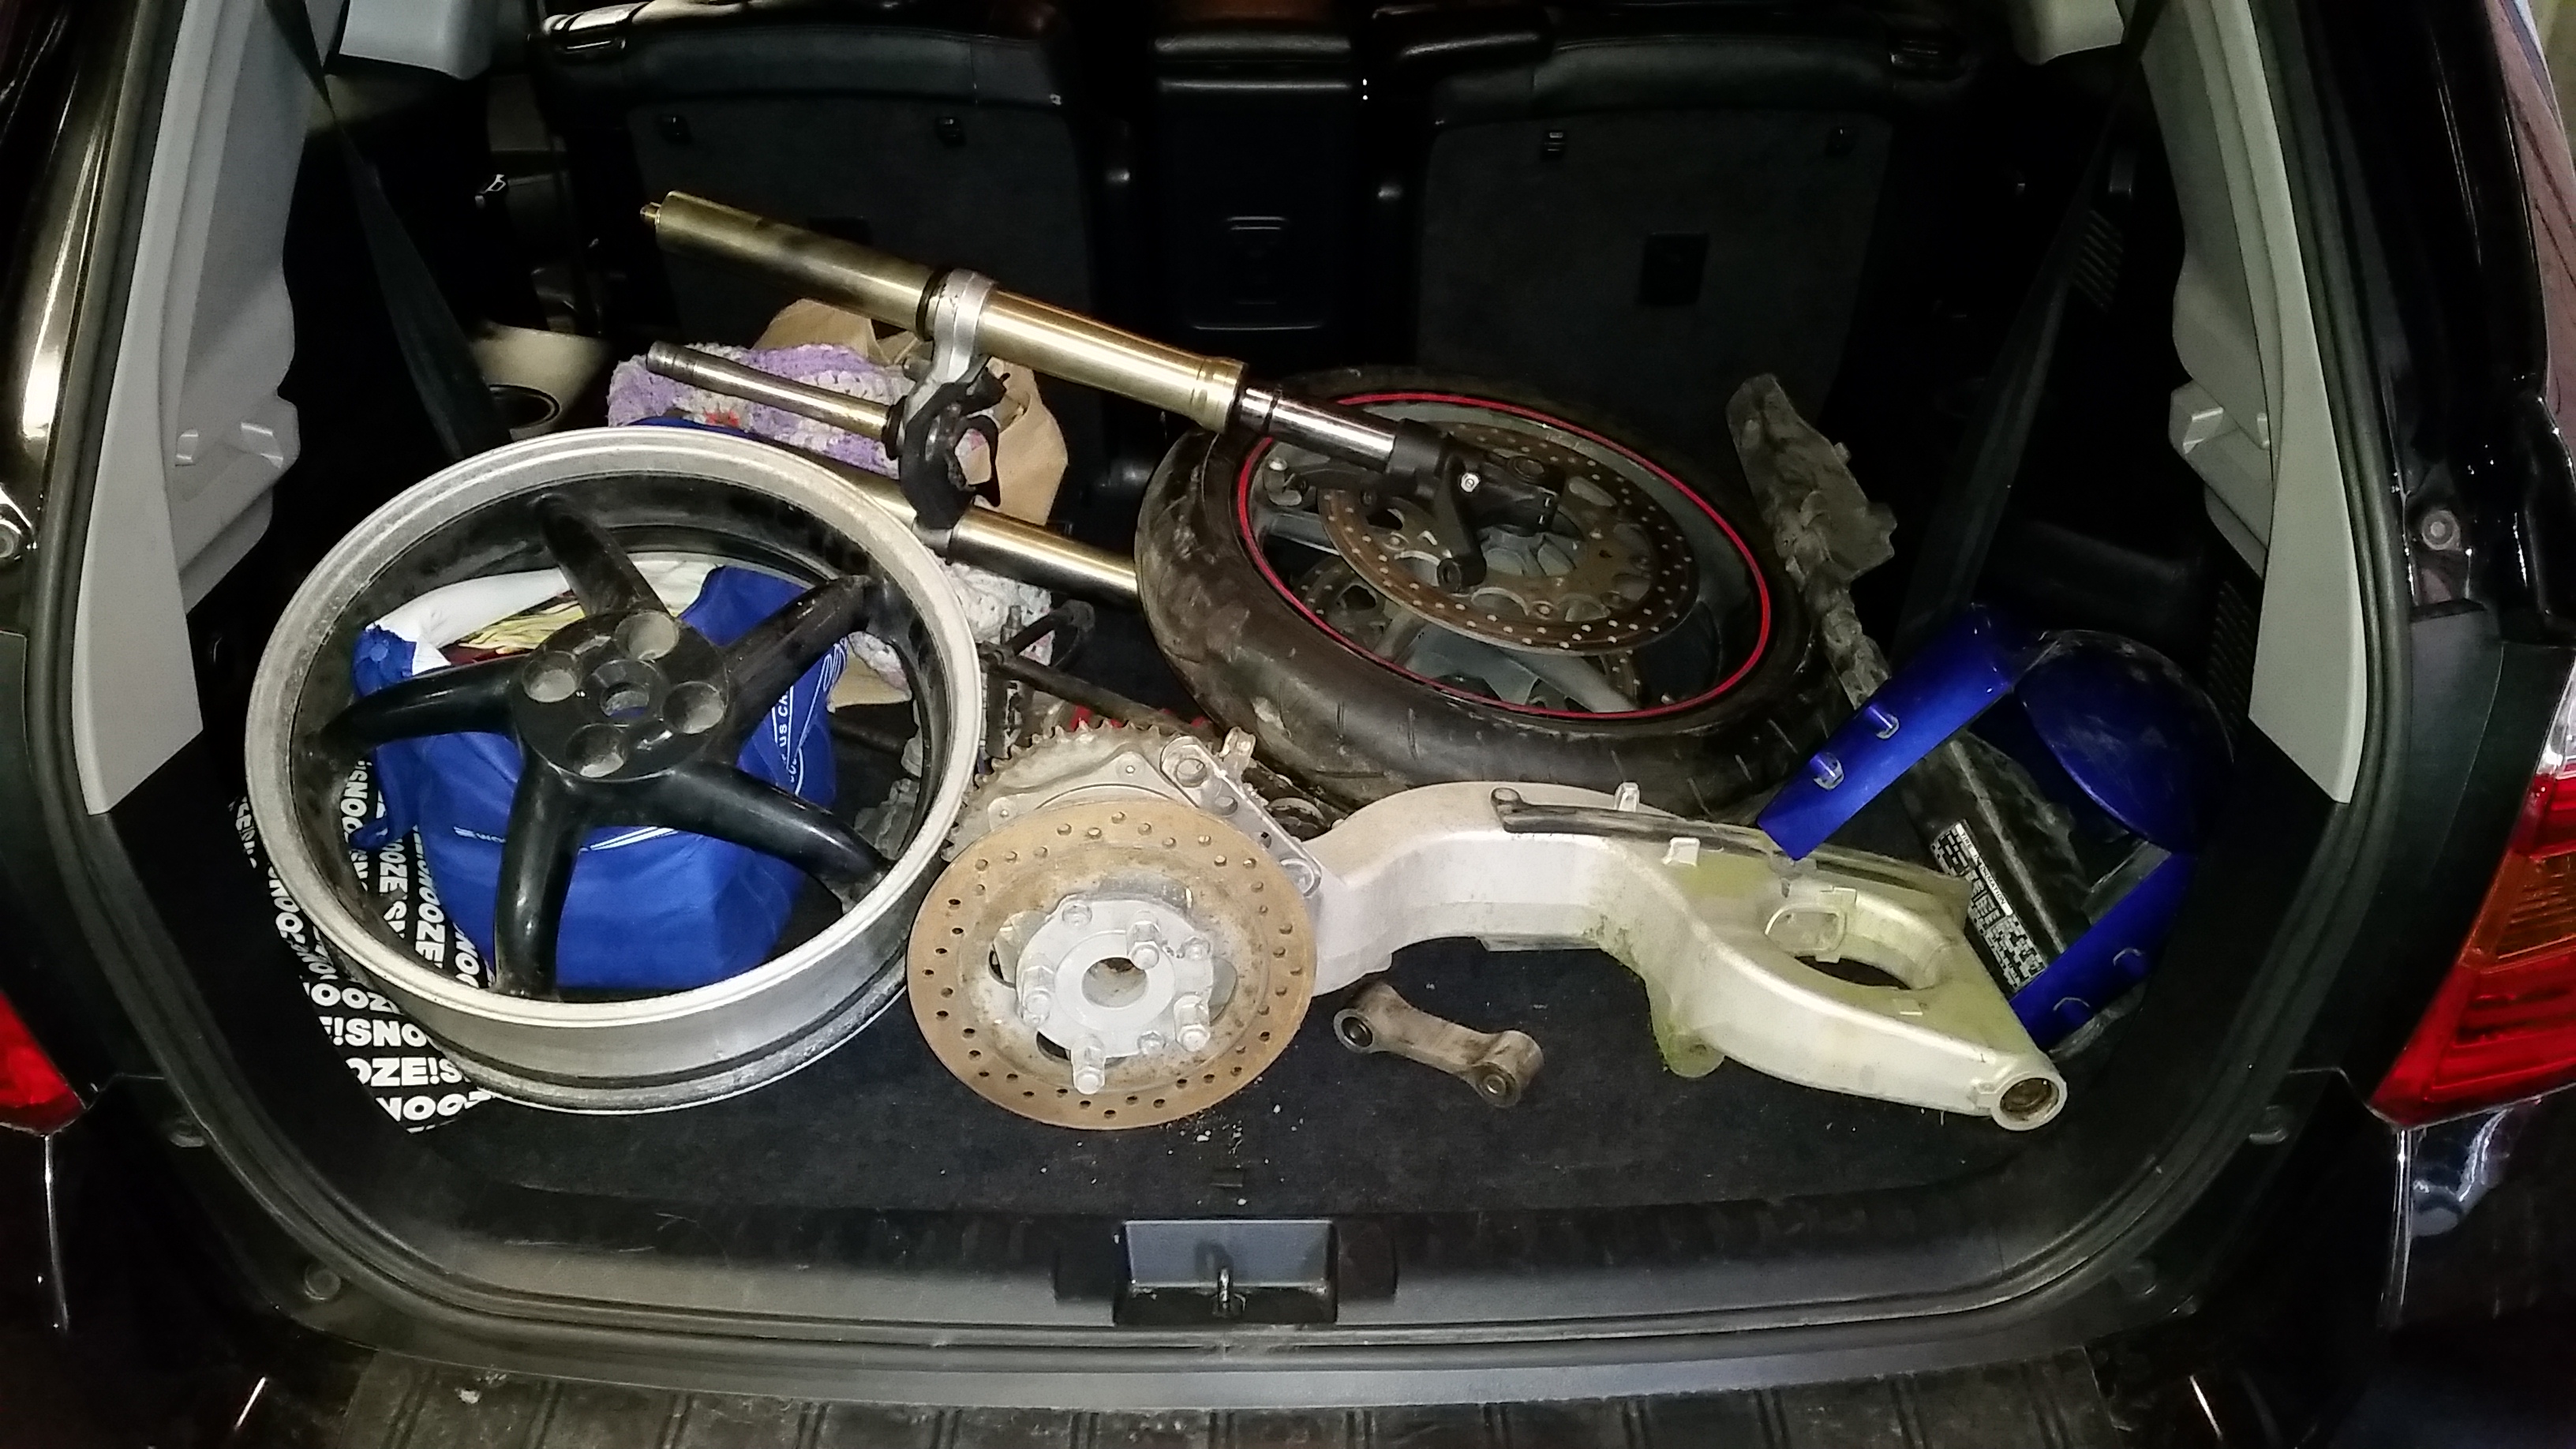
Was at the wreckers today buying an exhaust flange (missing from bike). Chatting to Paul the Wrecker about my plans for the bike. I mentioned that I wouldn’t mind putting a VRF single sided rear end on it. Paul says “I’ve got one out the back”. It was in pretty good nick. I then said I wanted an USD front end, probably an R1, as I had experience with them due to the Hornet. He had a 5 spoke R1 front, to match the 5 spoke VFR rear! Deal done! I only put down a deposit as I’m off on a 5000km ride on the K1200R with my mate Kev. The real work will start on return.
Two days before my big ride I decided to do a little work. Strung the bike up to begin the pull down.
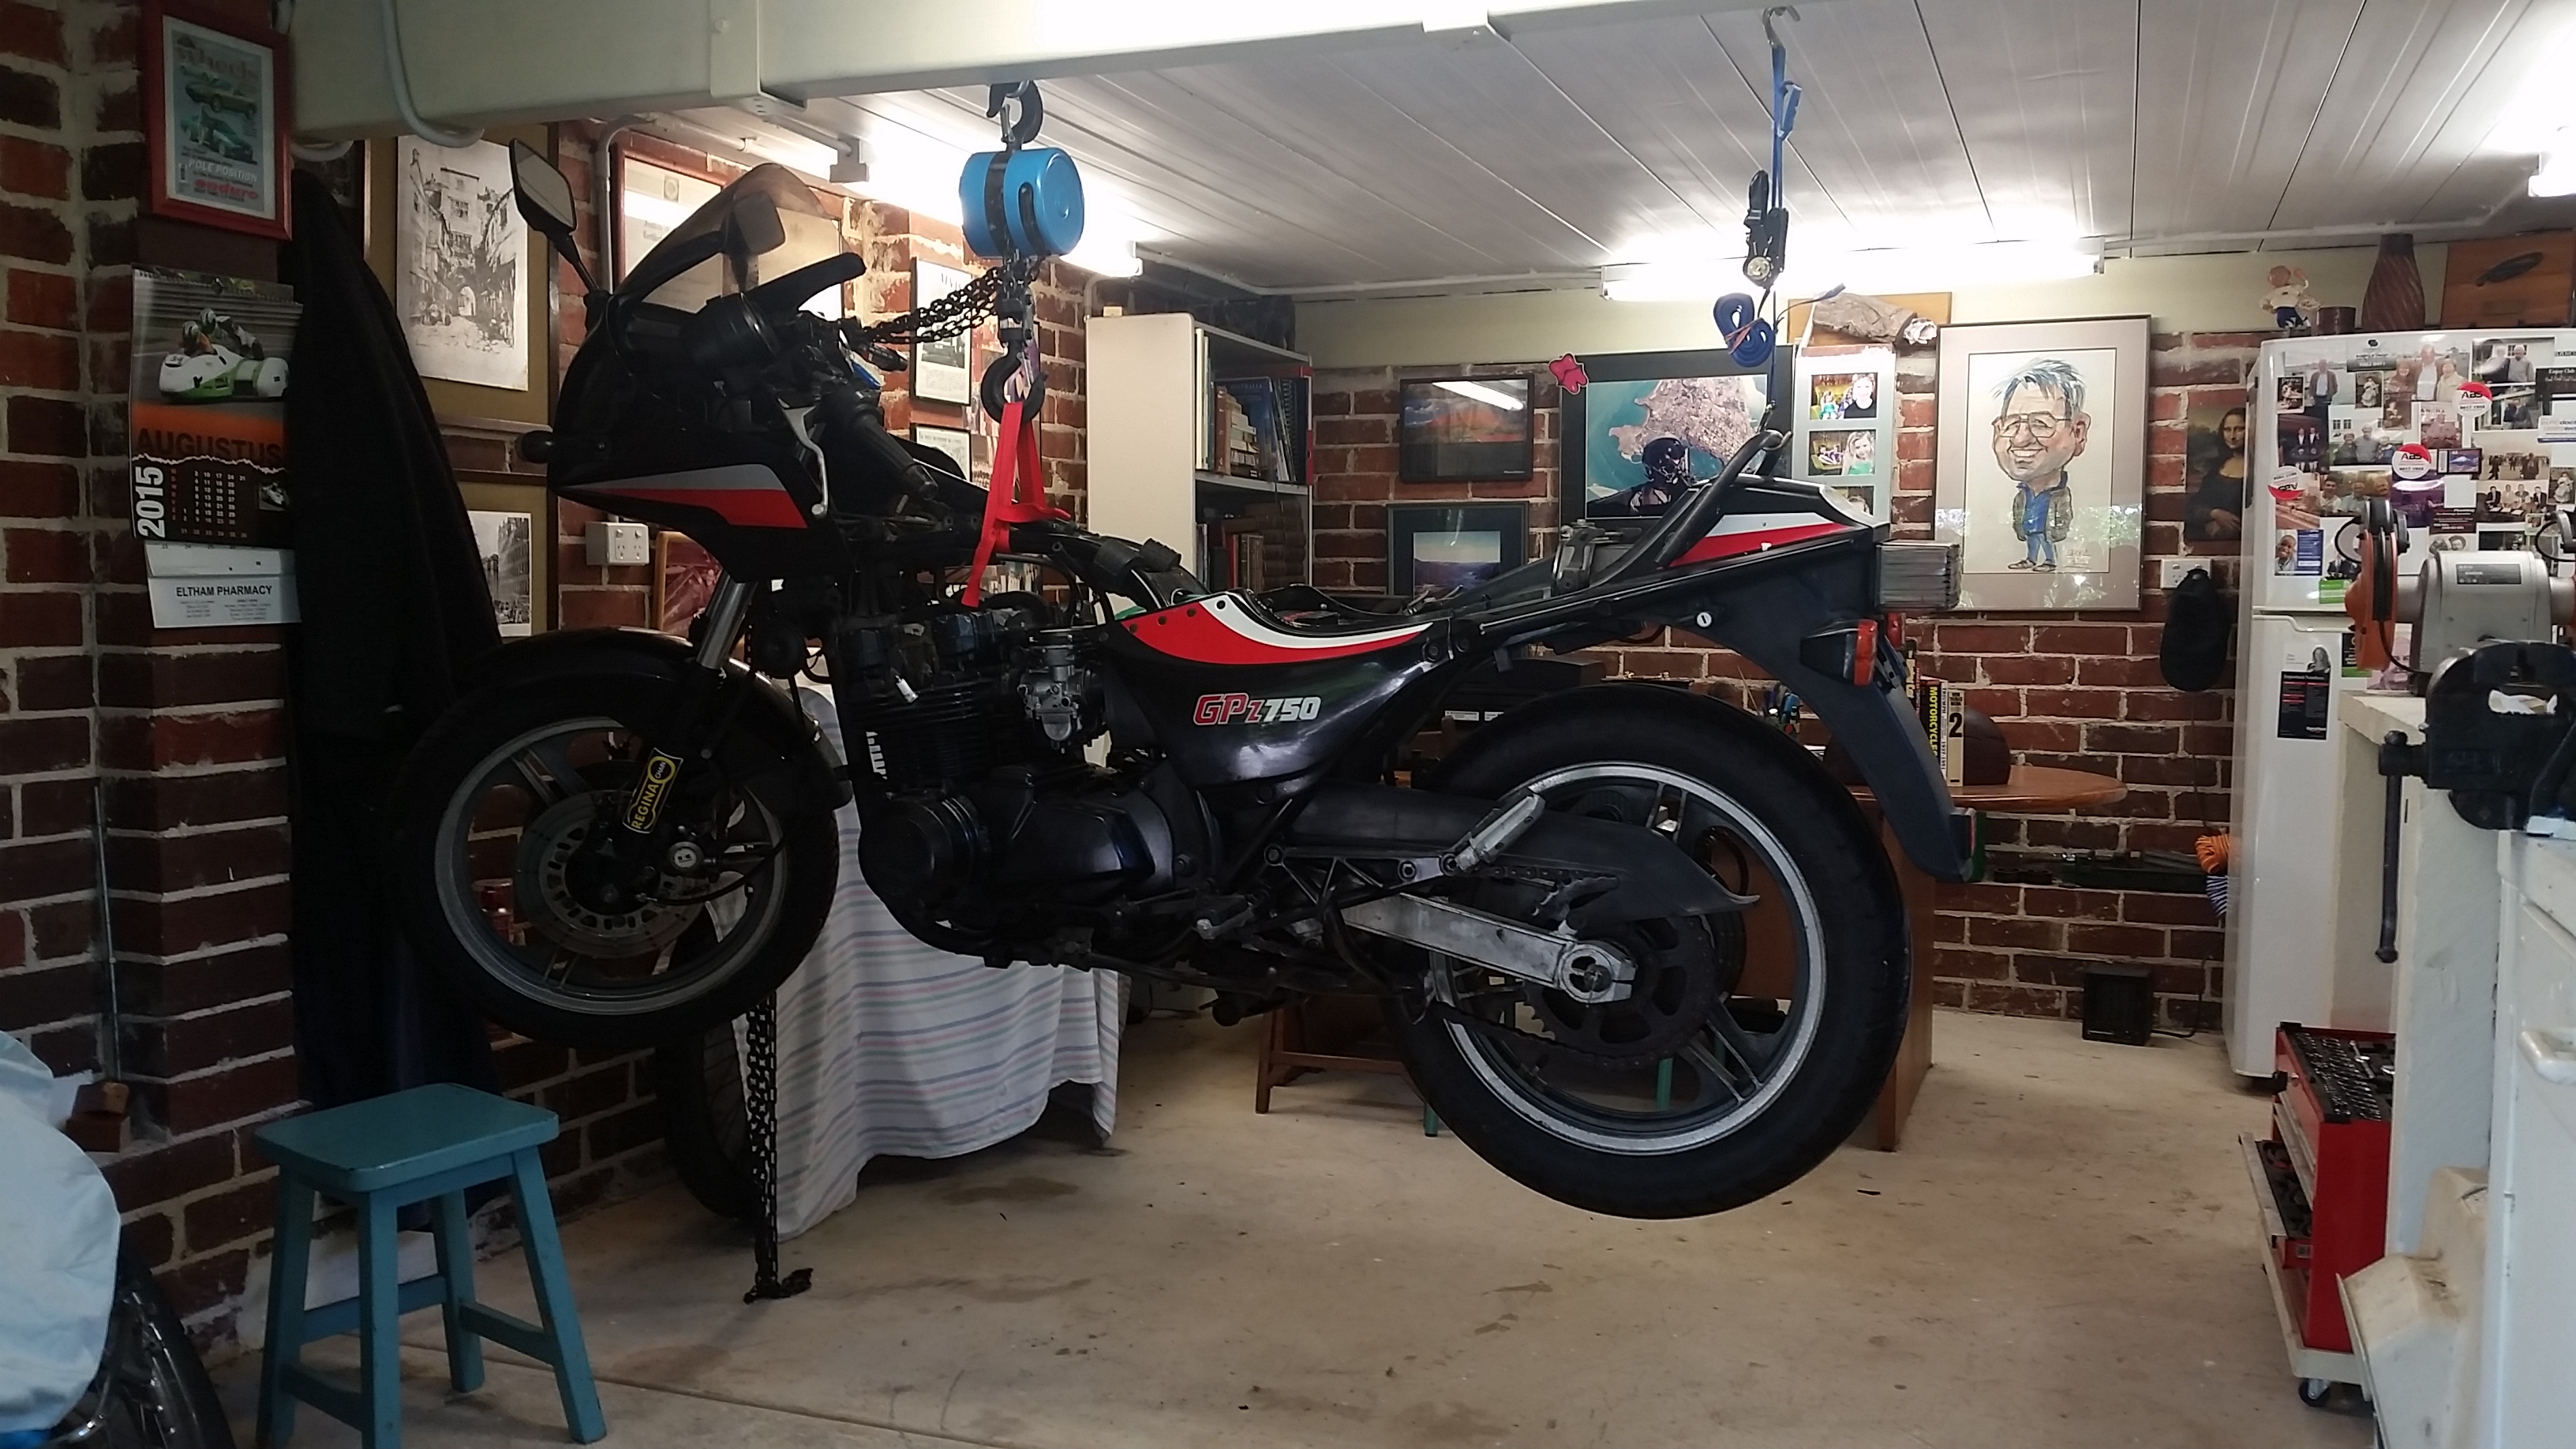
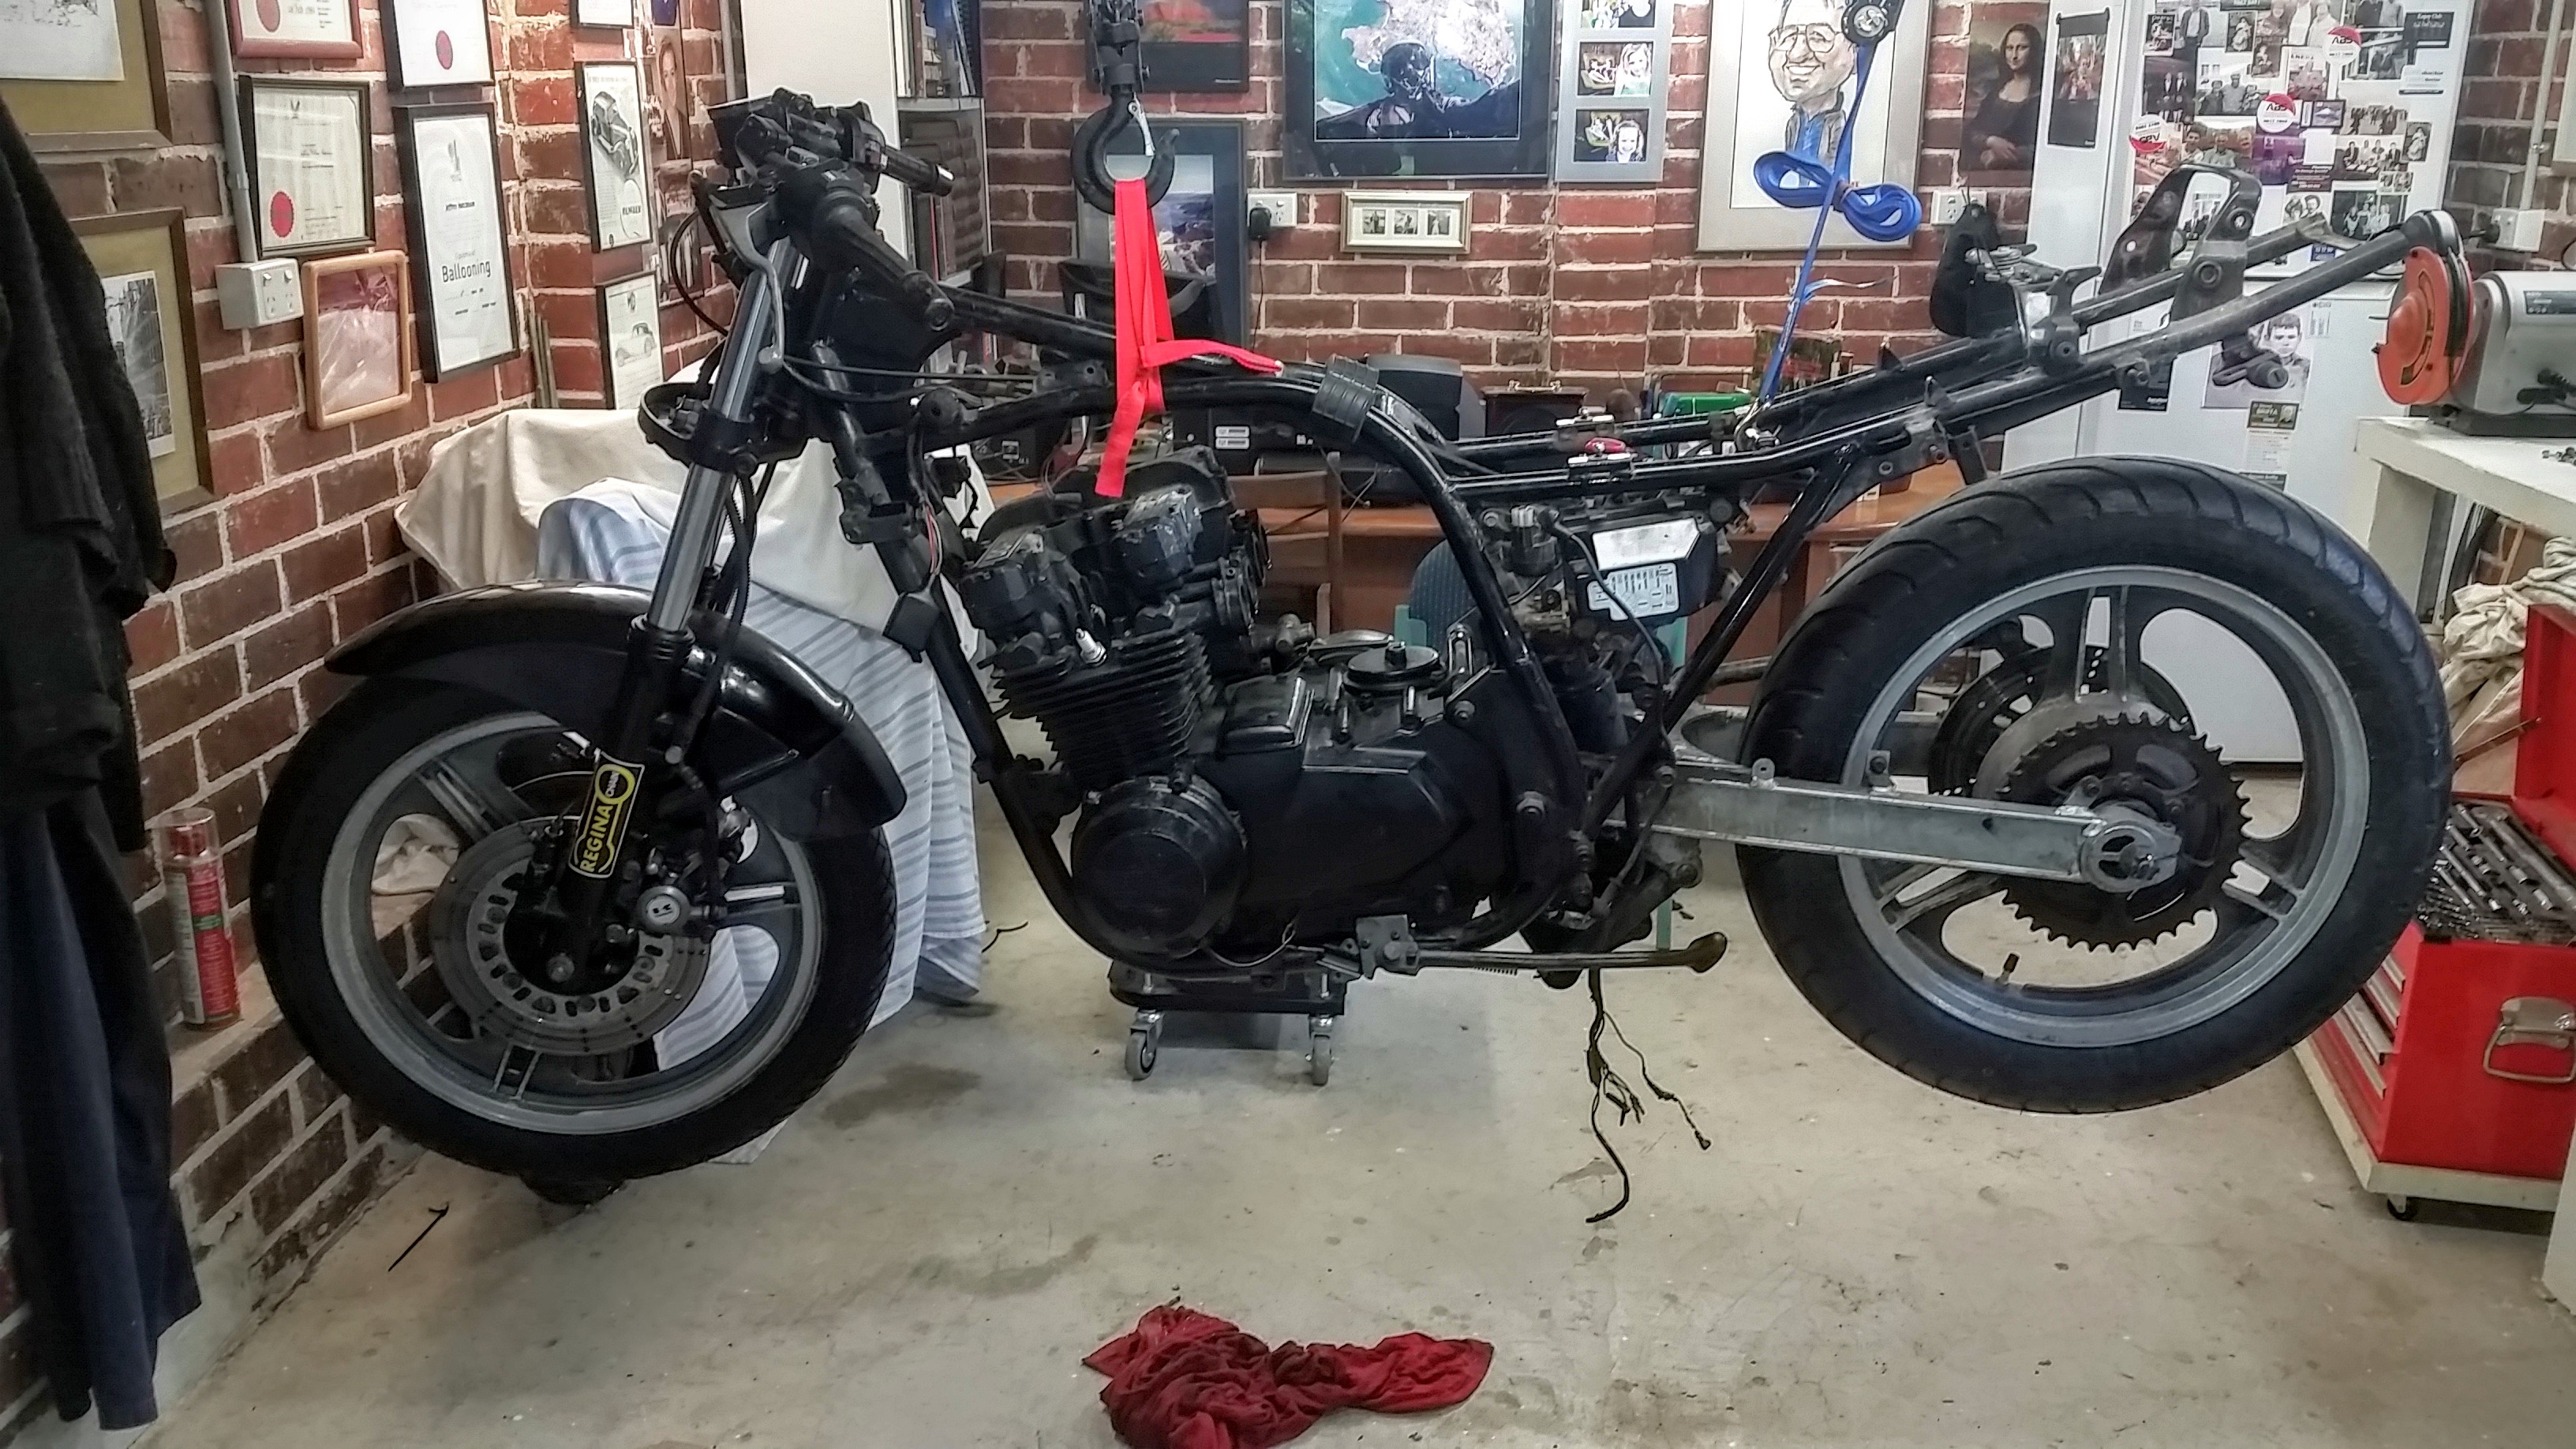
Only need to get the engine out on return!
I’ve decided to give the engine a bit of an overhaul by installing a 810cc big bore kit. The heads will probably need work as all exhaust valves have zero clearance.
Back from 10 days riding and over 4600km!
Went shopping today.
The engine was pretty easy to extract.

It is now waiting for the 810 big bore kit to arrive!

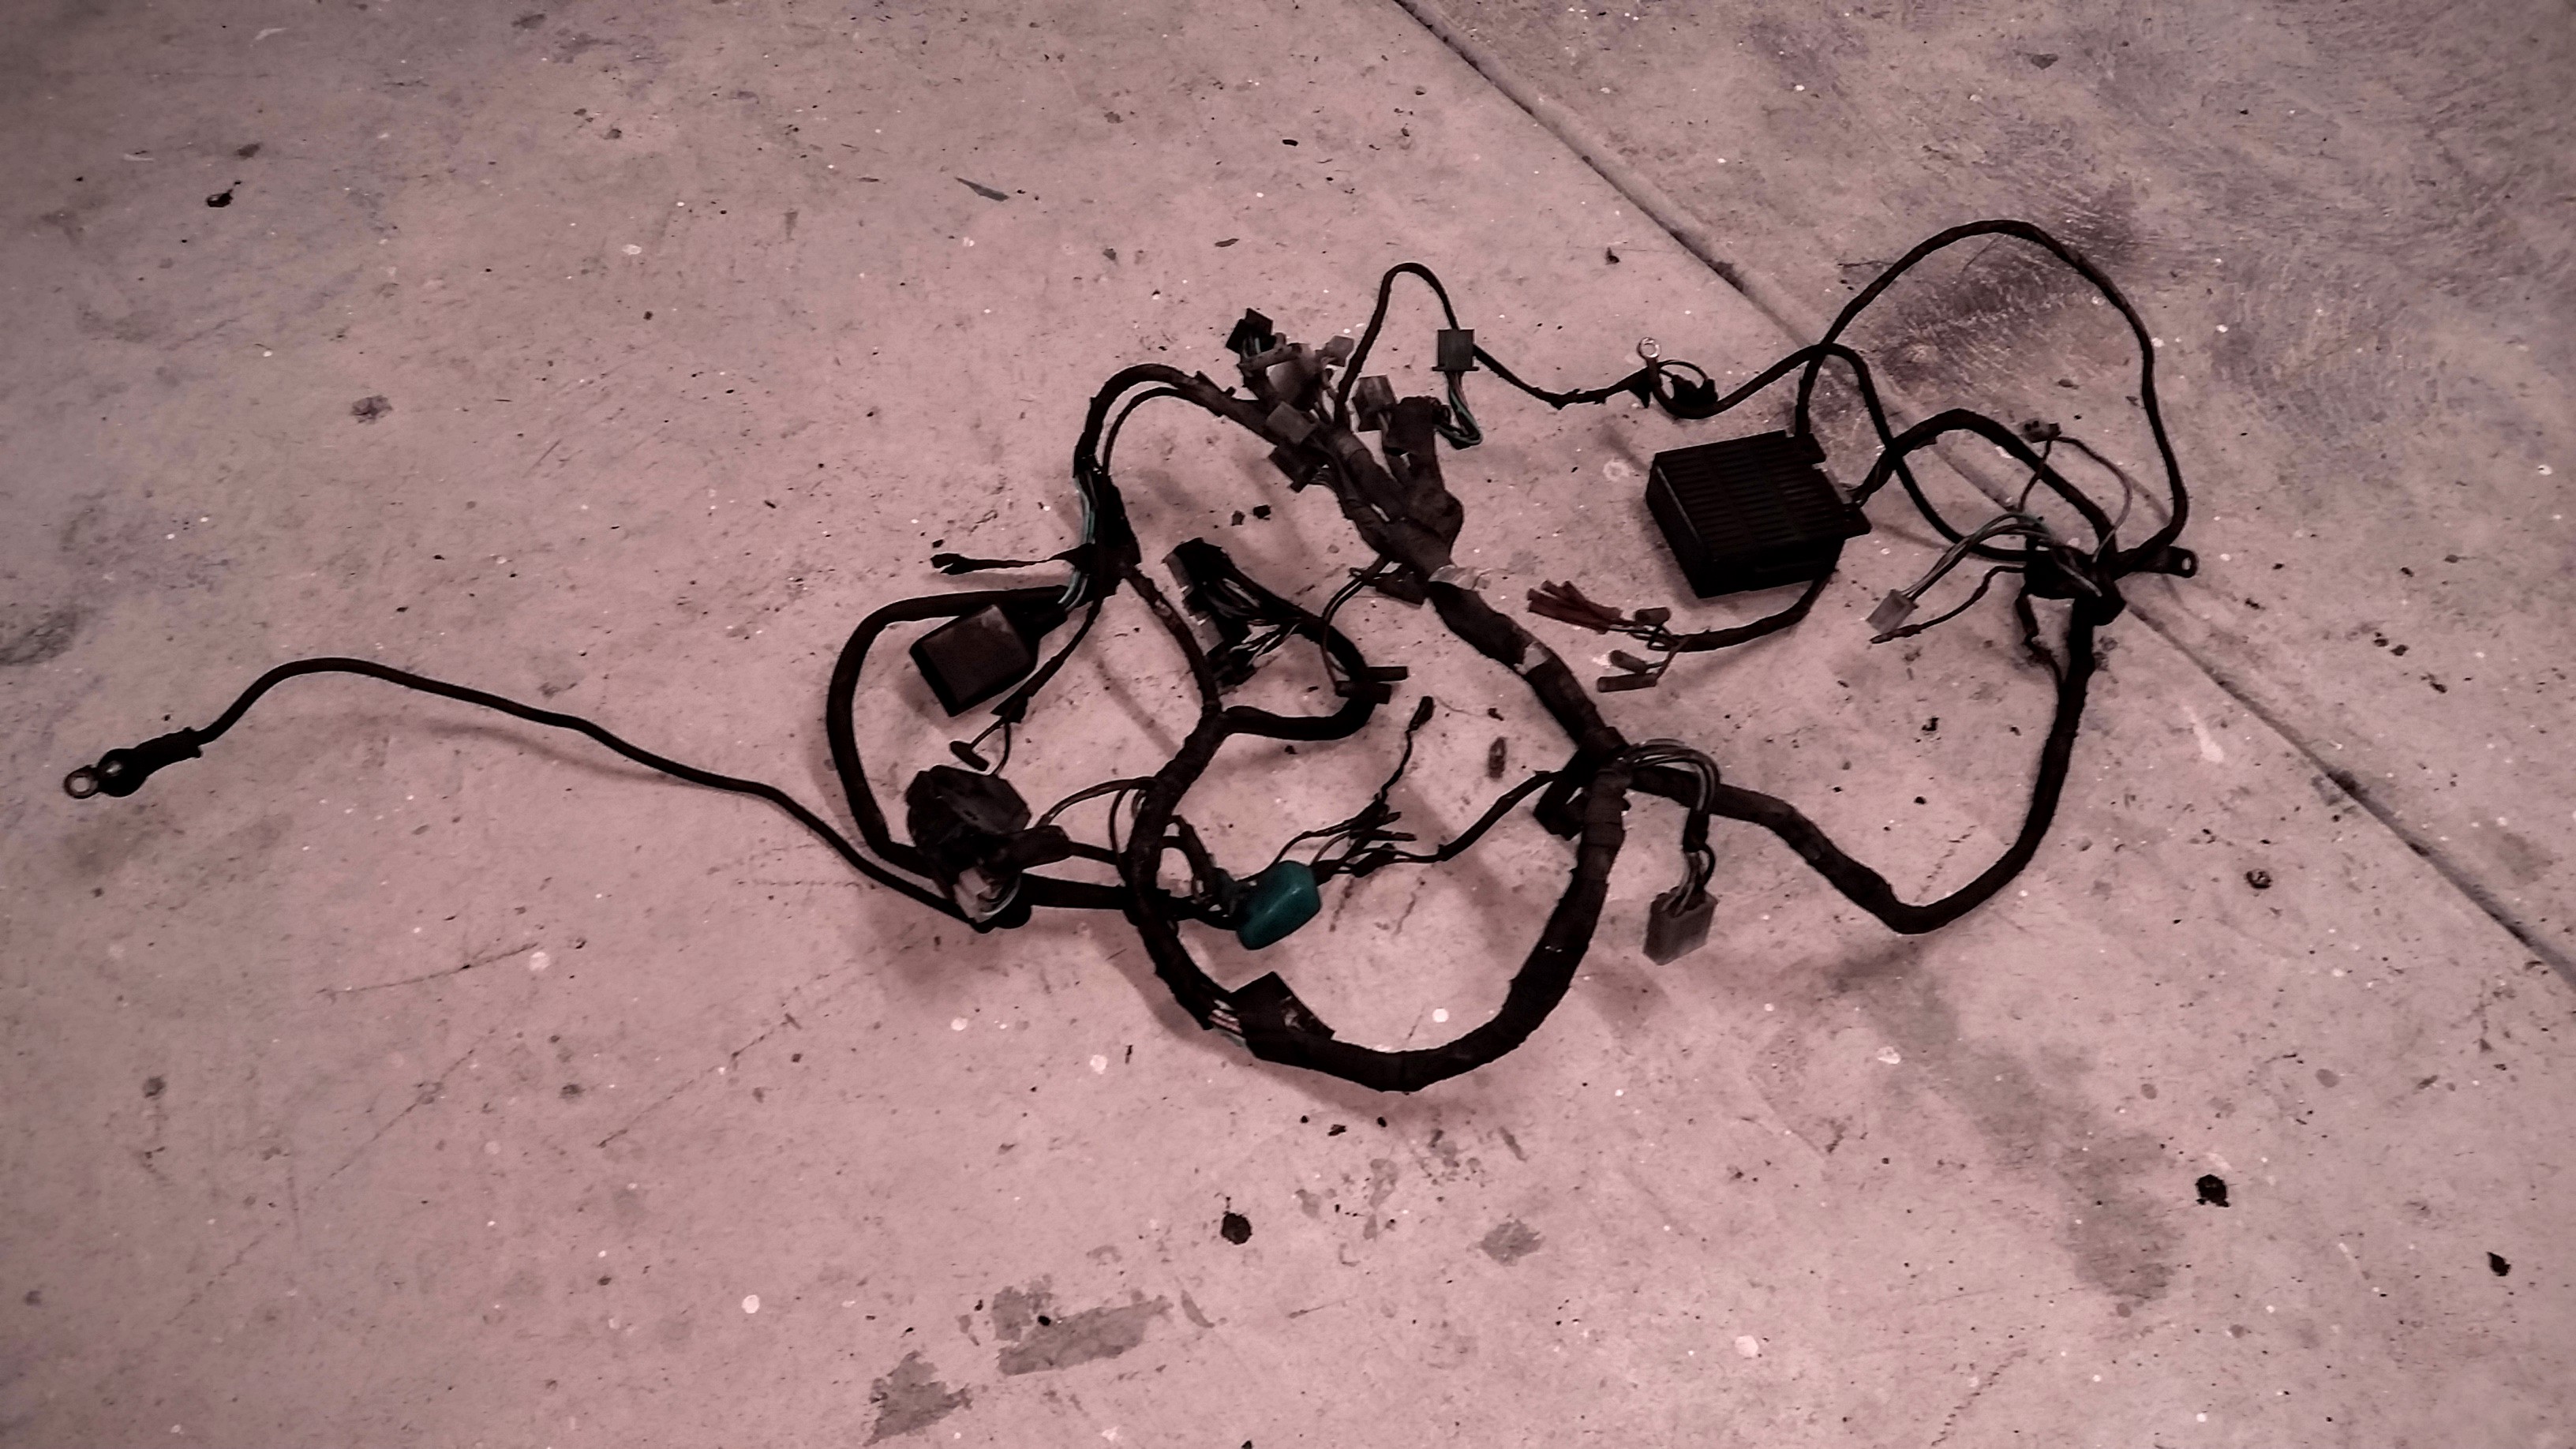
After pulling off the wiring harness I could not get that Talking Heads song “Once in a Lifetime” out of my head “my god, what have I done”!
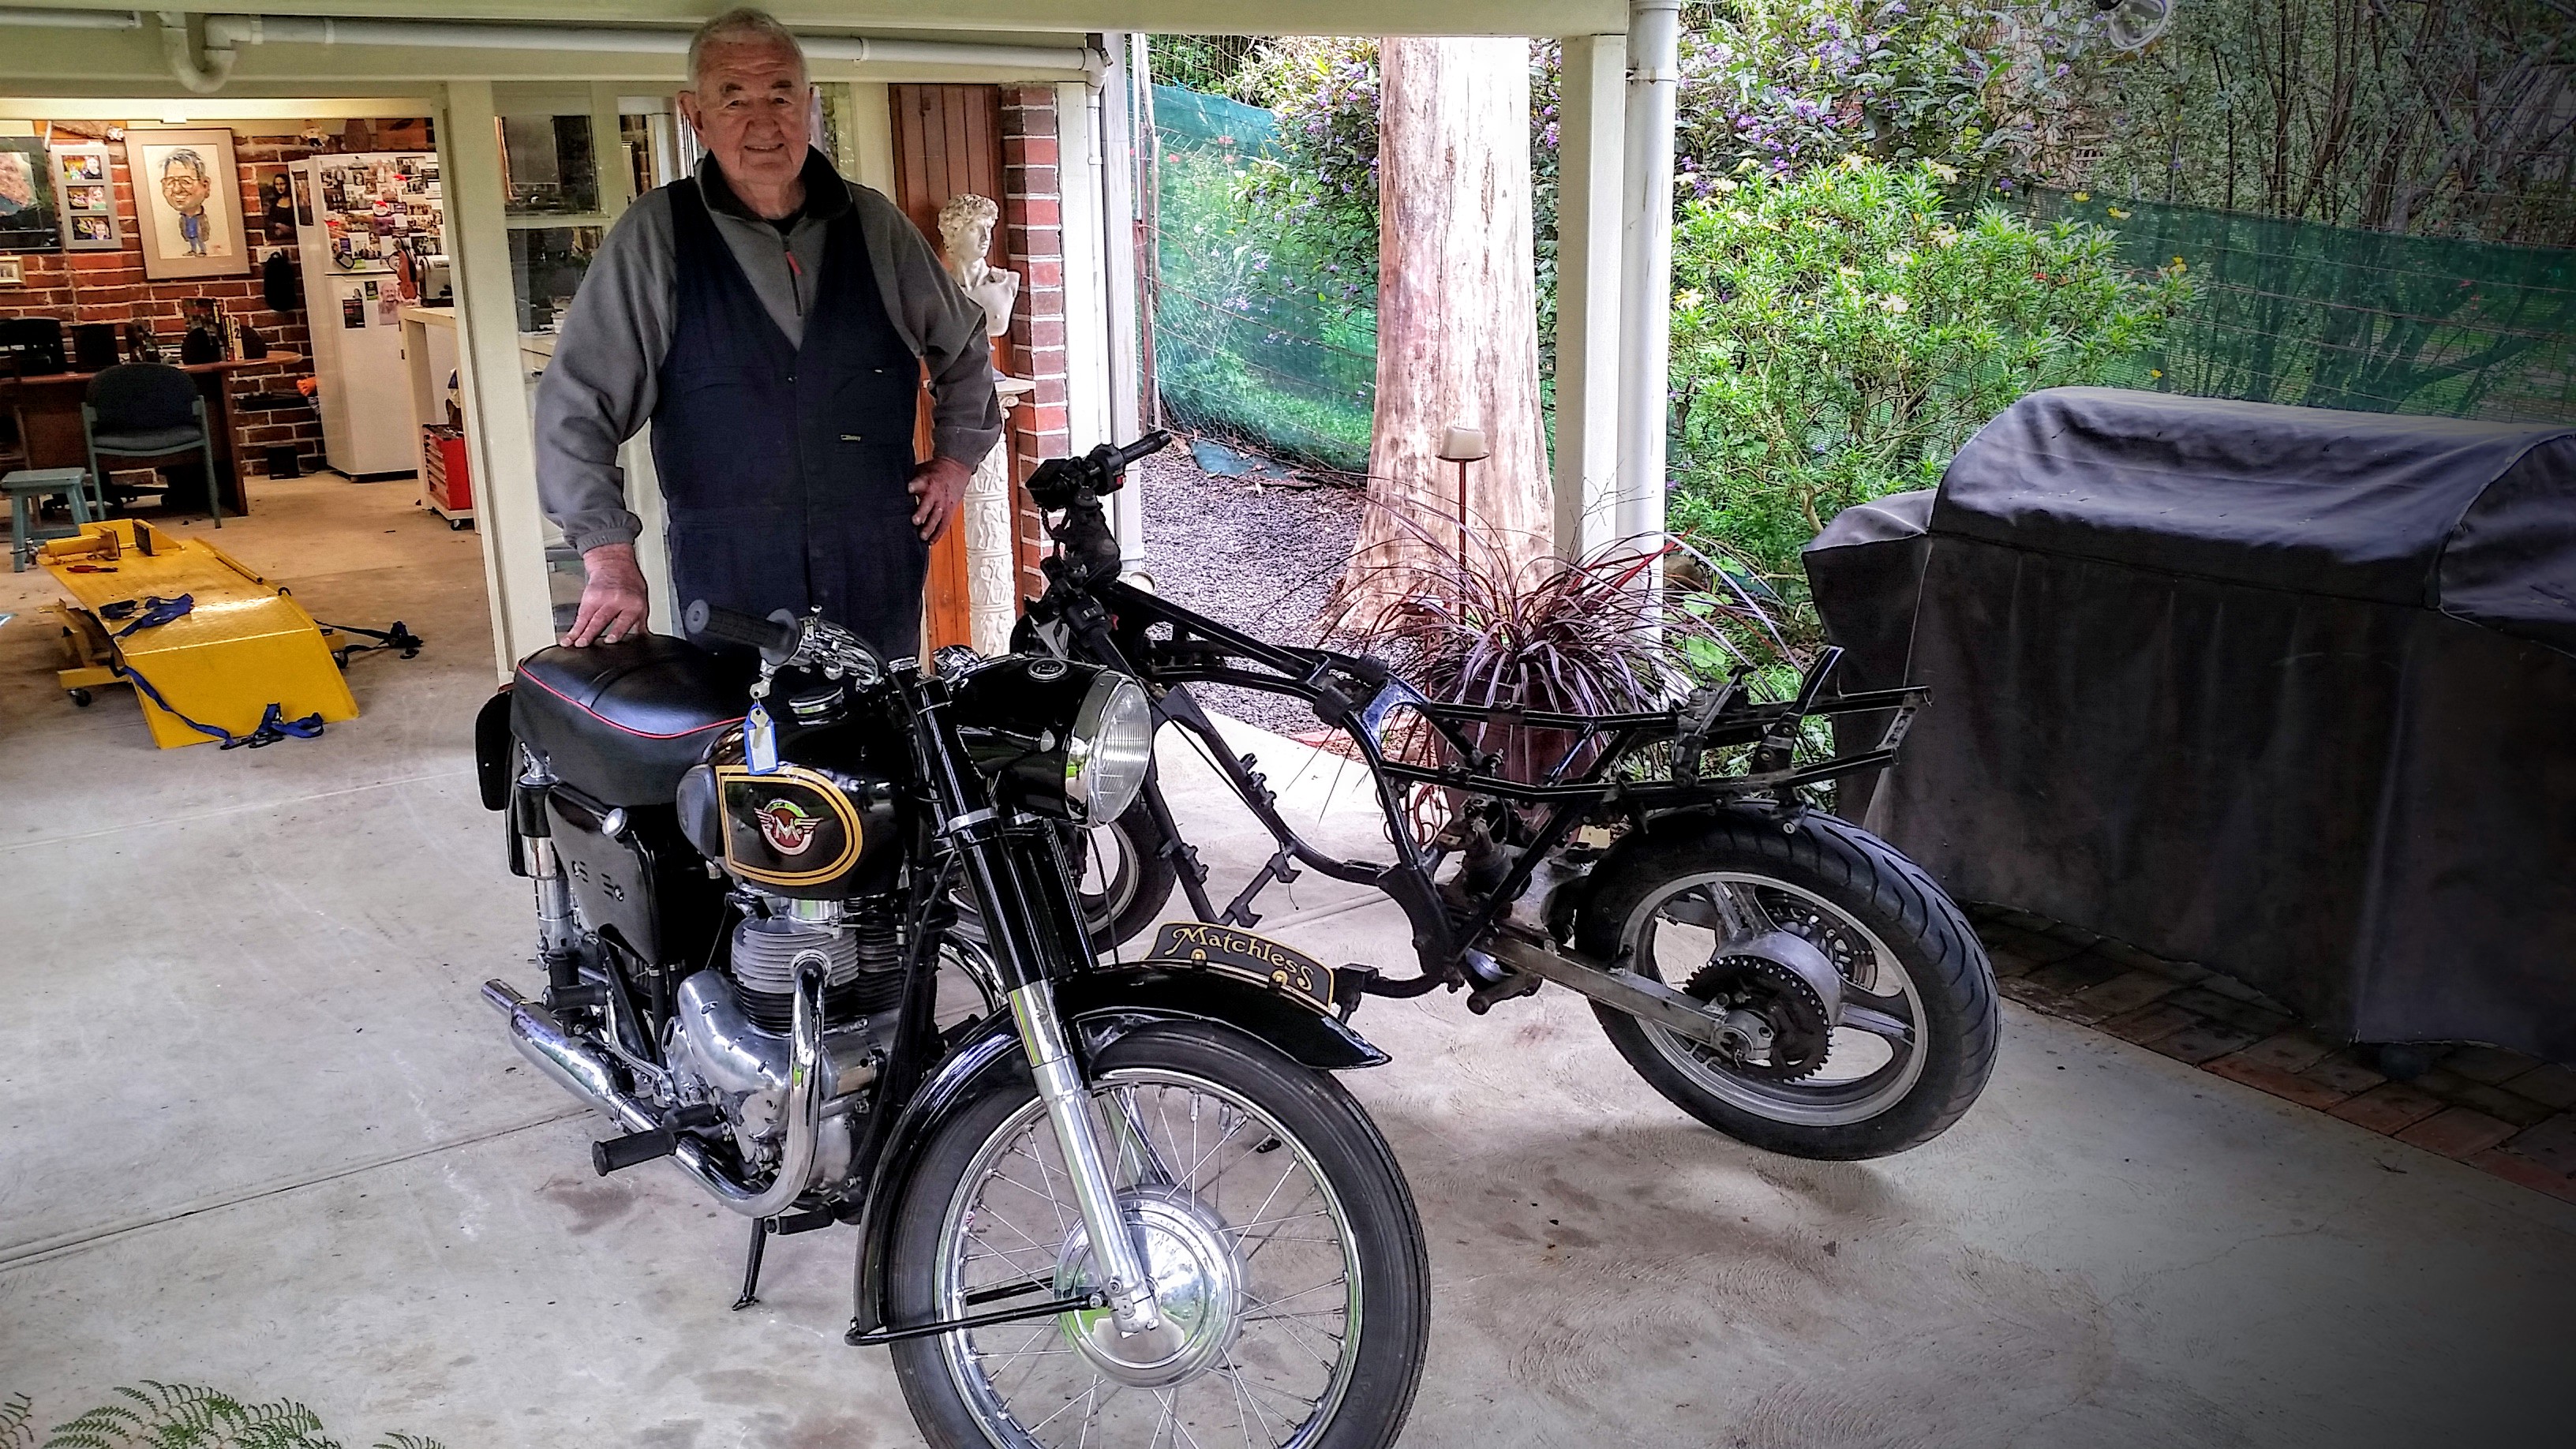
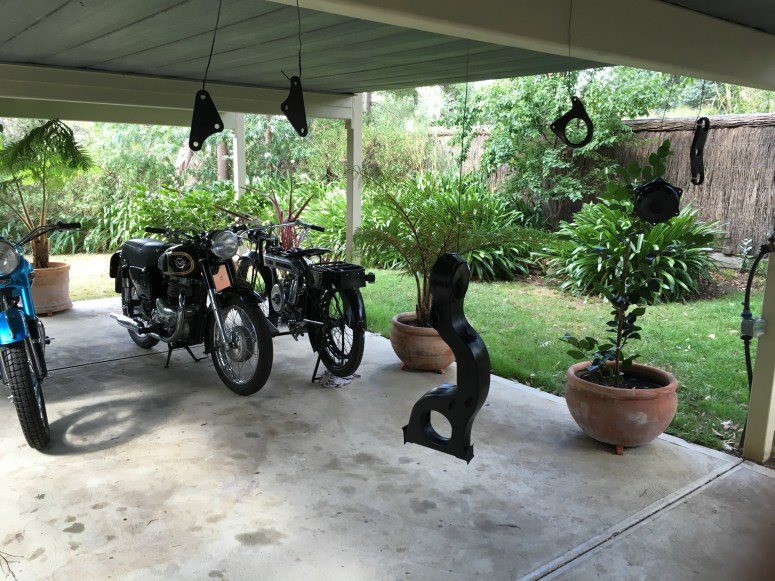
The Kwaka frame is ready to get some major surgery by Mick as Dad’s Matchless is about to receive fluids and get kicked over for the first time. He ran a blog of his work also. http://legendjeff.com/
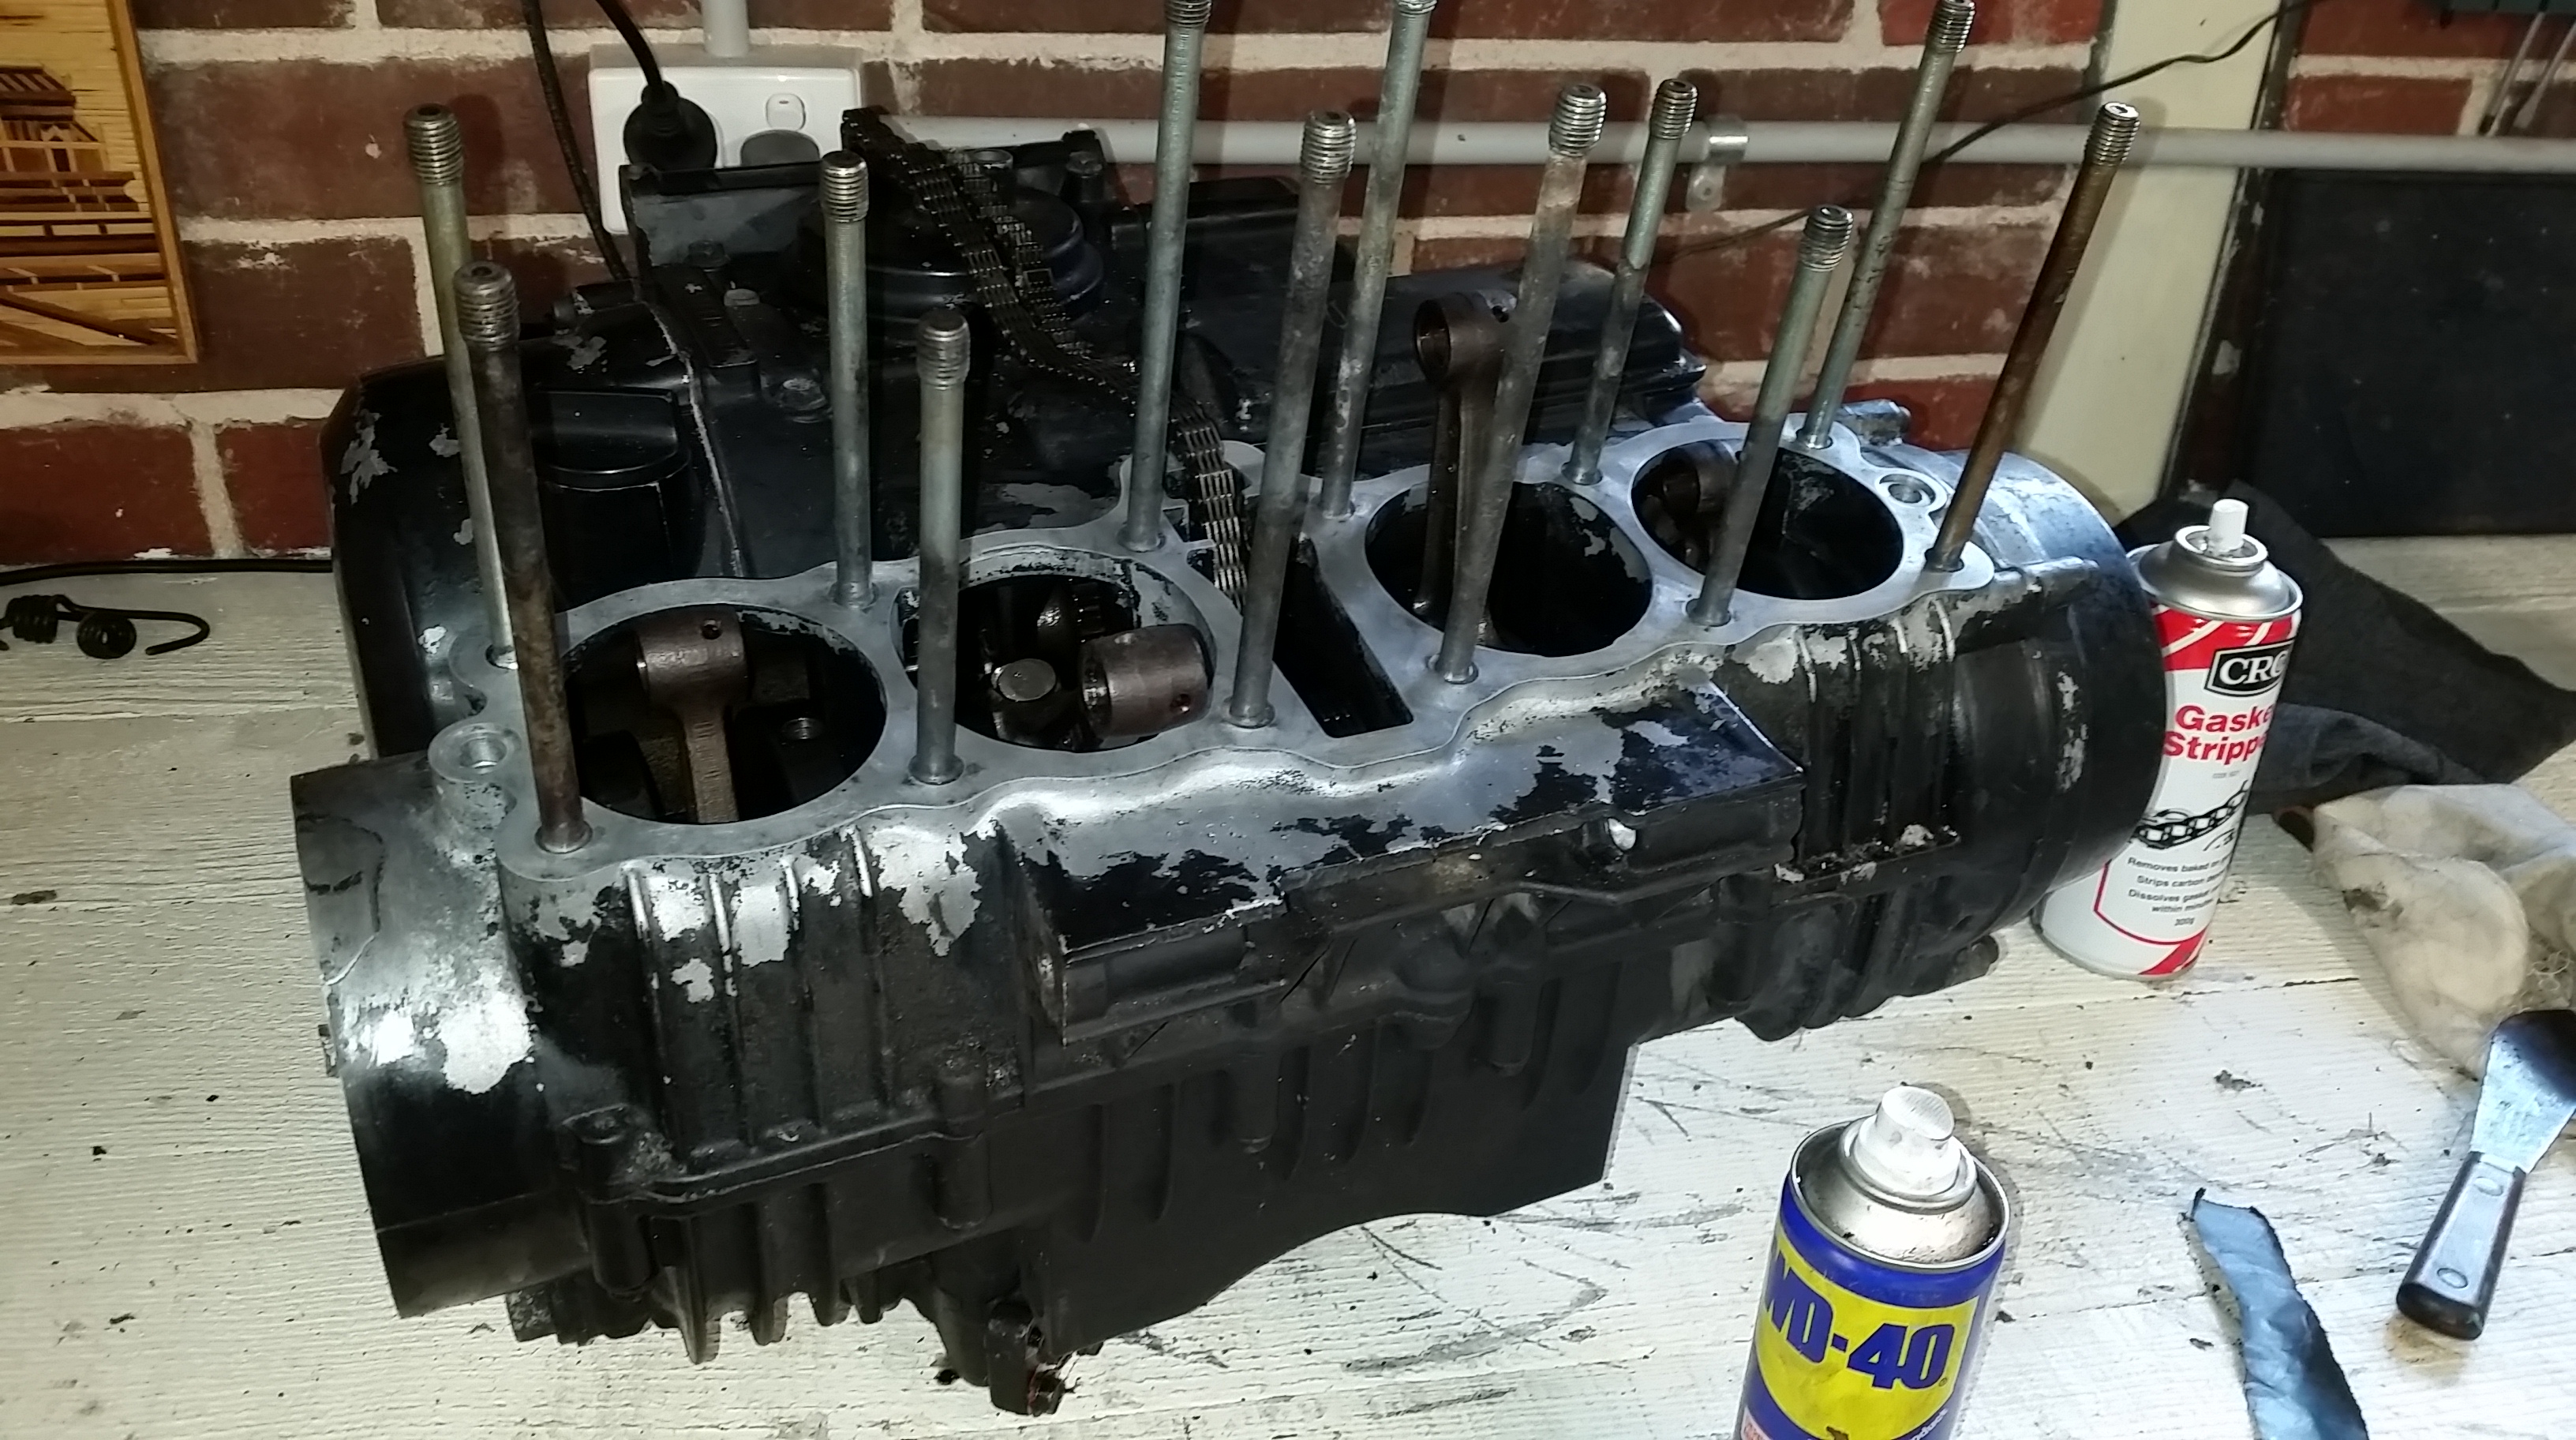
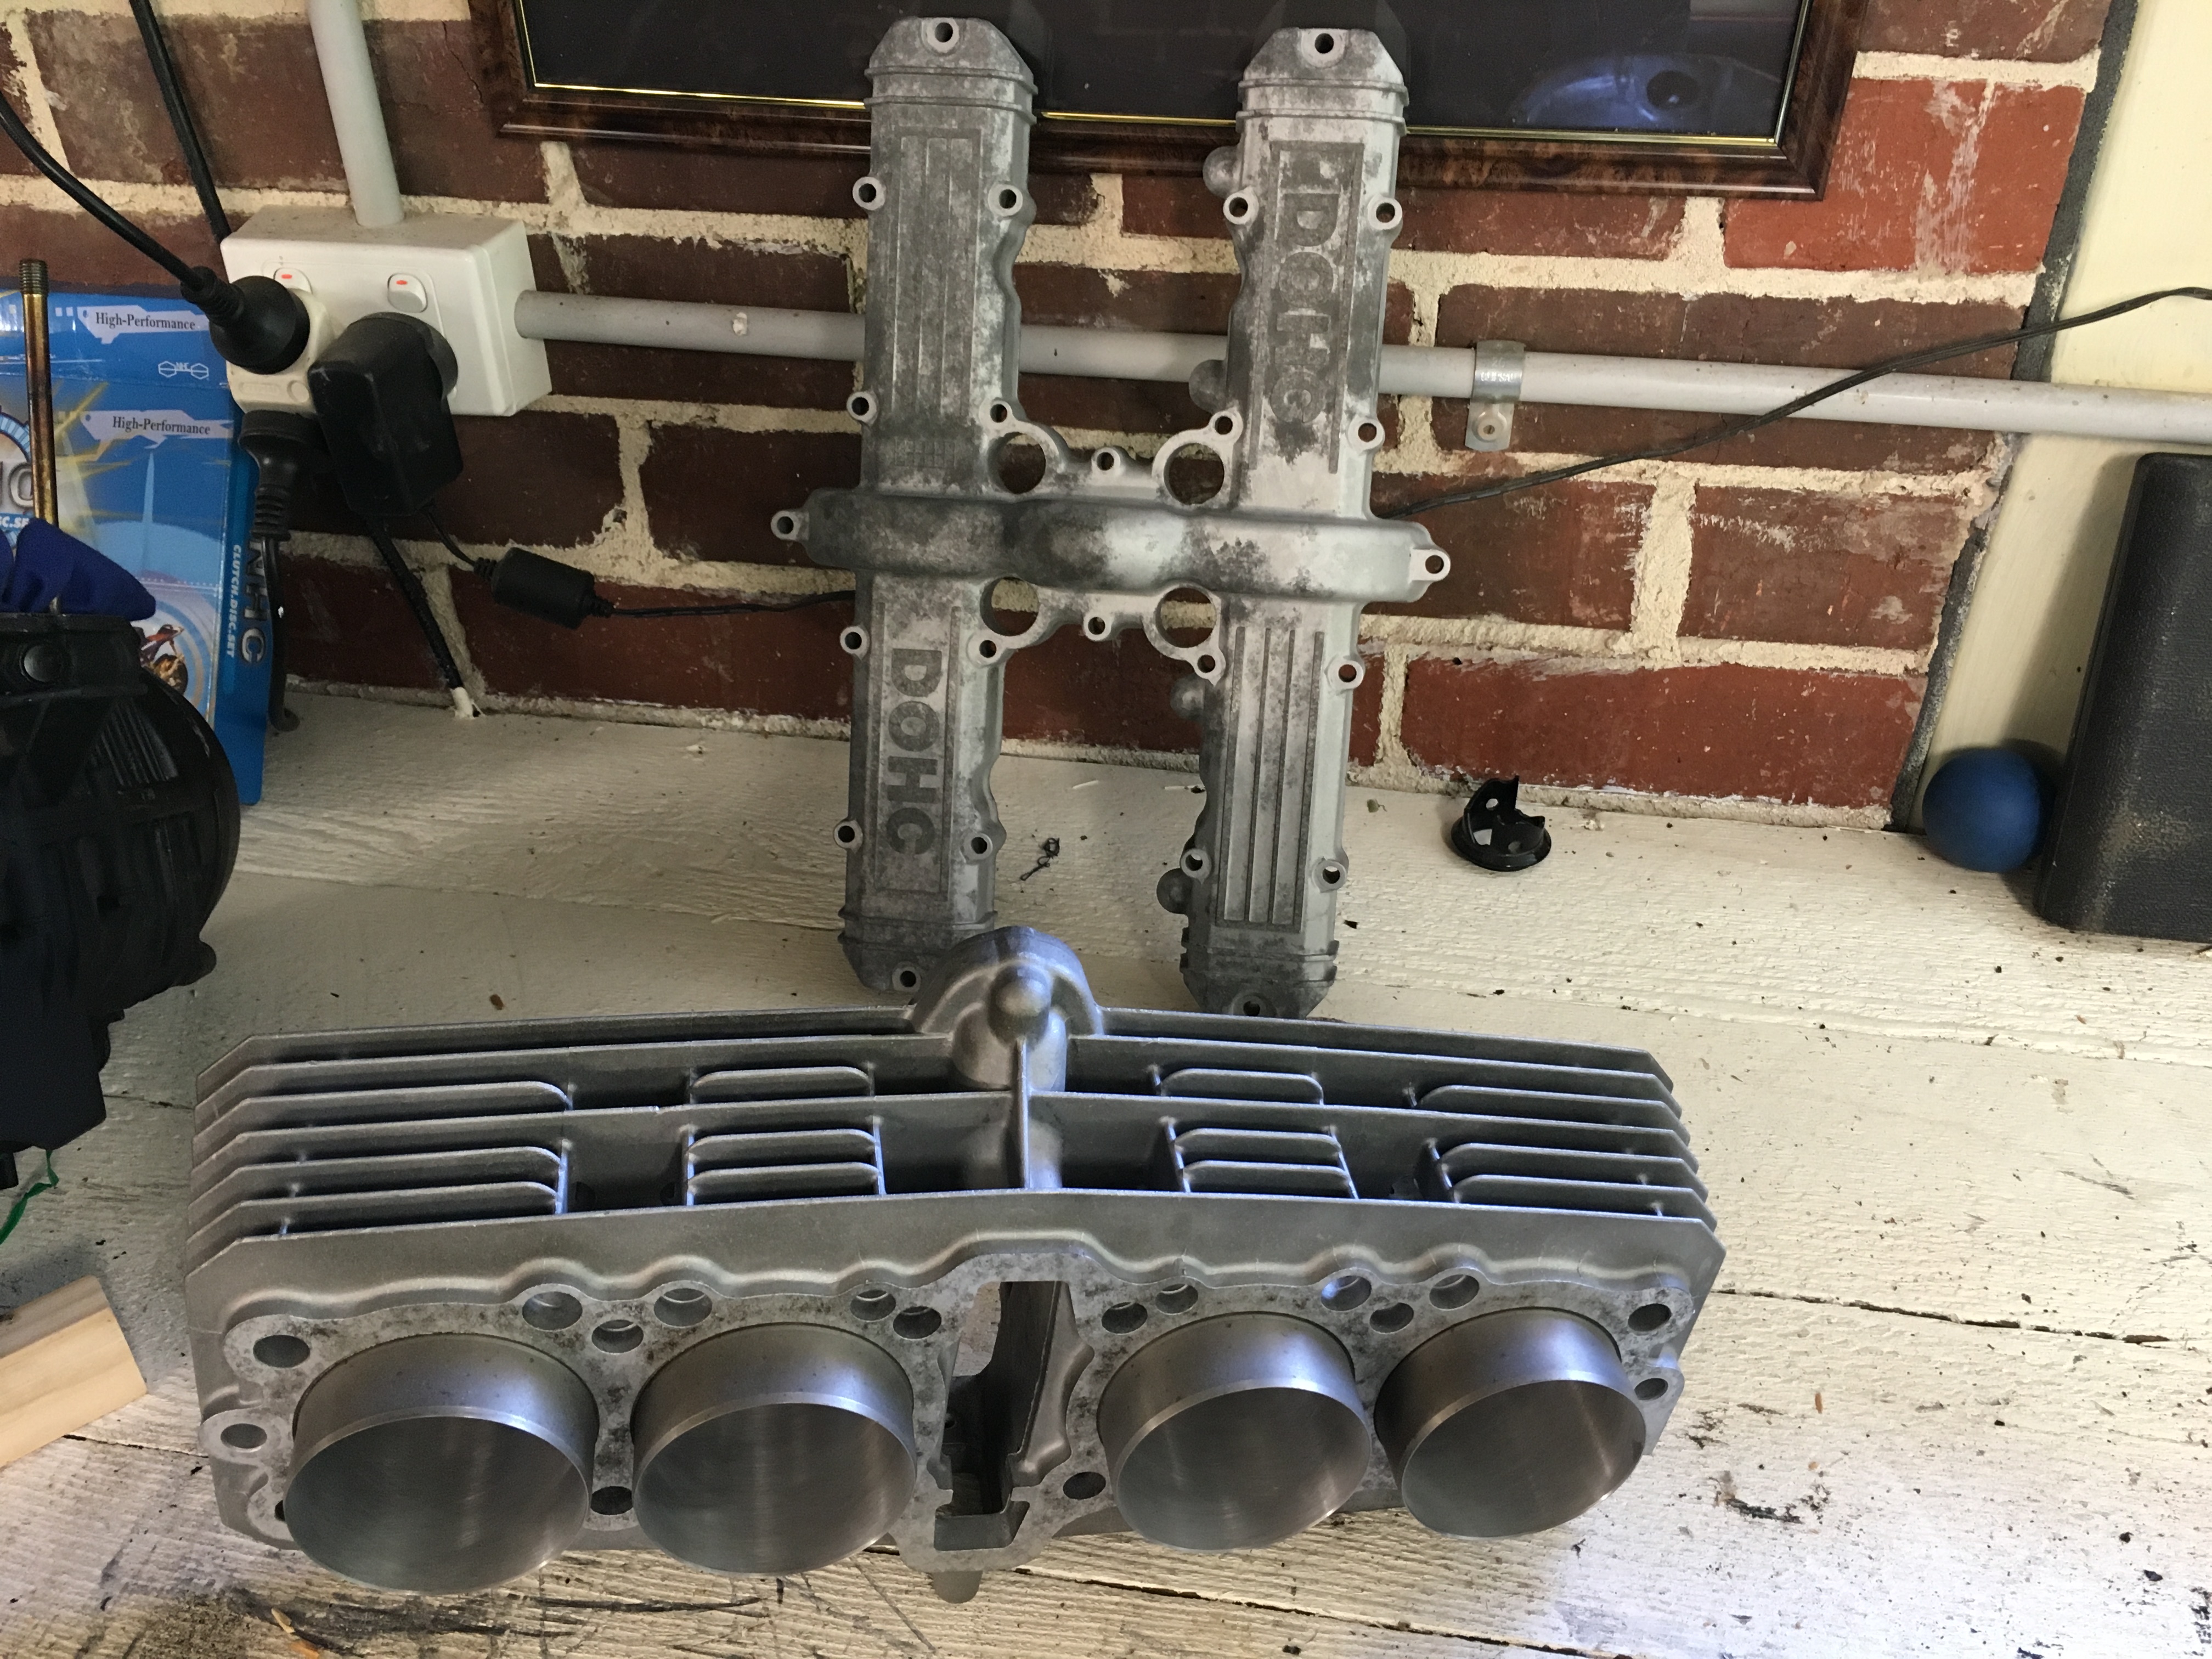
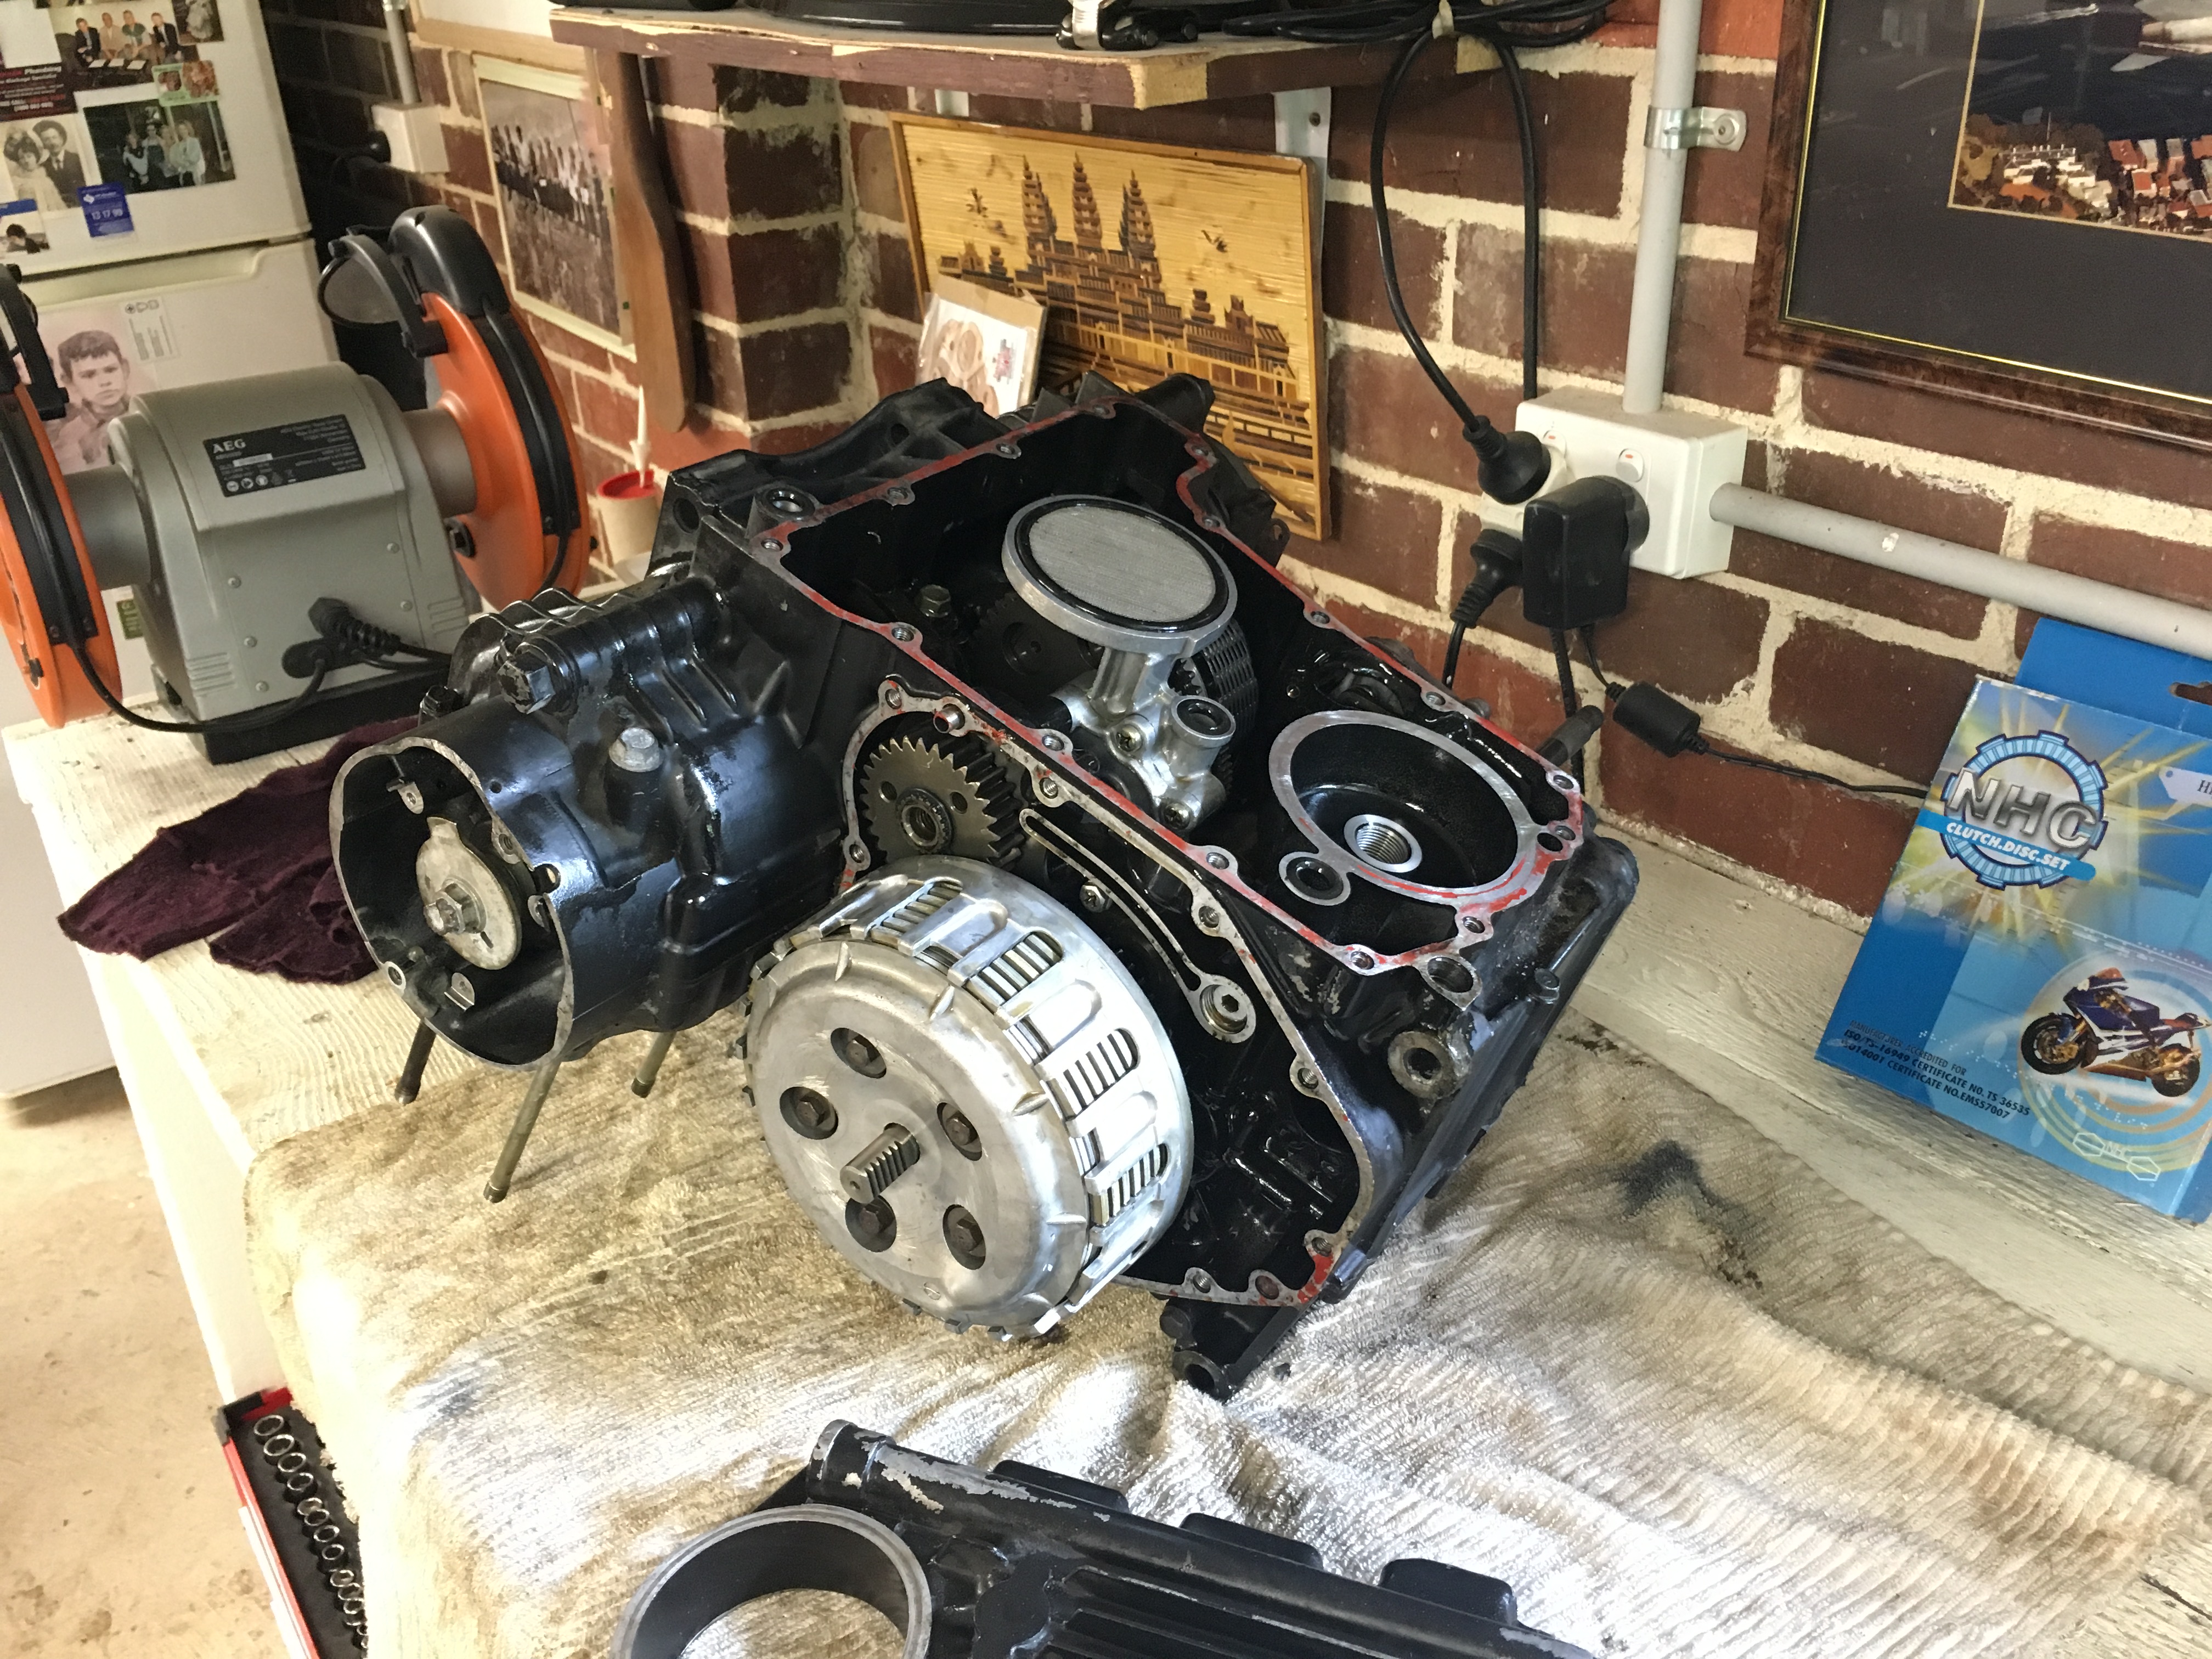
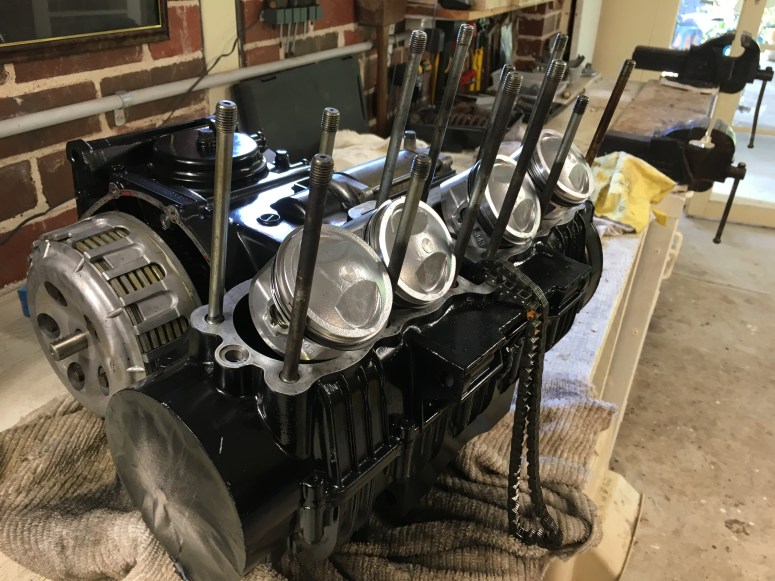
Pulled the engine down, in pretty good condition for an old girl.
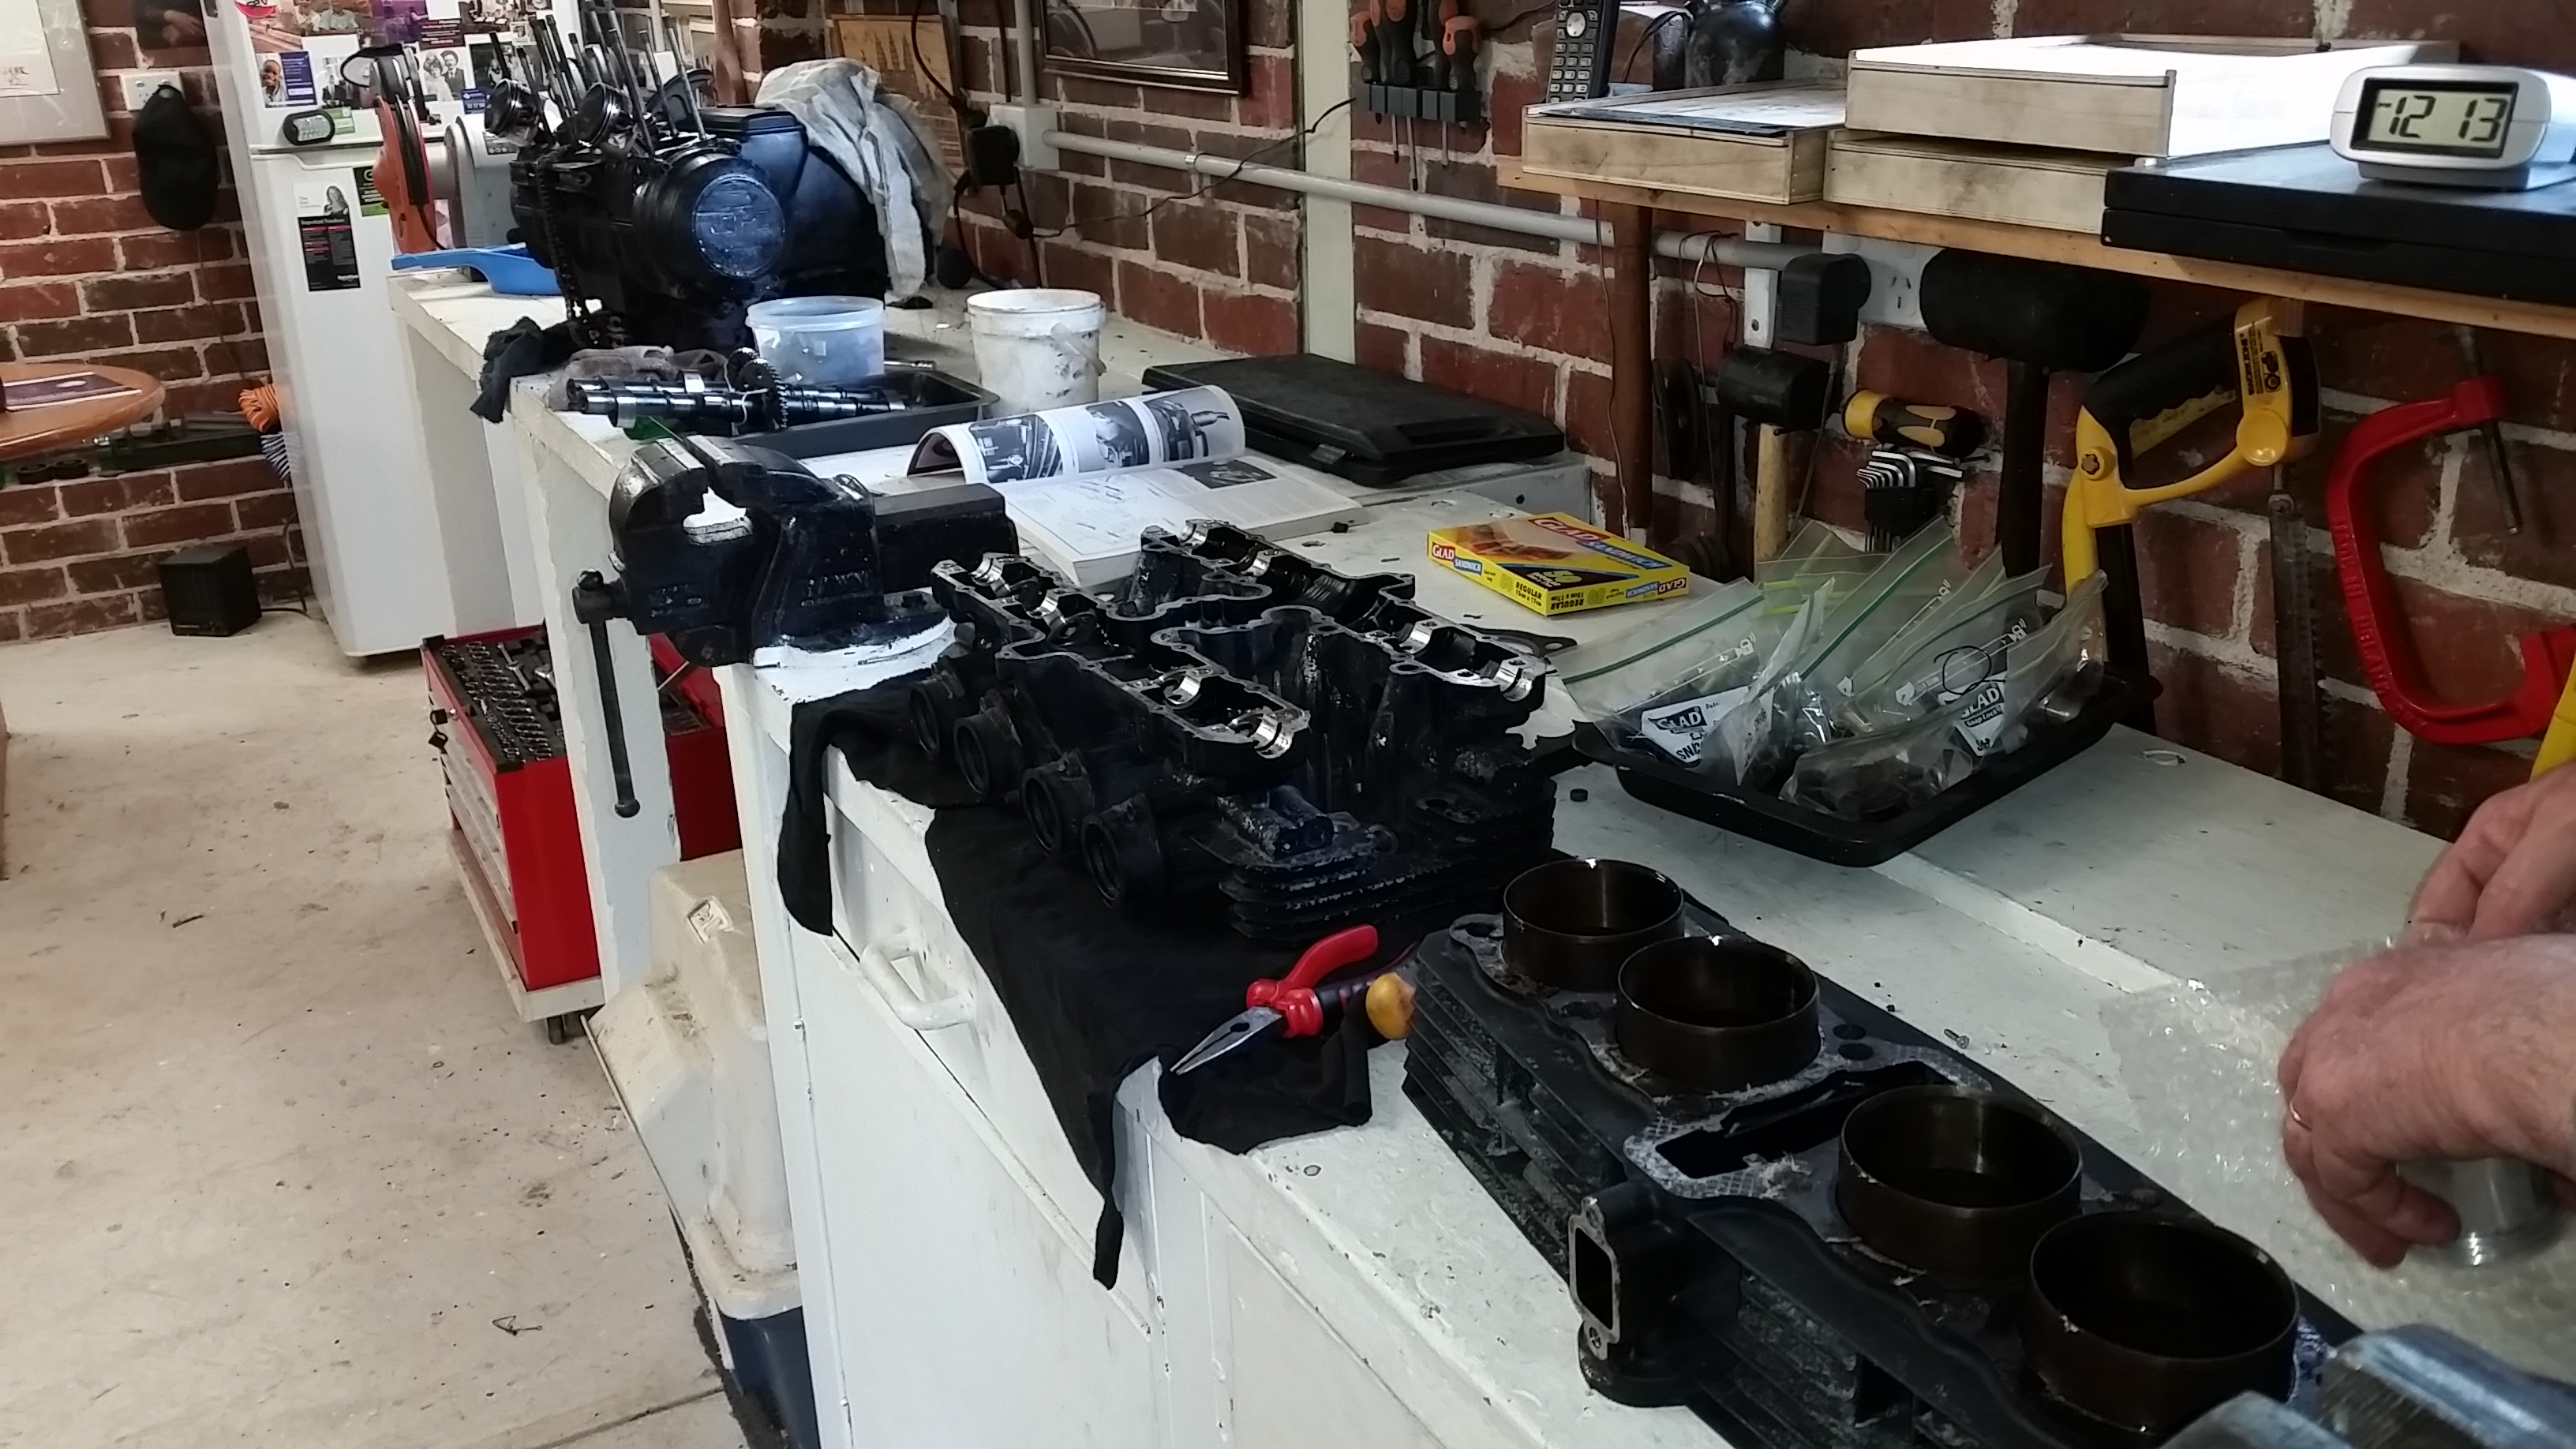
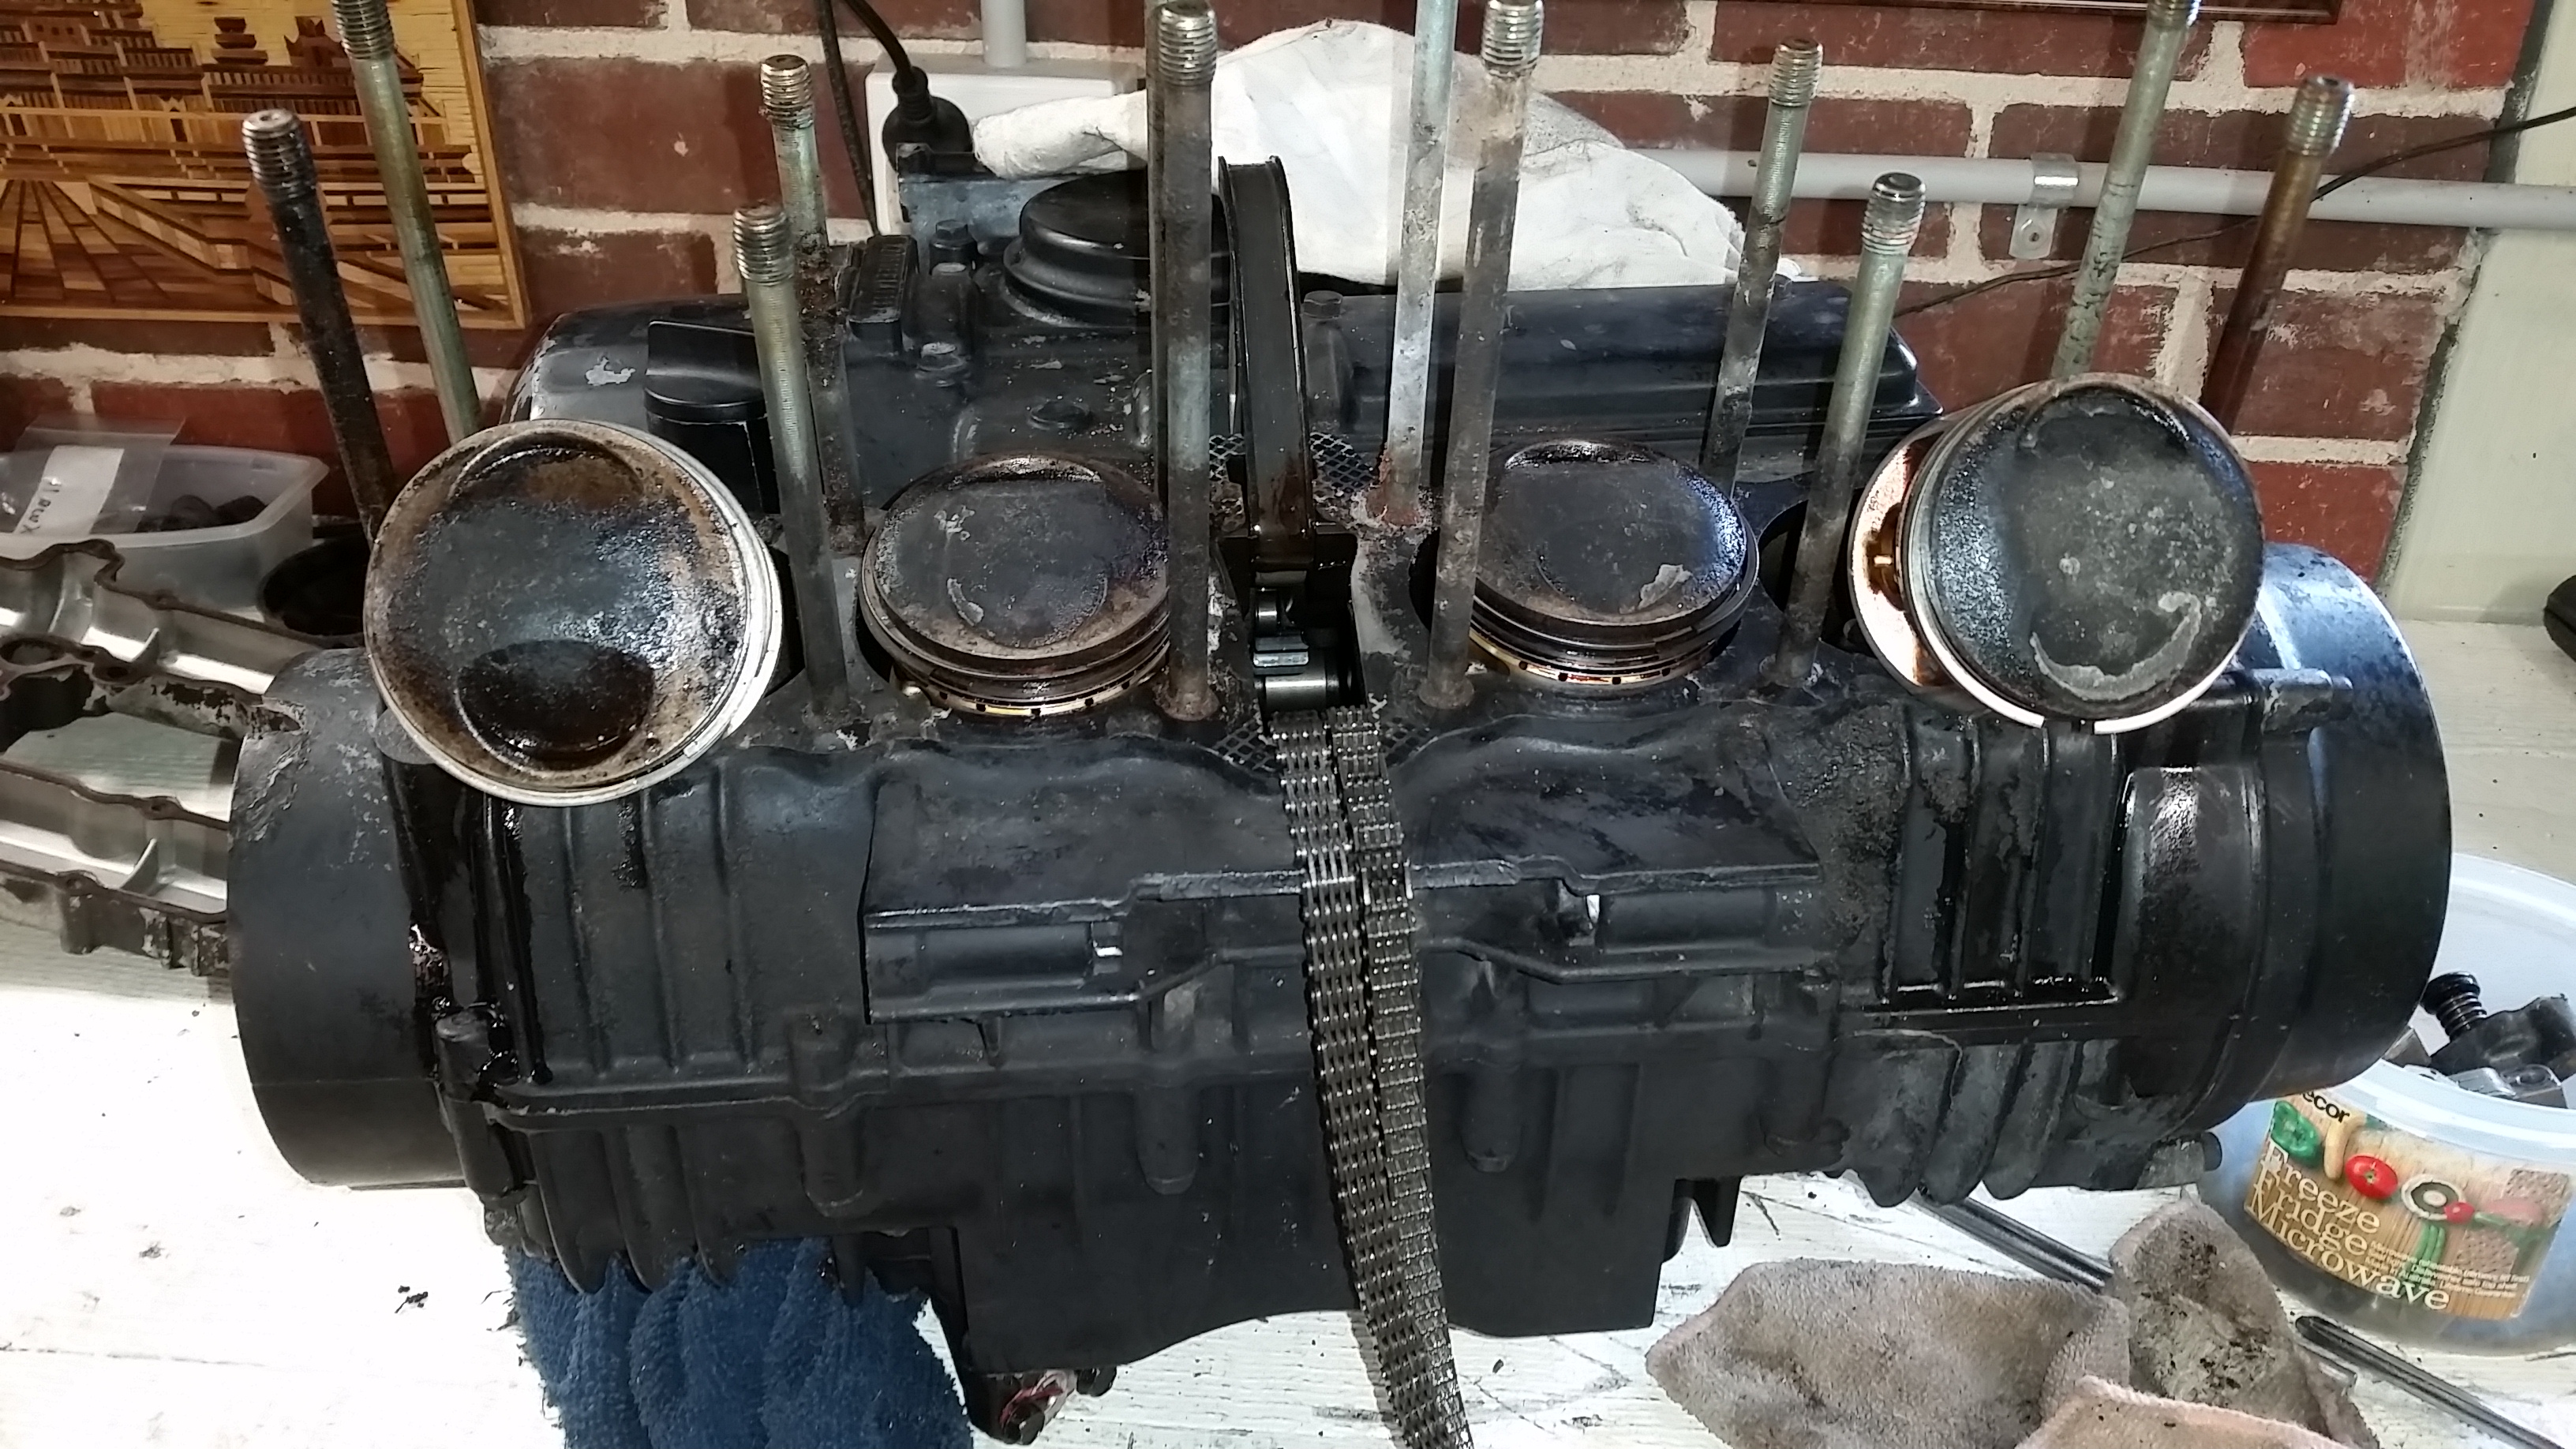

The block has been sent off for the rebore. 3mm oversize pistons will bring it up to 810cc.
I’m discovering this bike has had a pretty hard life. A few stripped threads with wrong bolts forced into holes. The right side of the casing was cracked with a chunk missing.
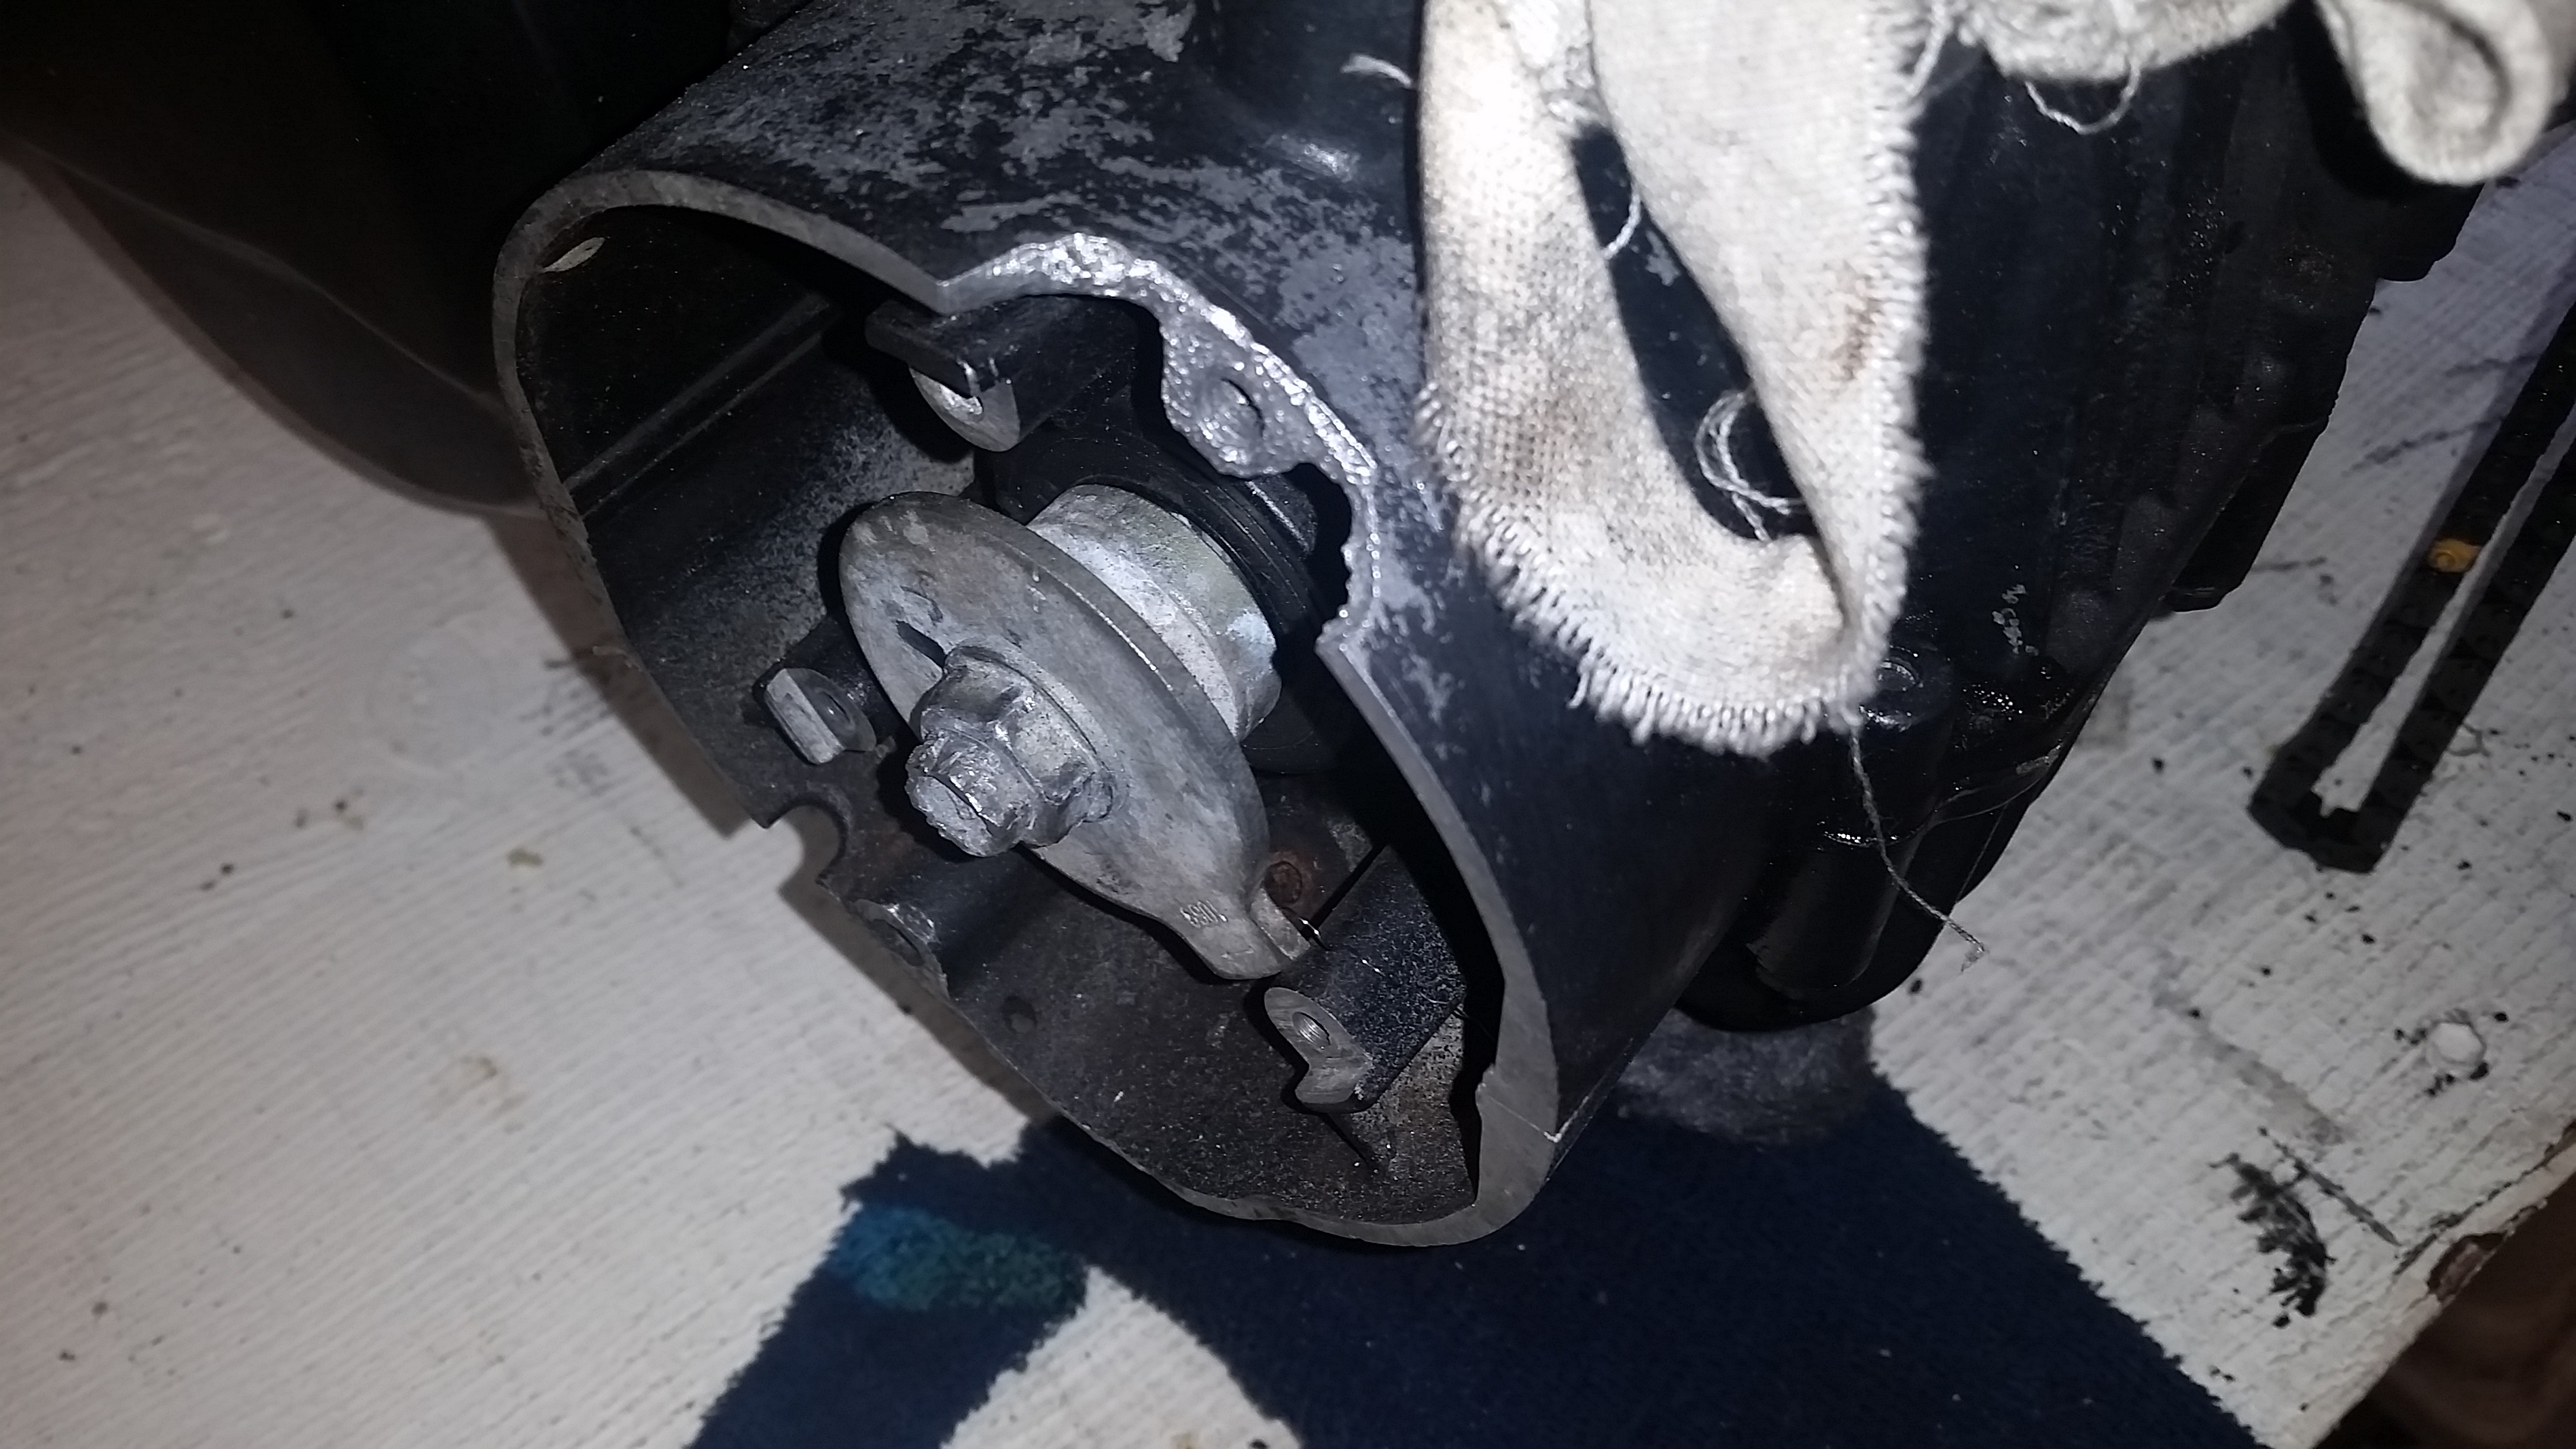
Fixed!

It took over 3 hours to clean off the old base gasket.
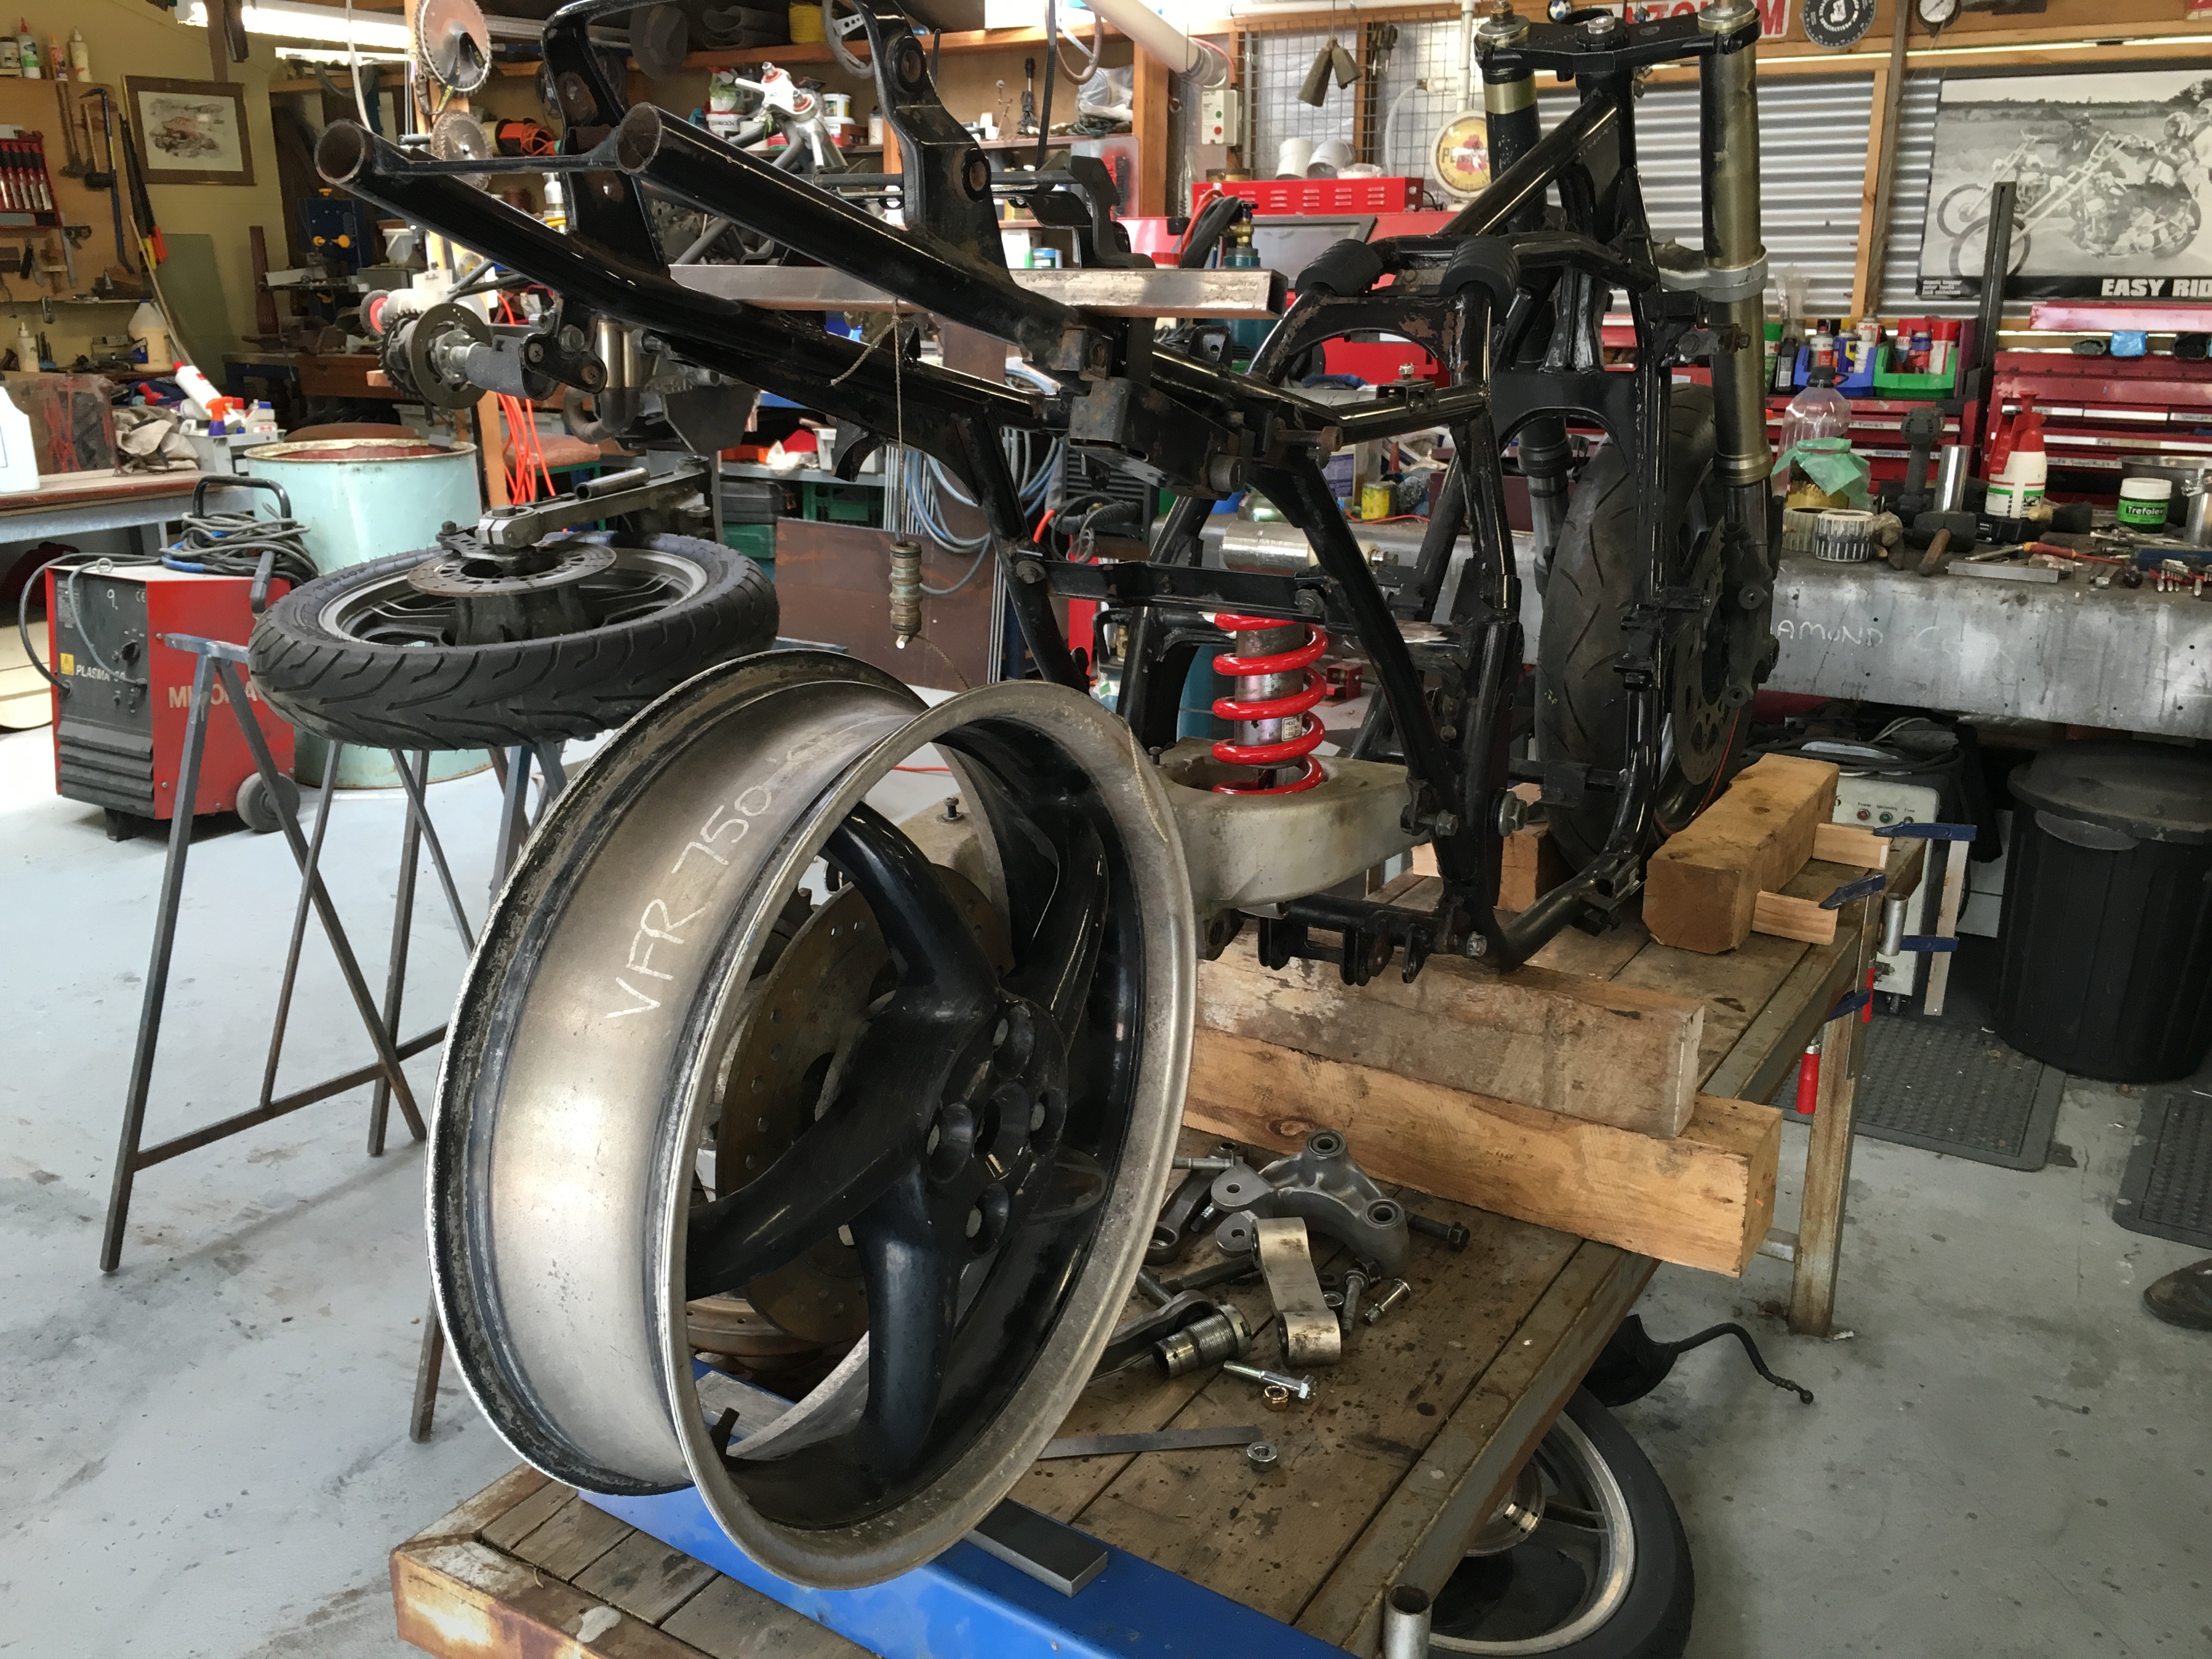
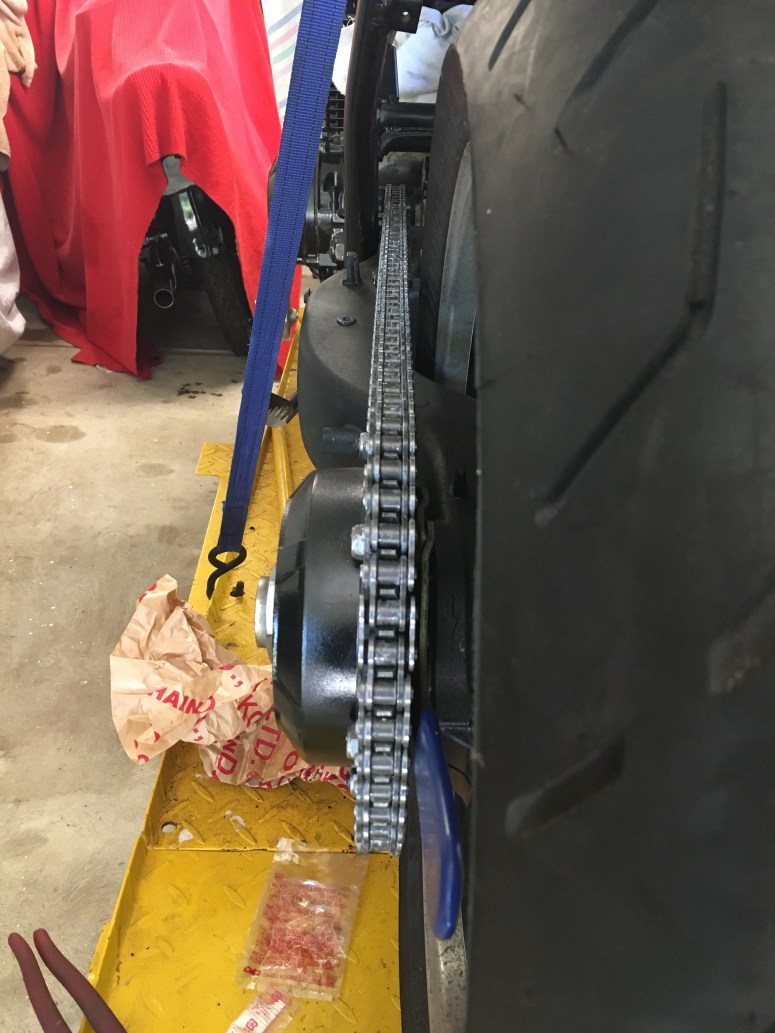
The front end is on, rear almost.
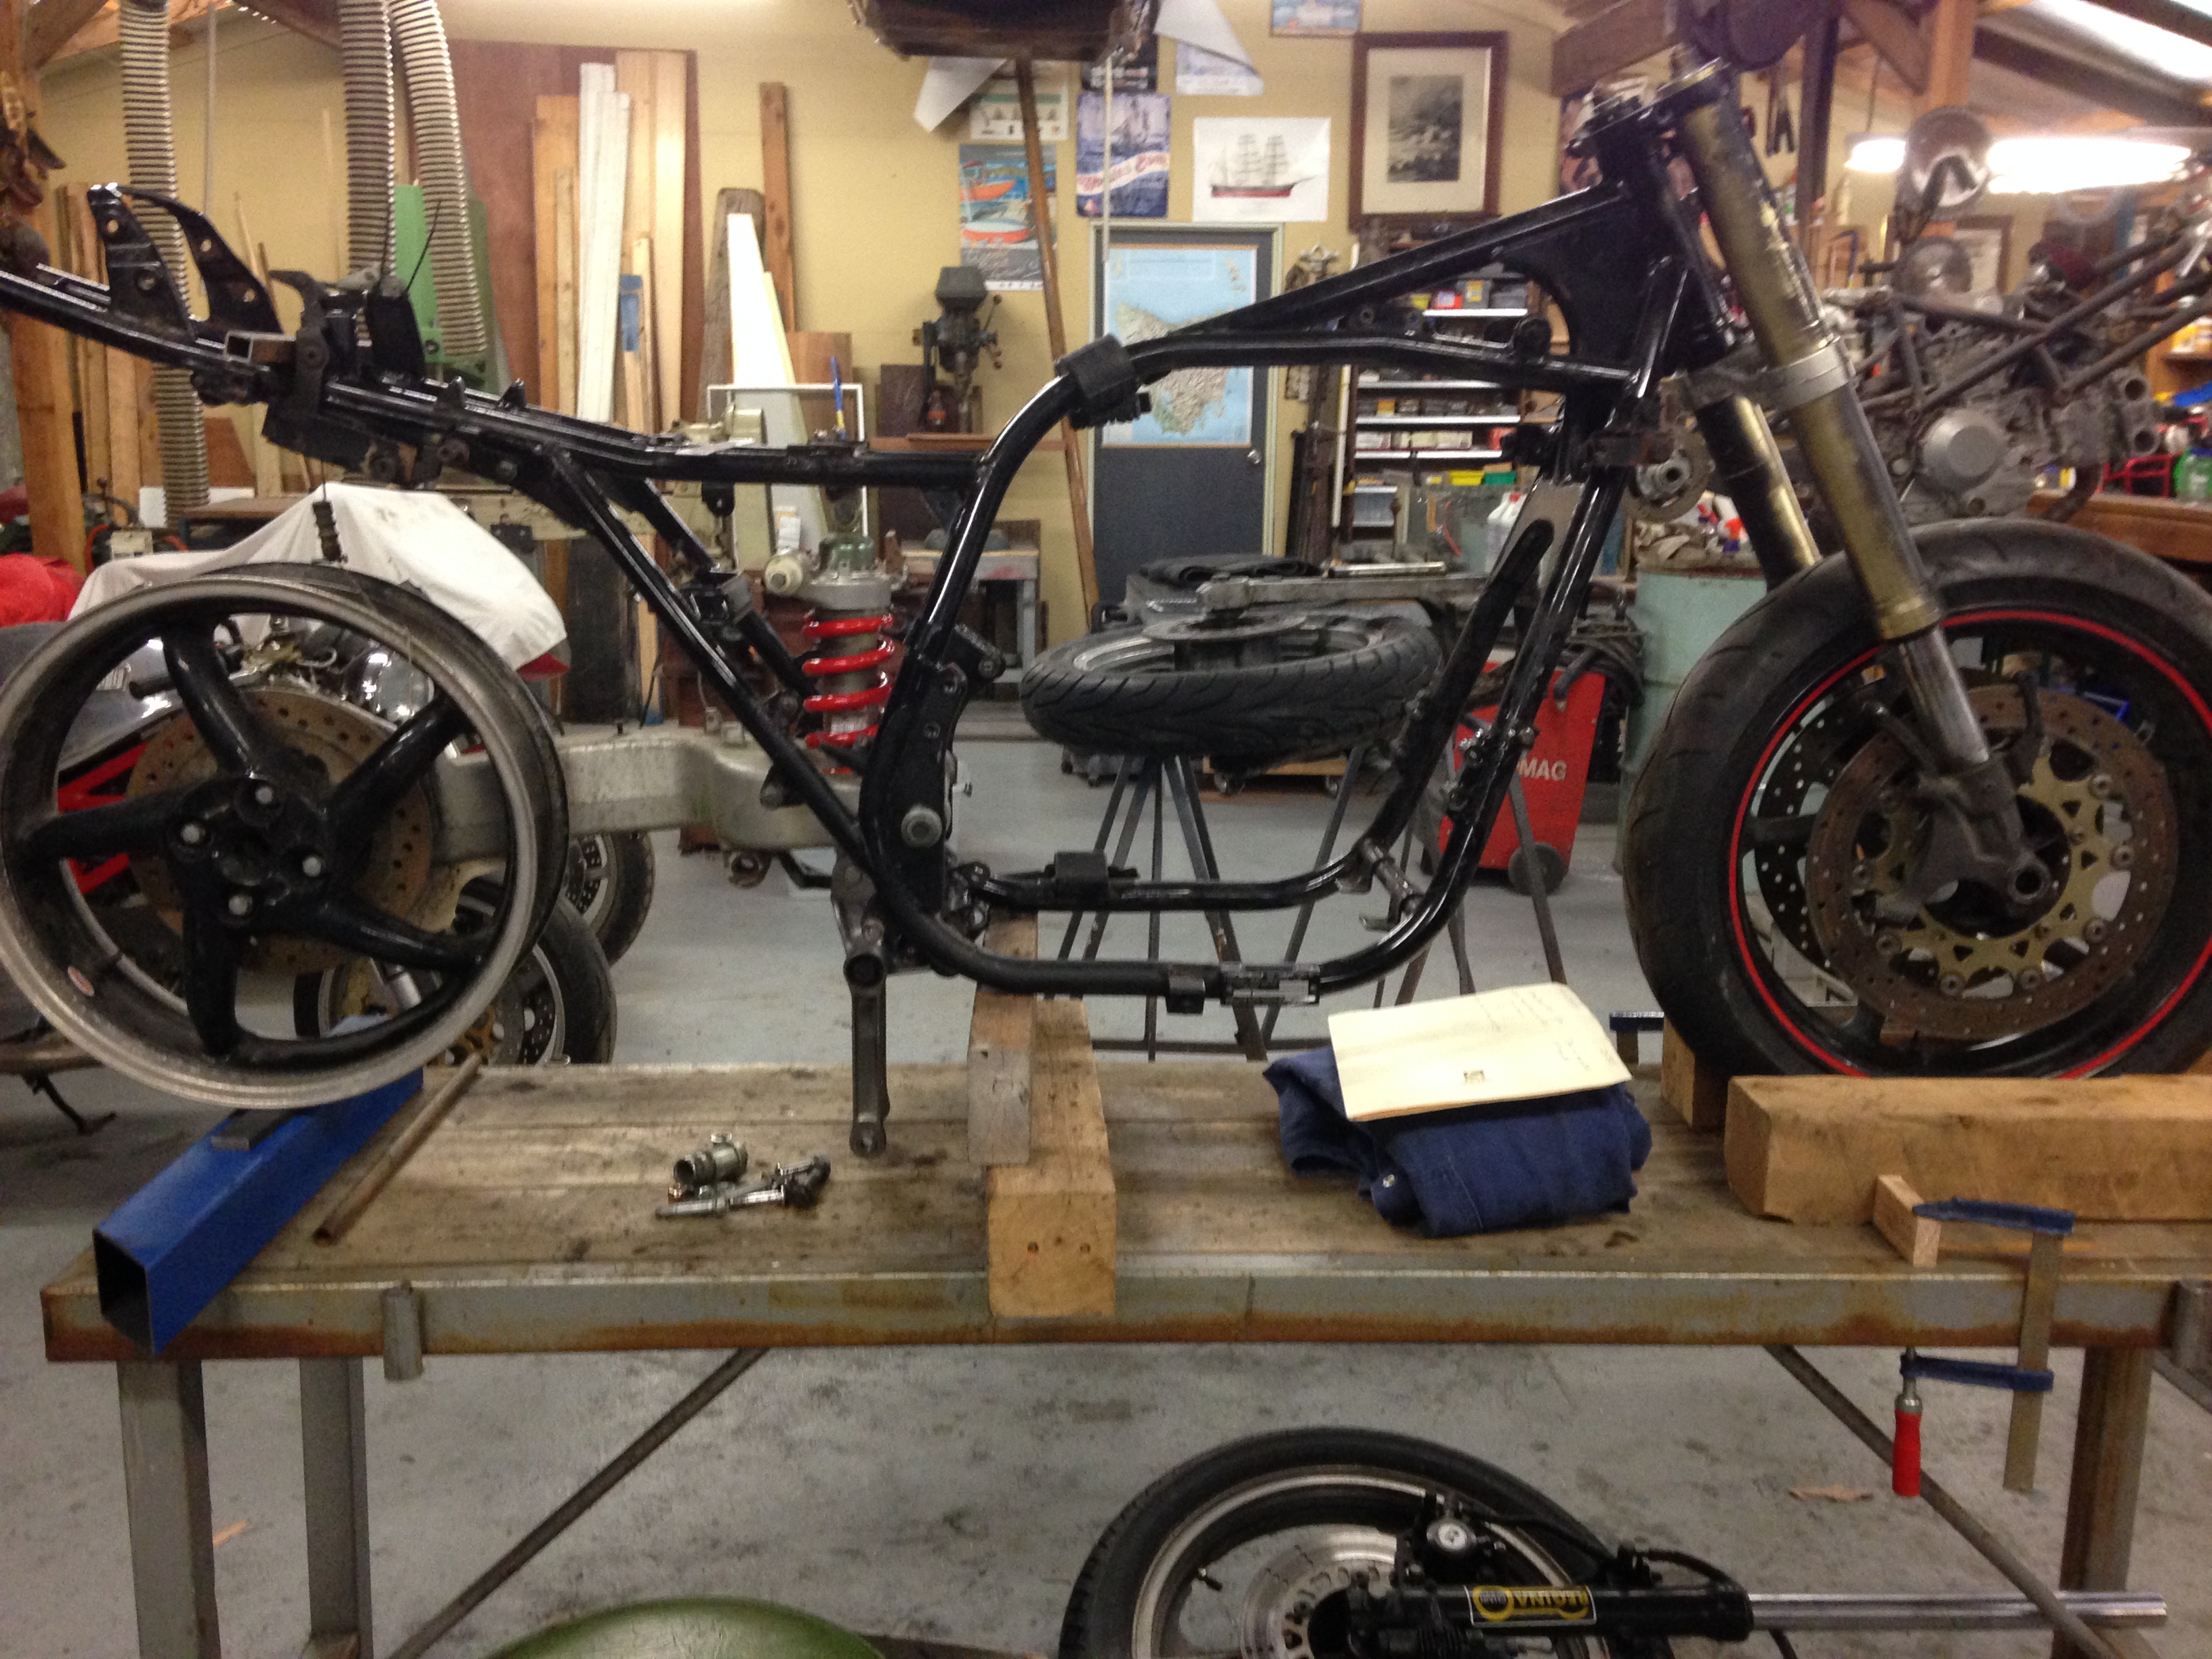
Only need to solve some issues with wheel alignment, sprocket alignment, suspension linkage,and chain size. Easy!
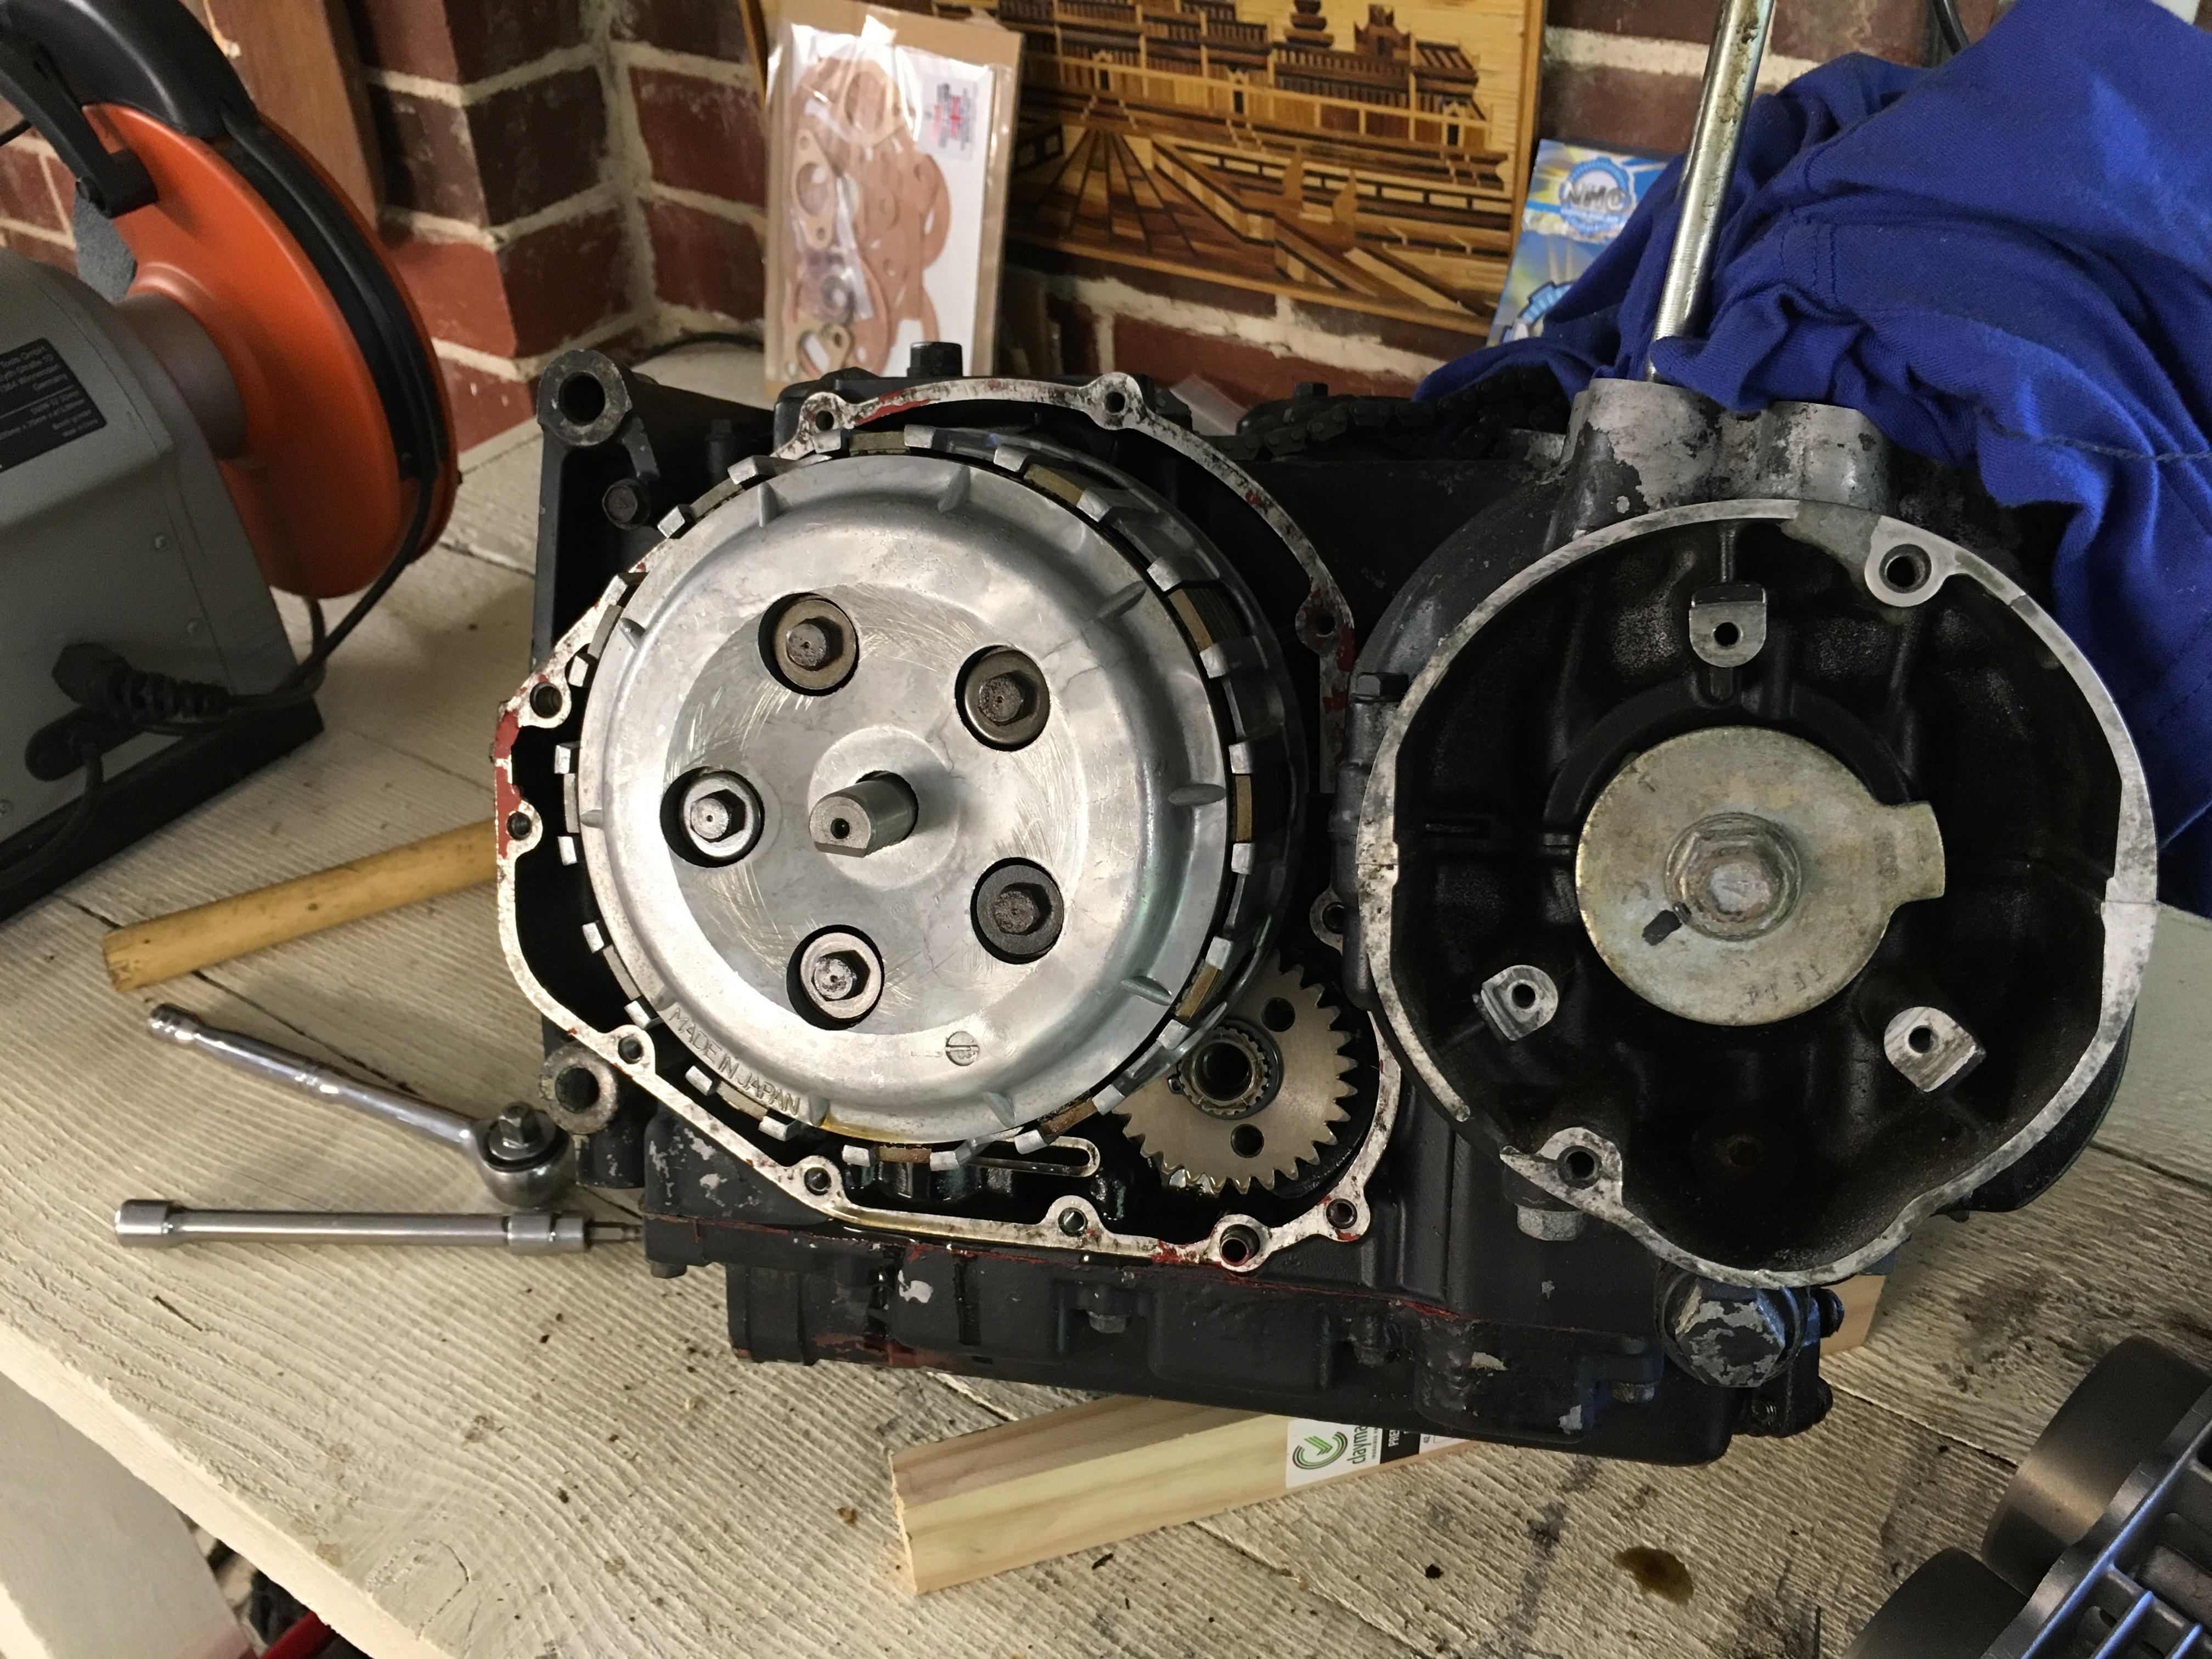
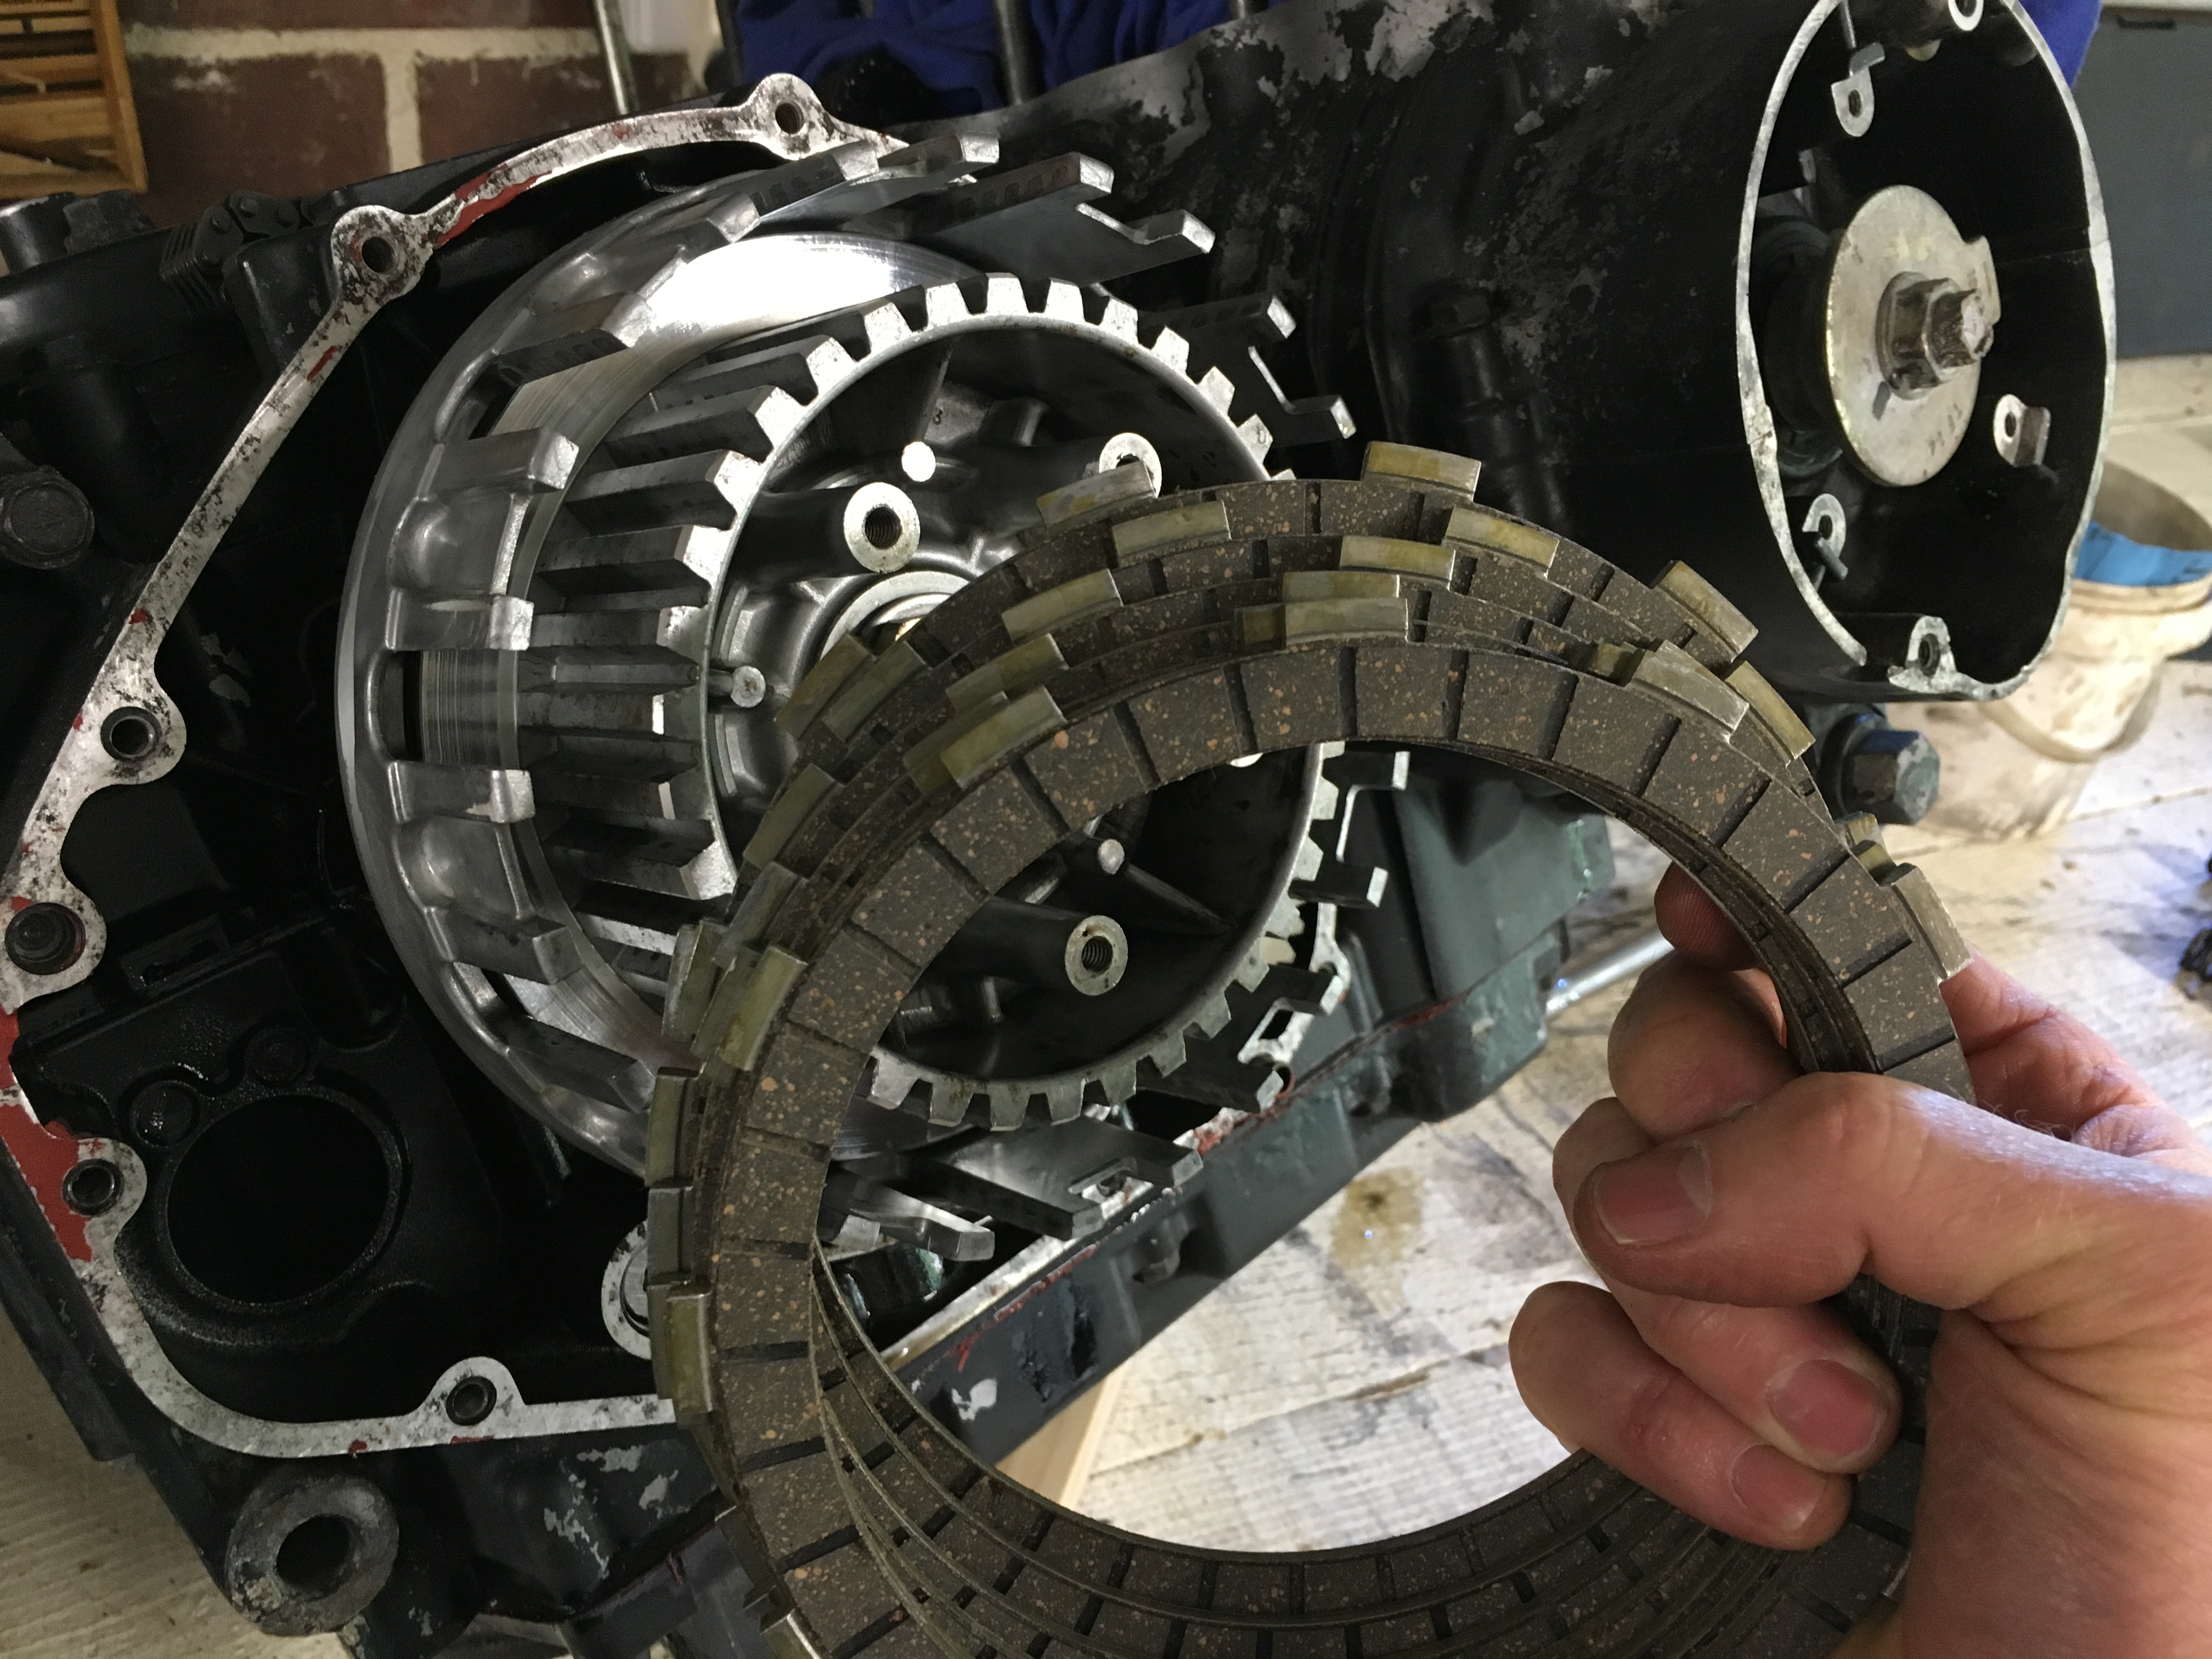
New clutch plates are available on ebay.
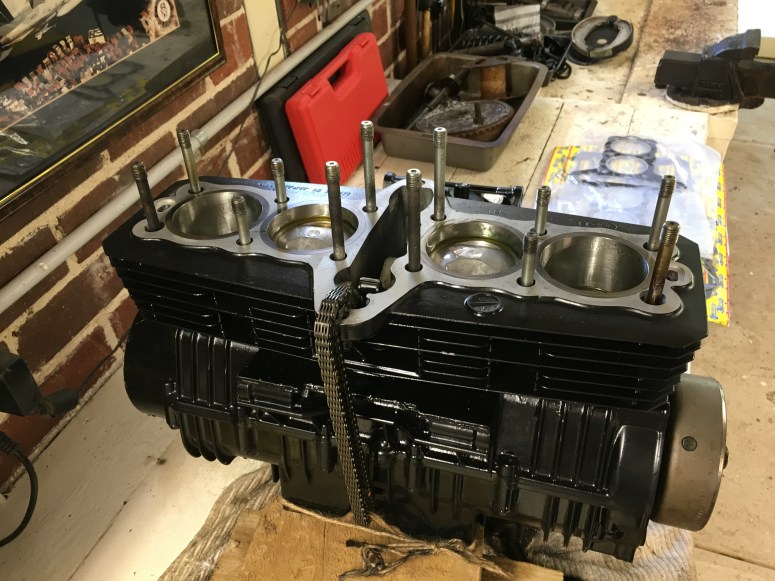
The Block is back, bored 3mm, and bead blasted clean. The head has been shaved, cleaned up and valves re-seated. Ready for paint!
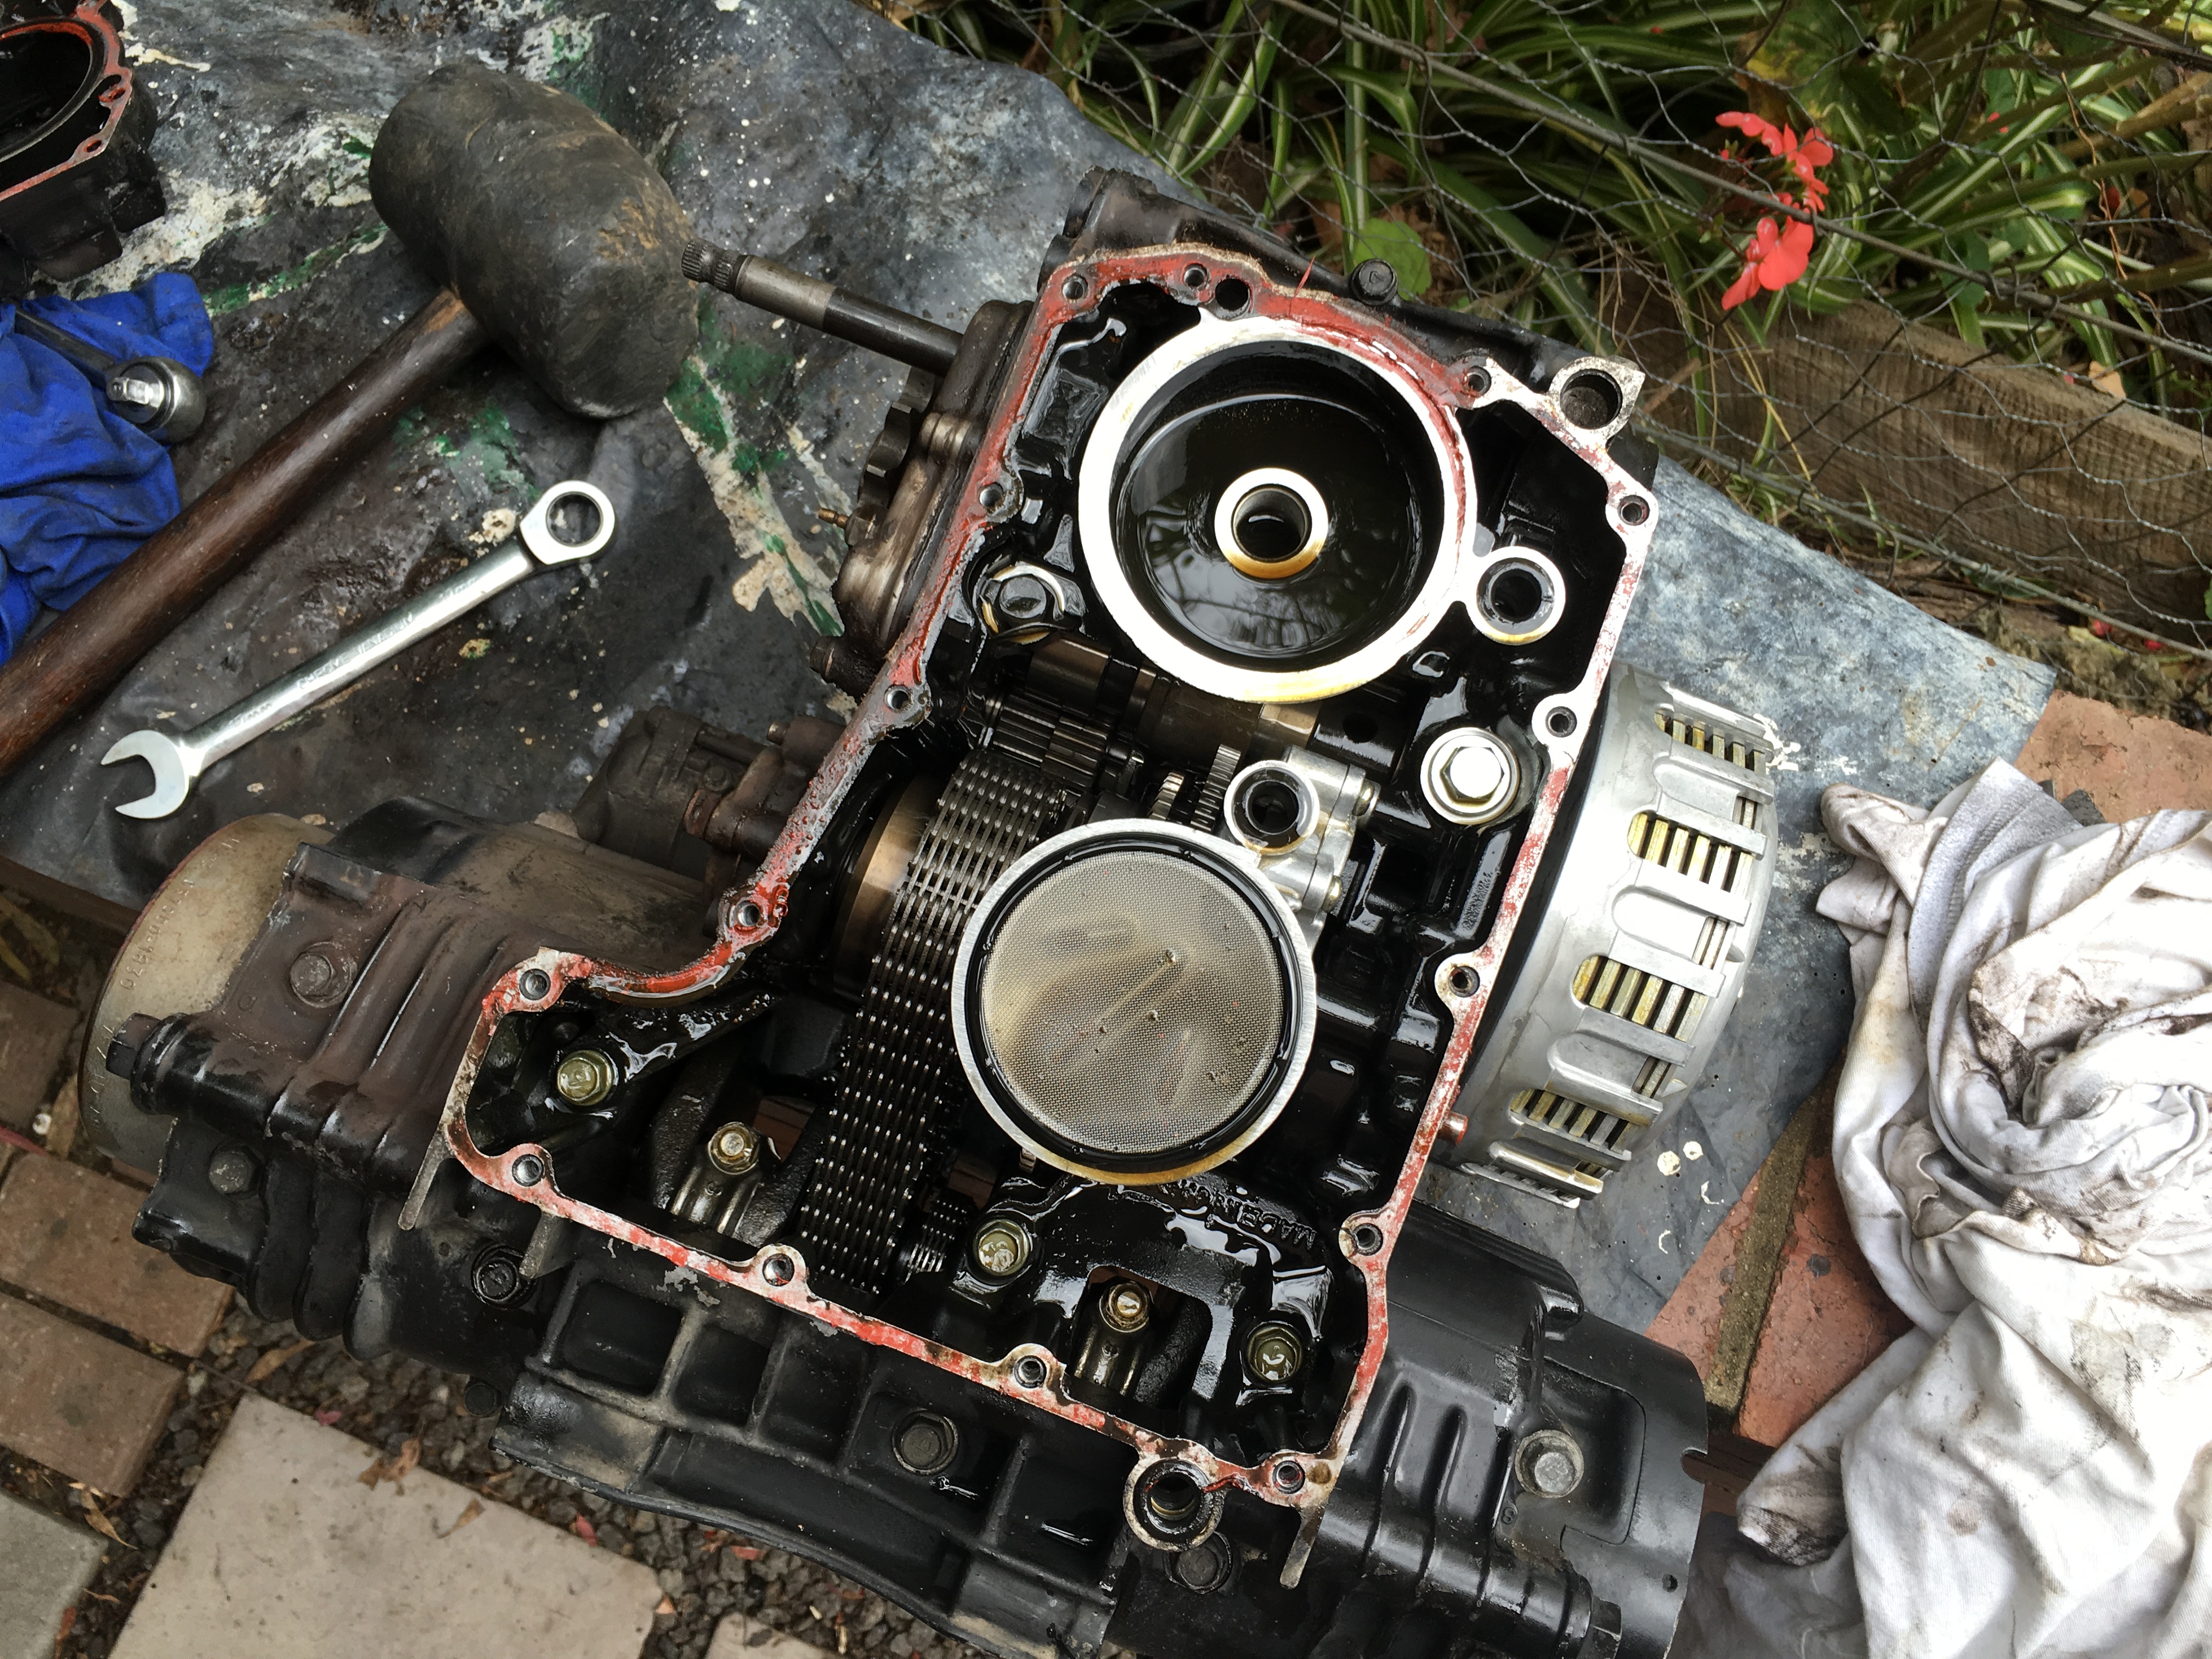
Pulled the sump off. Everything looks OK, so won’t dismantle any further.
The major frame work is complete!

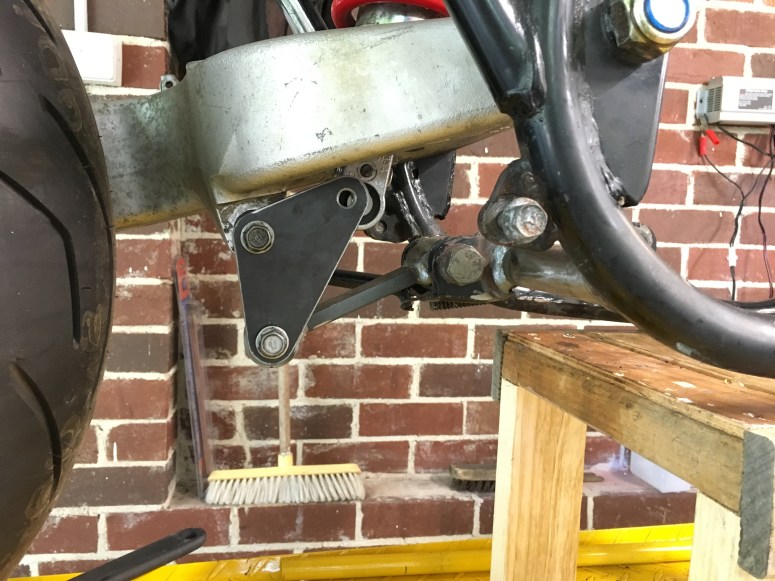
Playing around with linkage plates to adjust the rear ride height and shock compression. Will finesse when the engine is back in.

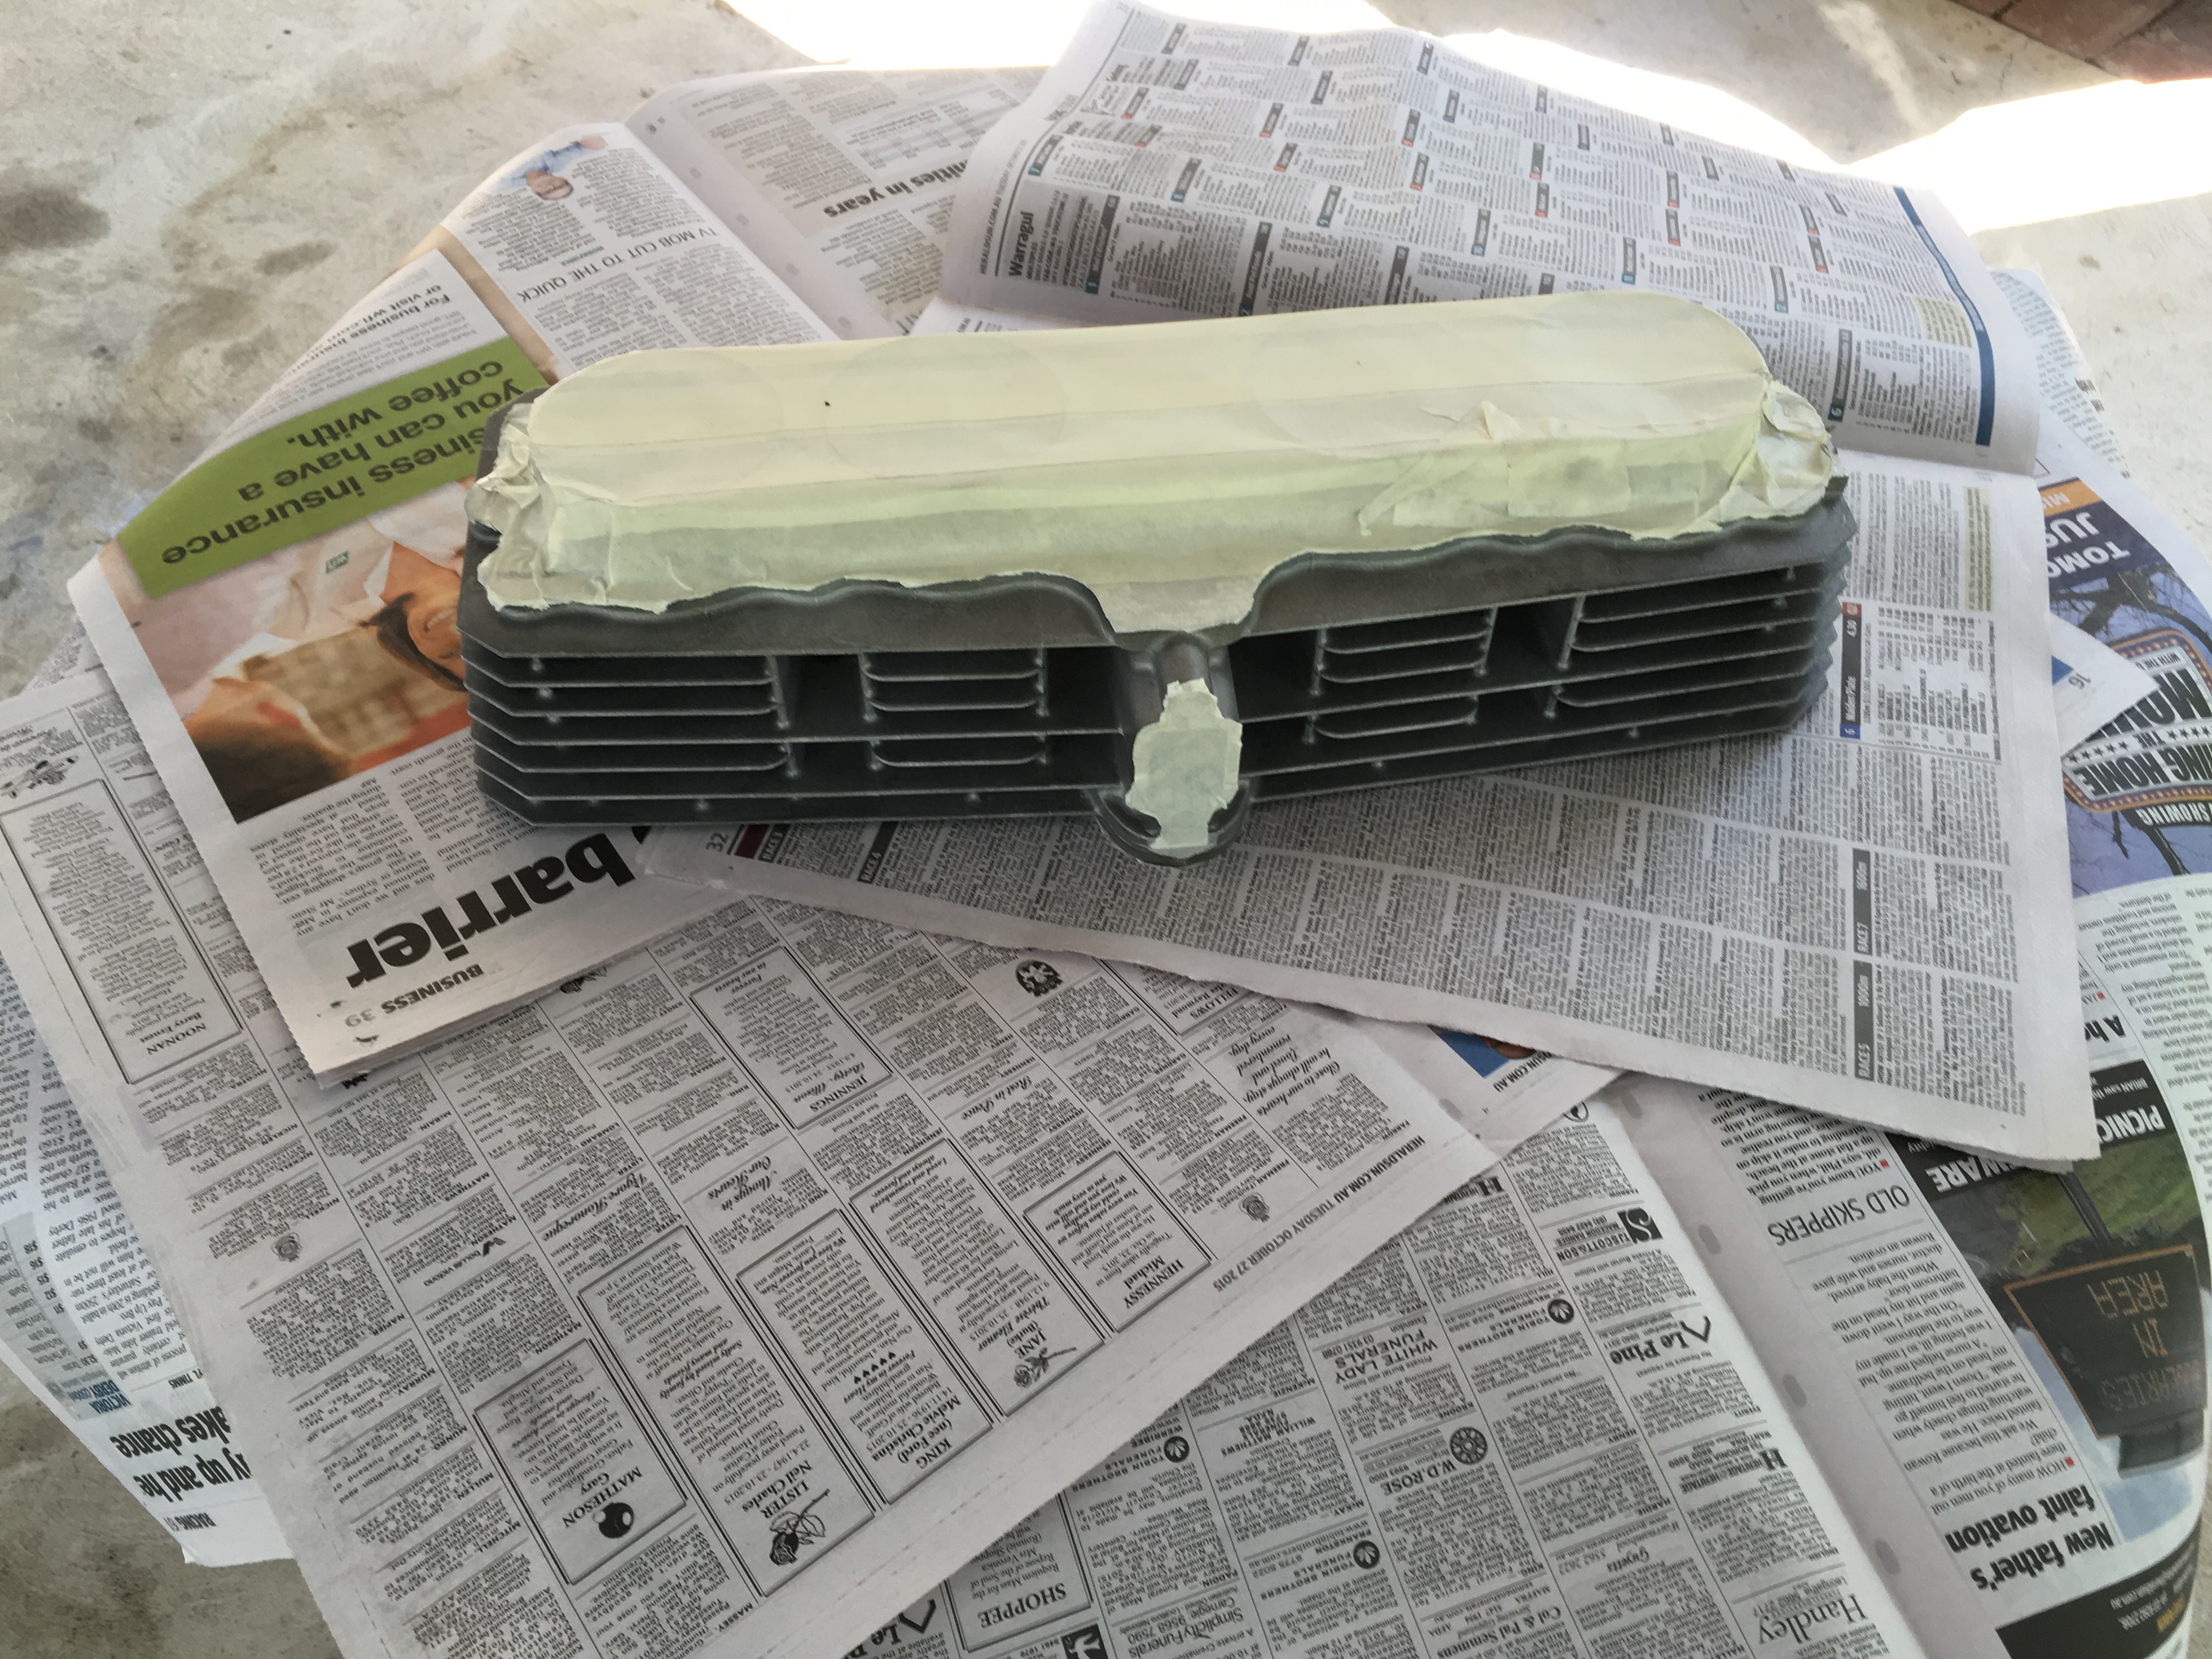
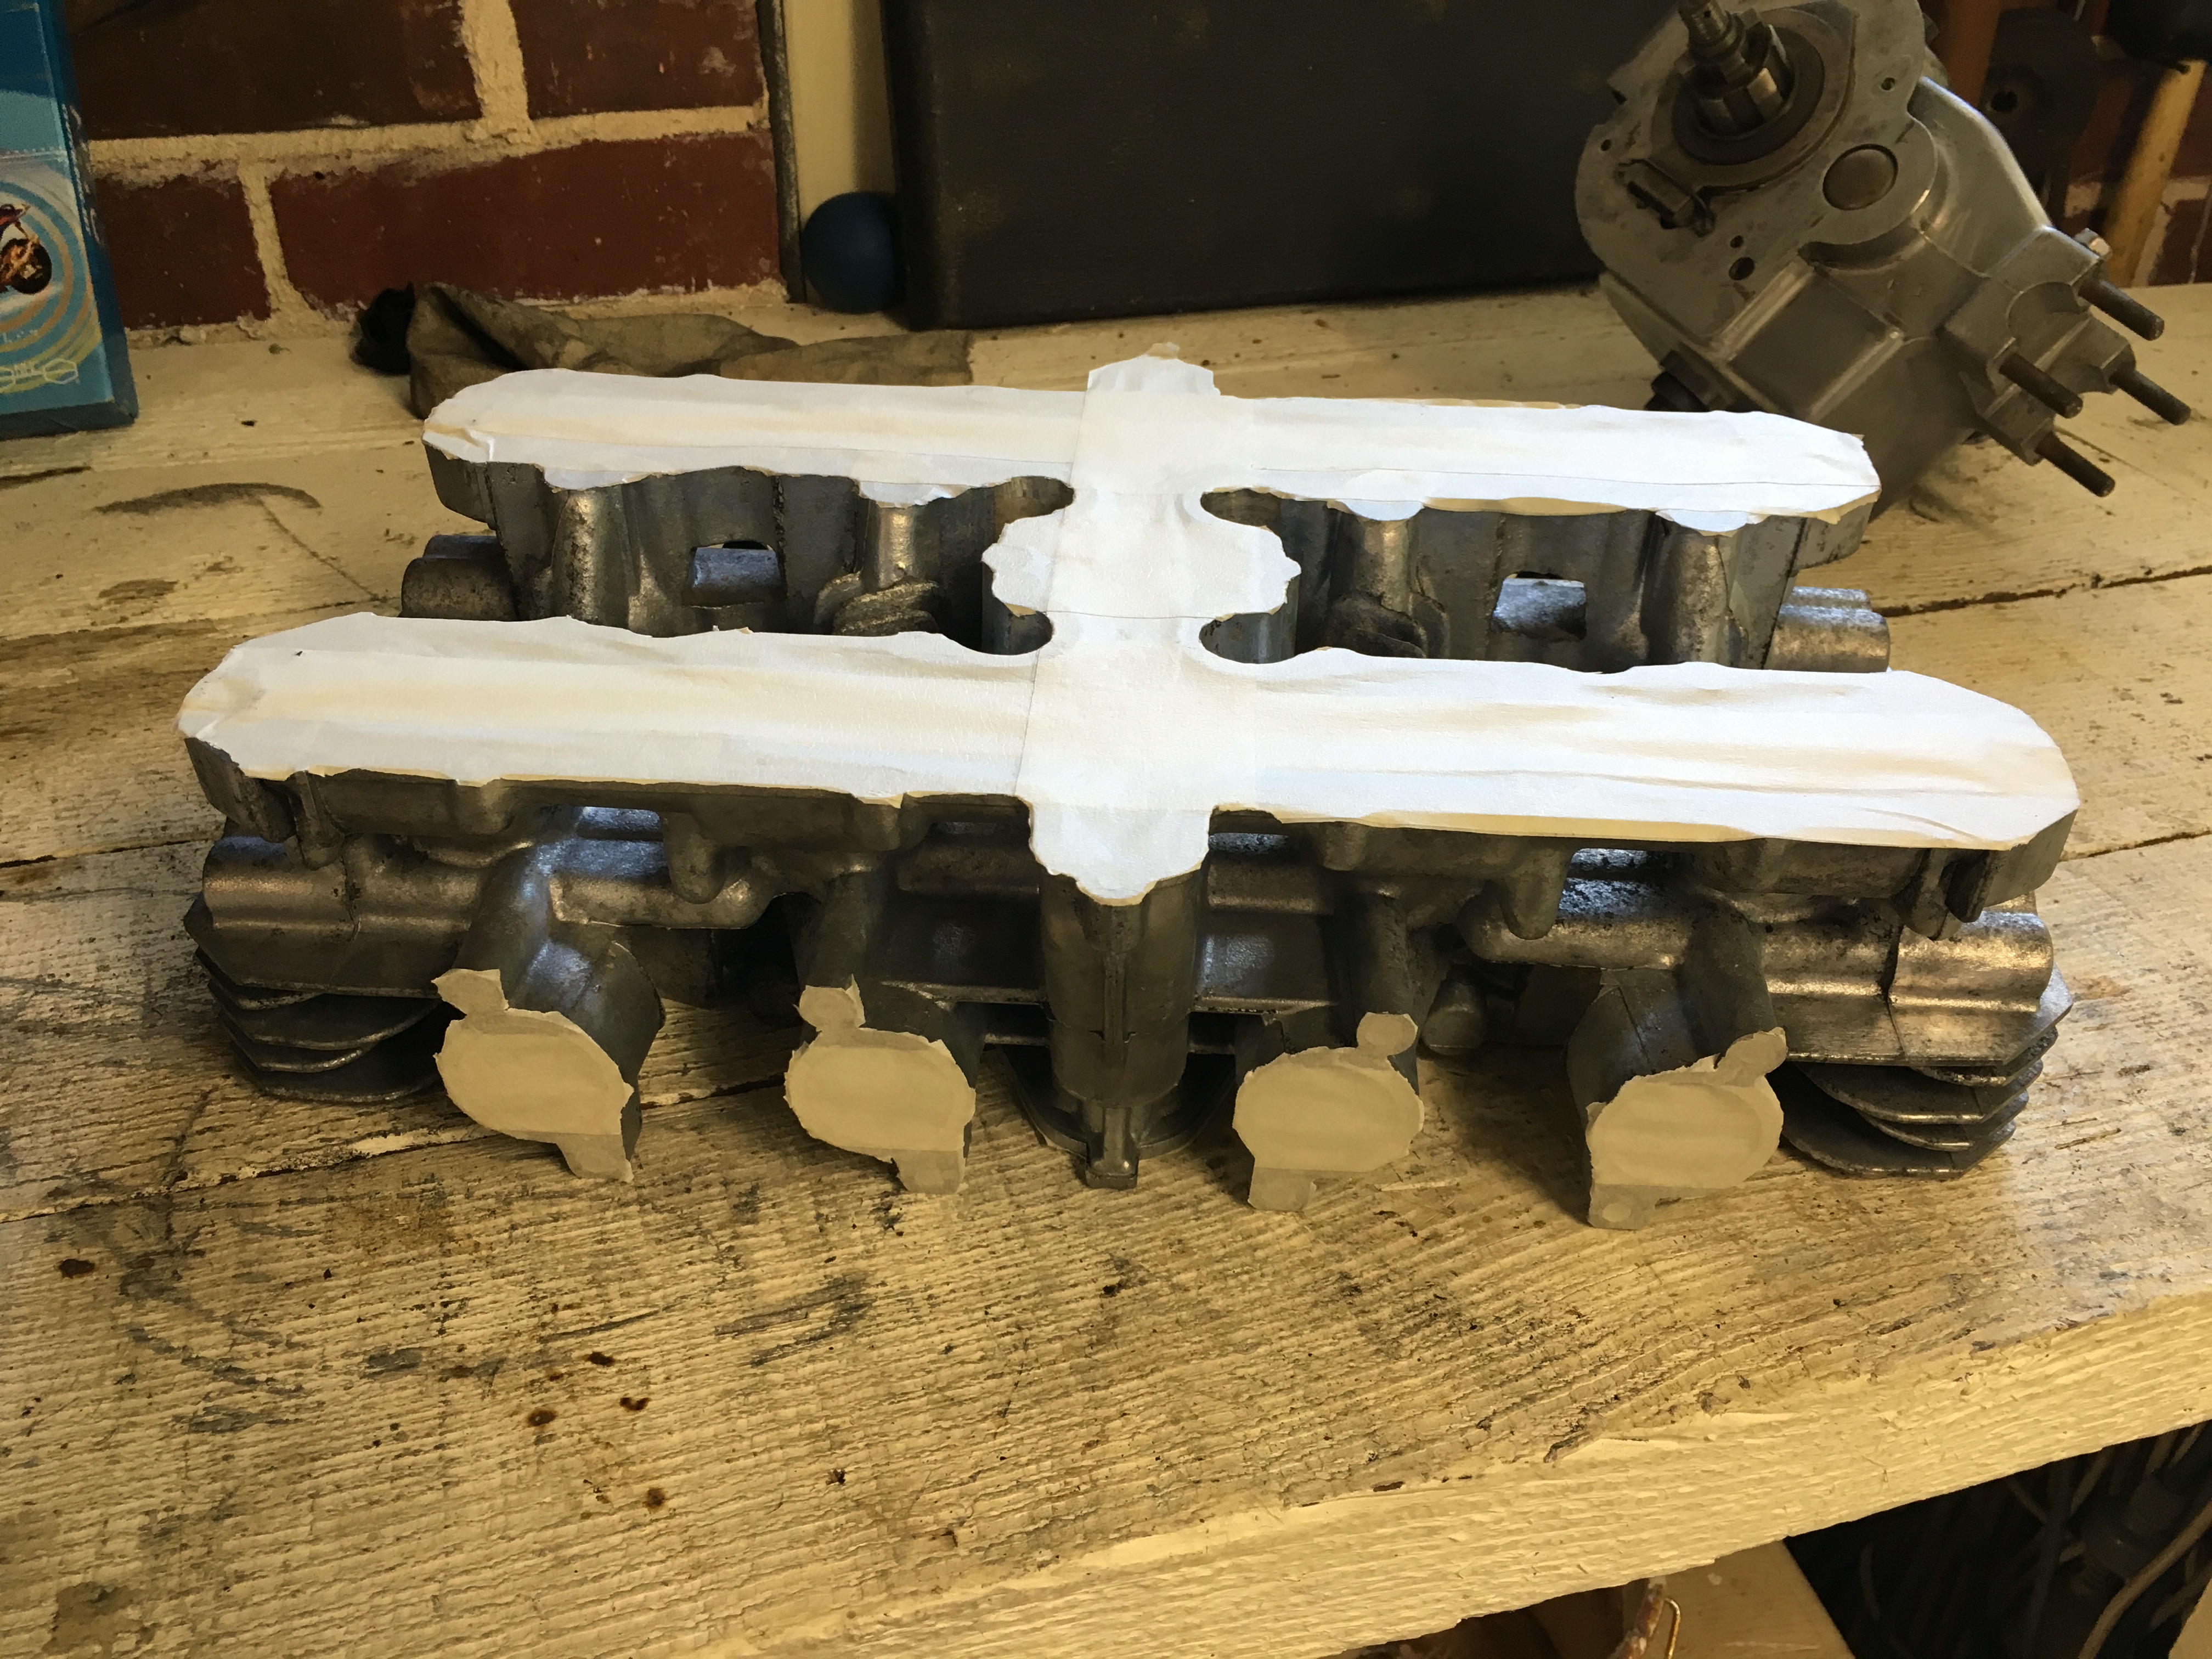
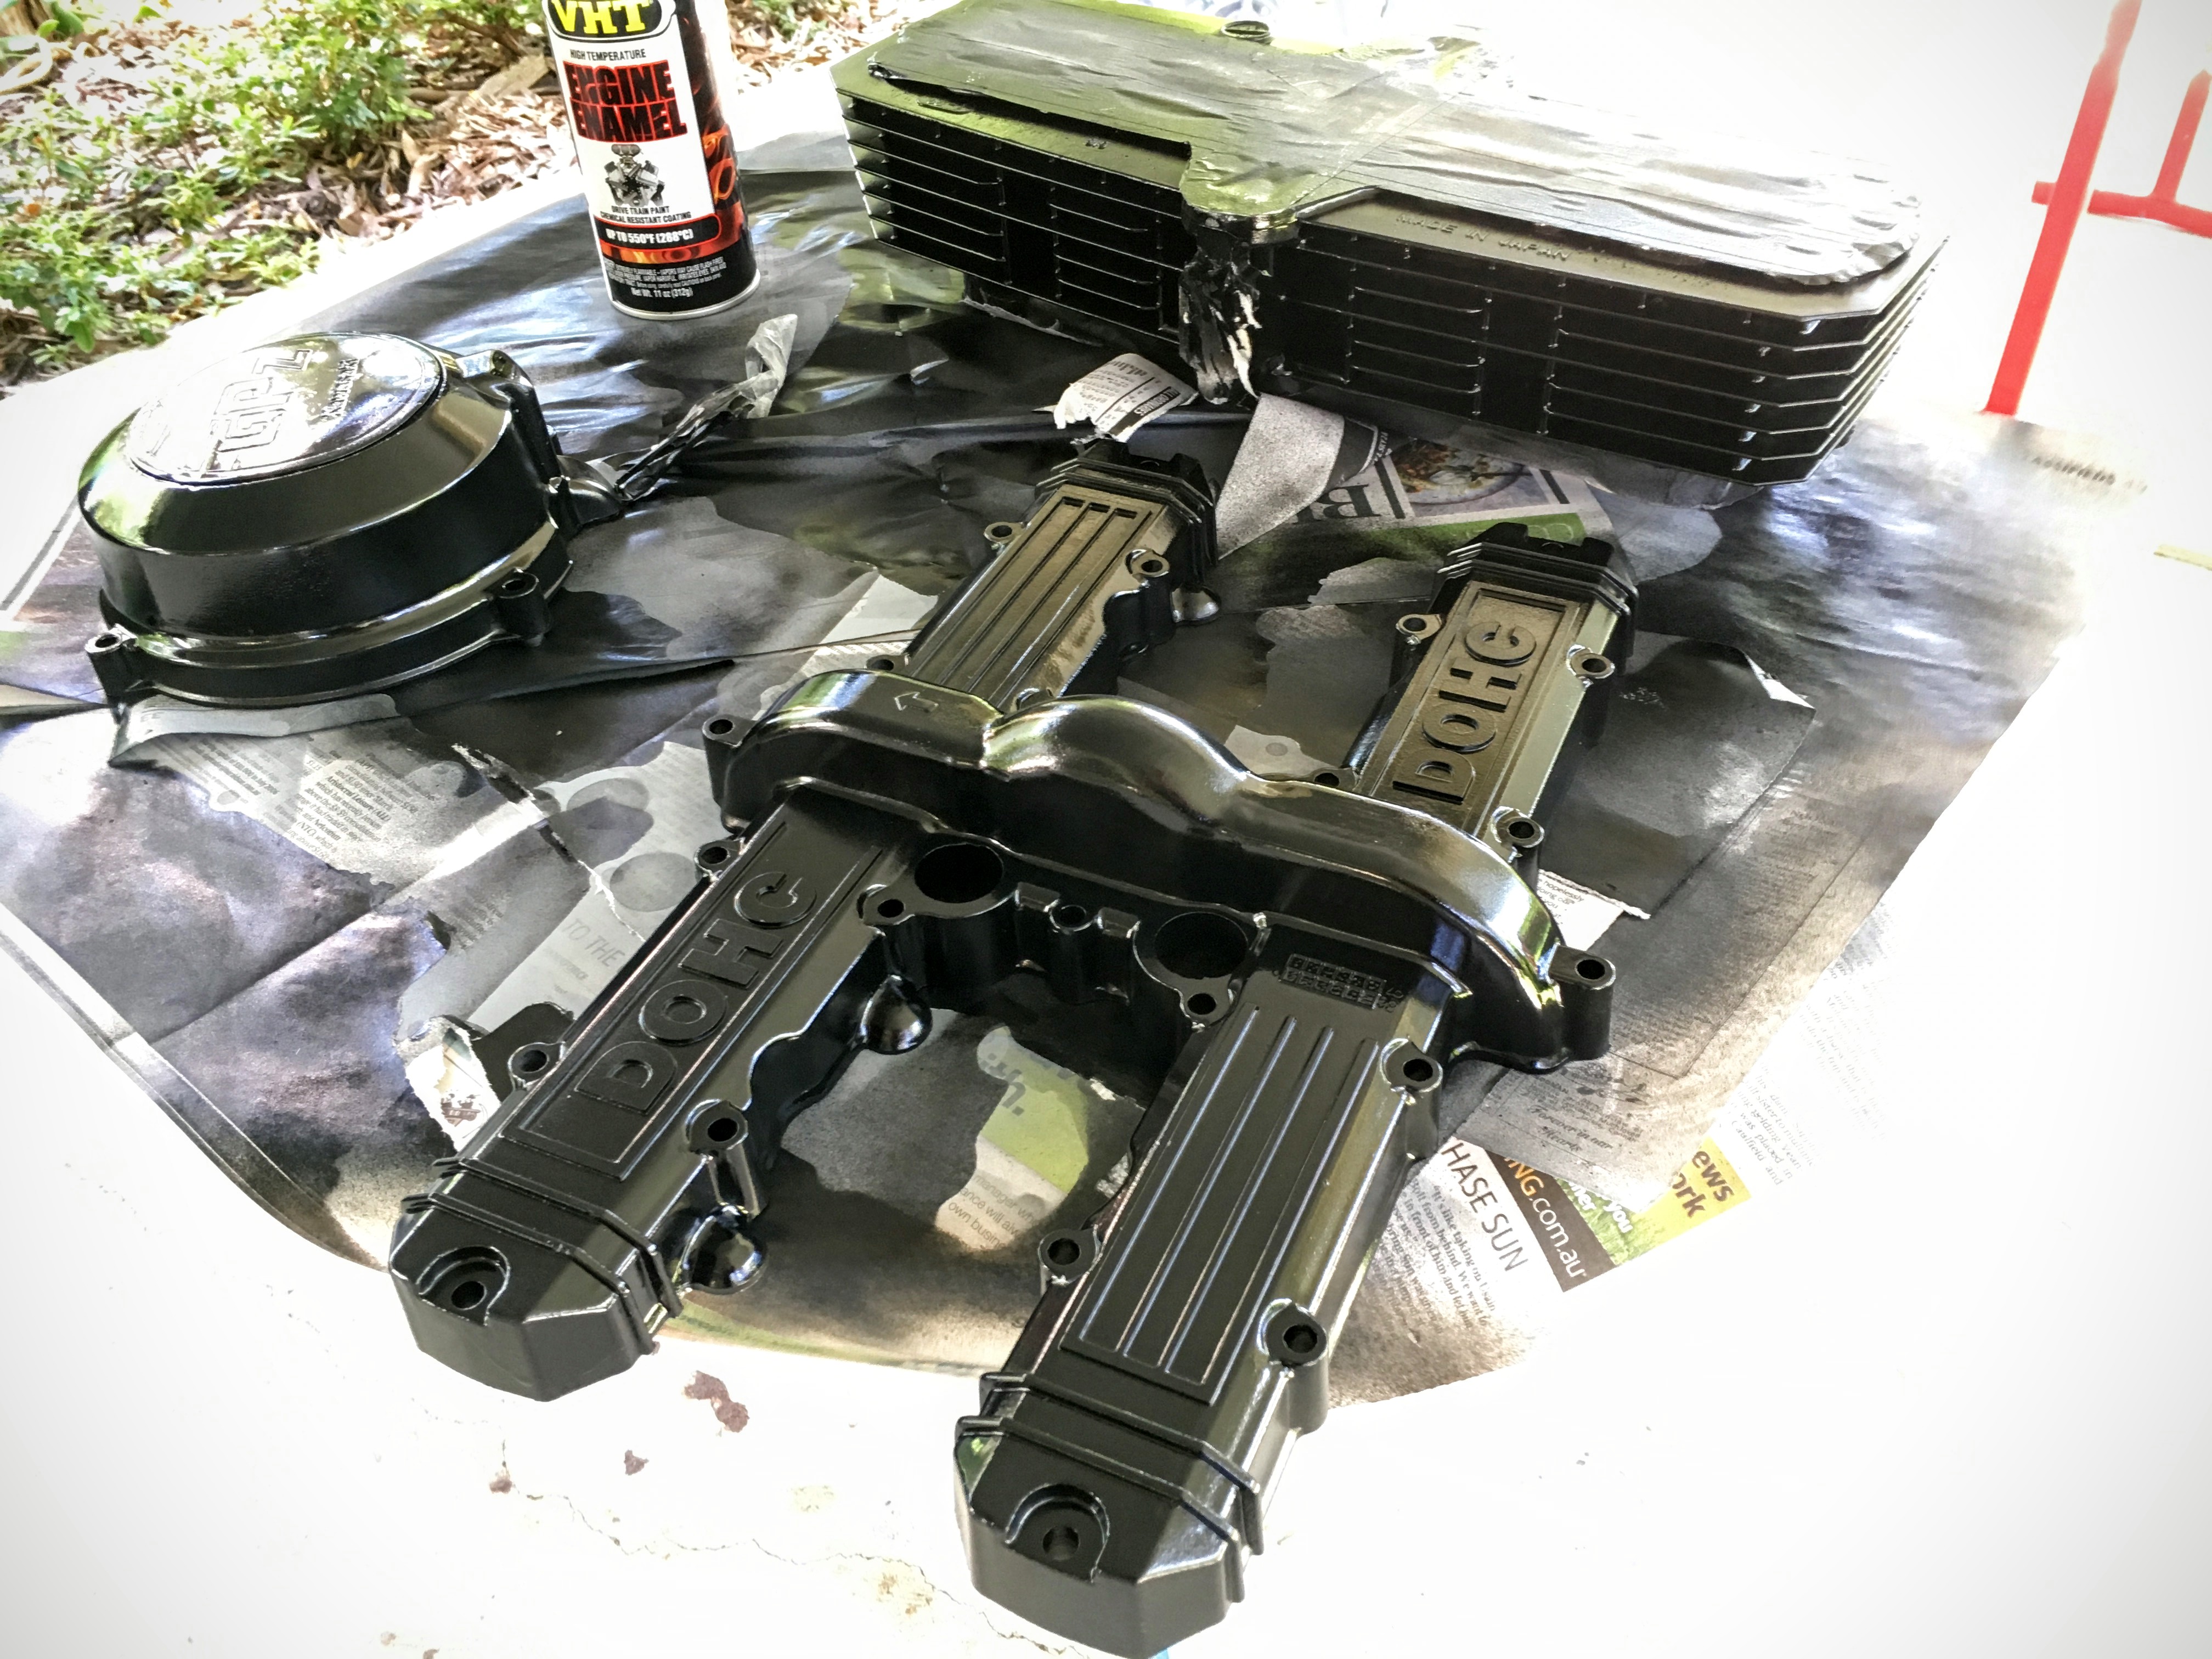
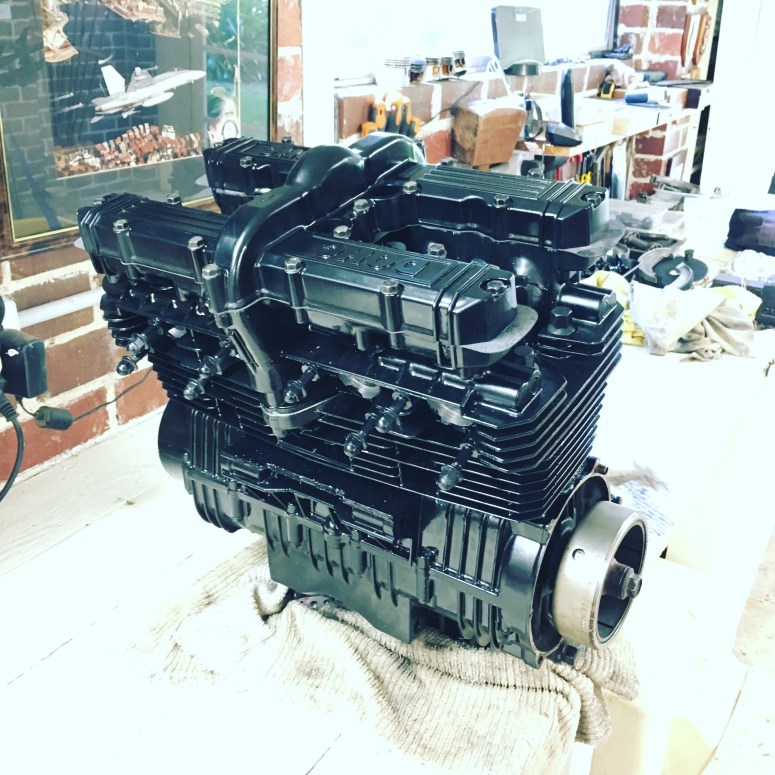
Engine painting almost complete, then to assemble!
Painting is complete, starting the rebuild.

Pulled the rear hub apart to clean and paint. I was going to powder coat, but did not want to take out all the bearings.

The engine rebuild is complete!
Started painting the carbies, but thought they looked better raw.


Removed the redundant tags from the frame.


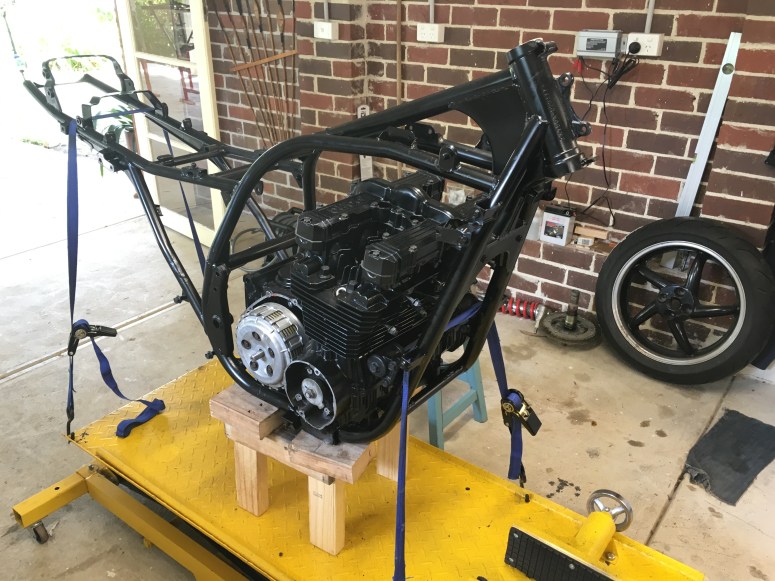
Painted the frame.

Put the engine back in, not as easy as it sounds.
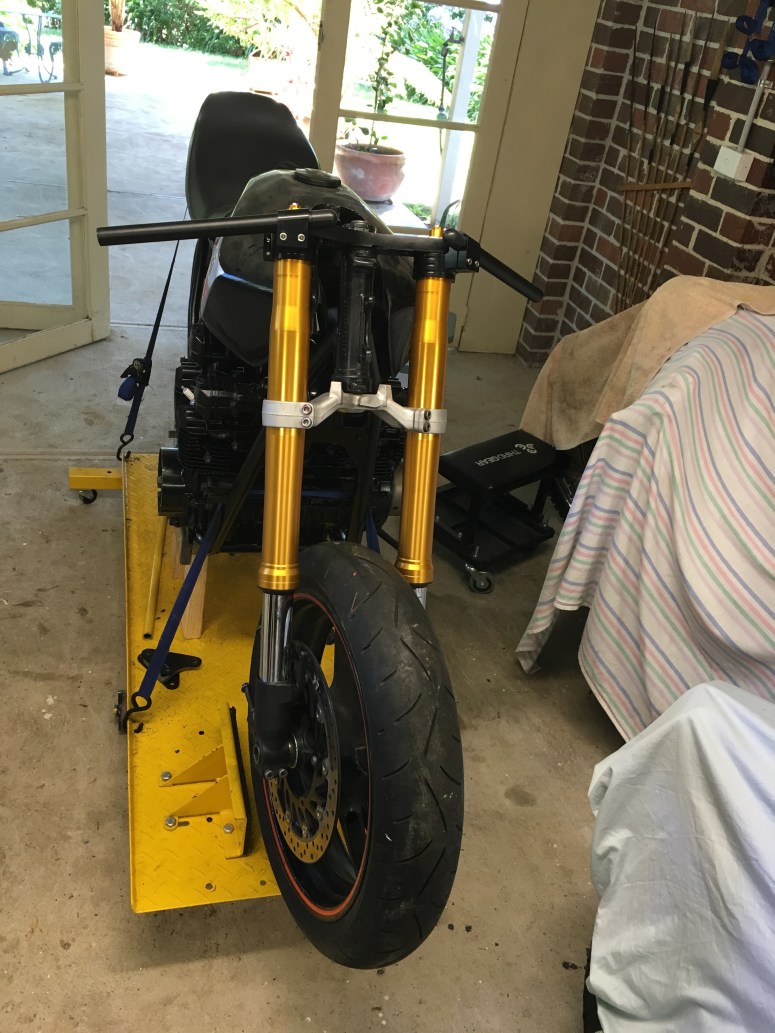
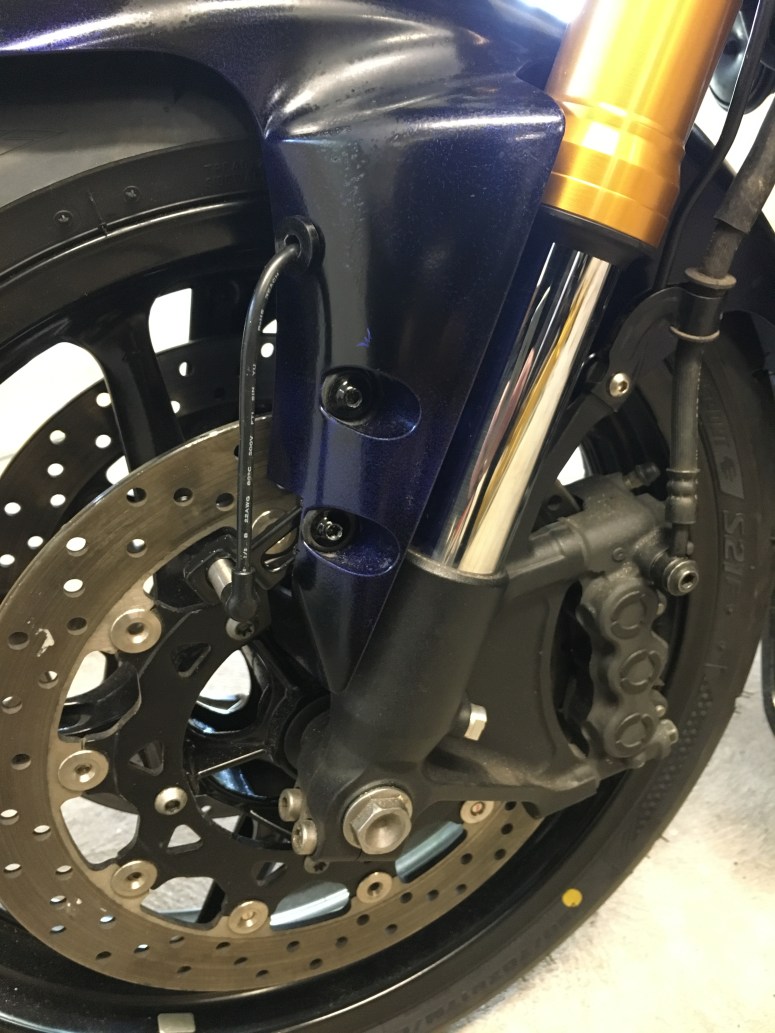
The R1 forks are cactus. I discovered when first mounting them that they were bent. Paul from Discount Wreckers was apologetic, but did not have a set to replace them. We worked together to source another set, but it took some time. I now have a set of 2009 forks with 6 spot calipers! It should stop pretty well!
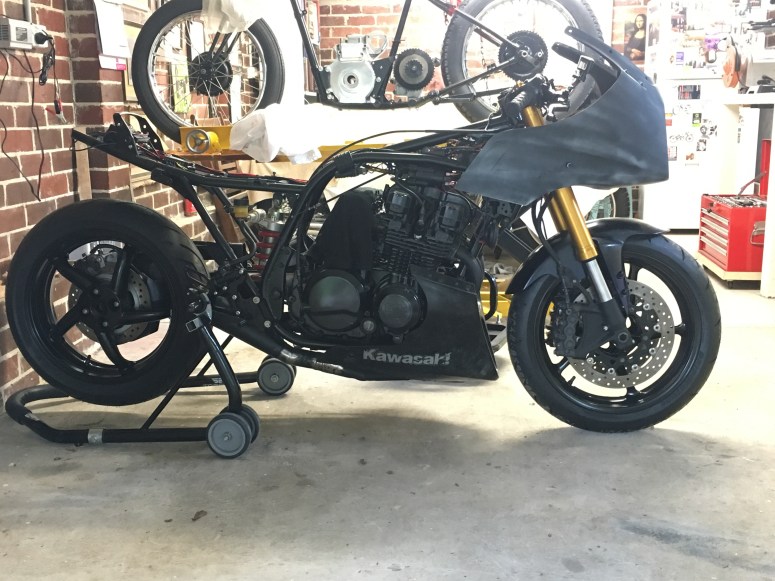
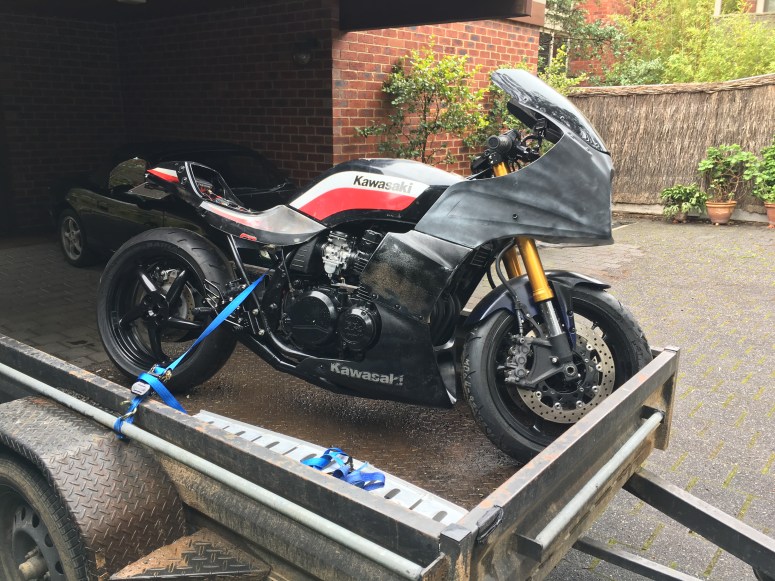
Rested the fairing up front to see how it looks.
Got the front sprocket custom made with 13mm offset. Johnny from Sunshine Gears looked after me. Now just need a chain.
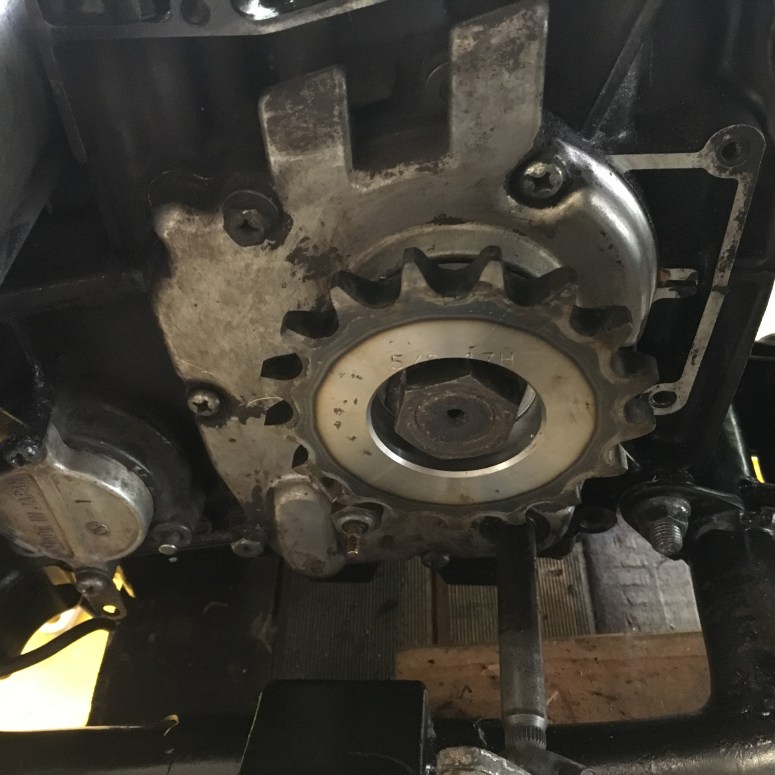
Great Success!
I trimmed the side panels, so the shock can be seen.


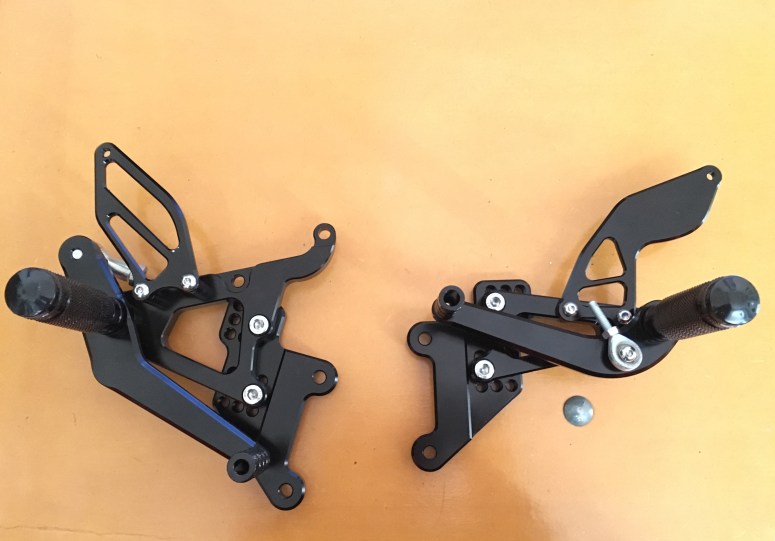
The rearsets arrived, now to make them fit.
Been planning the wiring harness, now to construct it!

Sent the bike back to Mick. He shortened the sub-frame for me by about six inches, mounted the exhaust and rear sets. As always, very happy with the standard of his work.


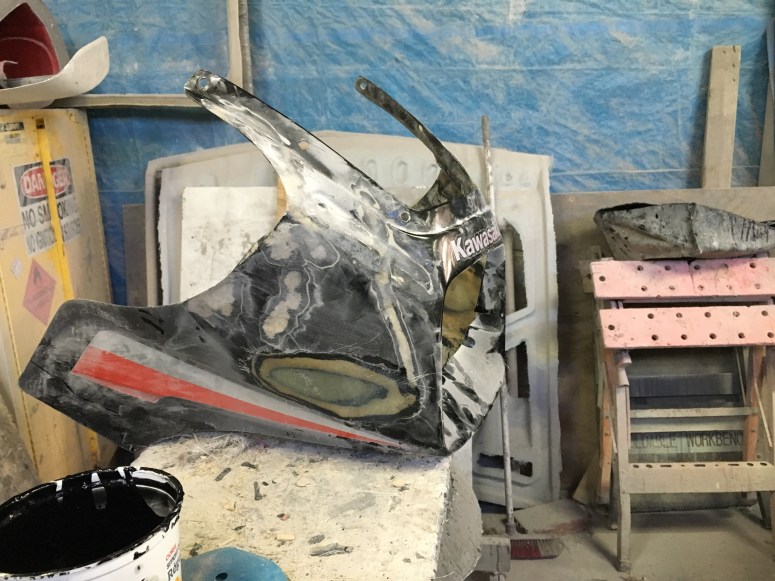
I’m getting the fairing professionally repaired and filled by Conrad of Fischer Fibreglass Service. Will use flush mount indicators.
A quick preview of where this is heading.


I love old kitchen chopping boards! Foam on top, and rubber underneath makes a great under seat tray.


The electric are coming along. Love the Motogadget M-lock, will mount under rear seat cowl.
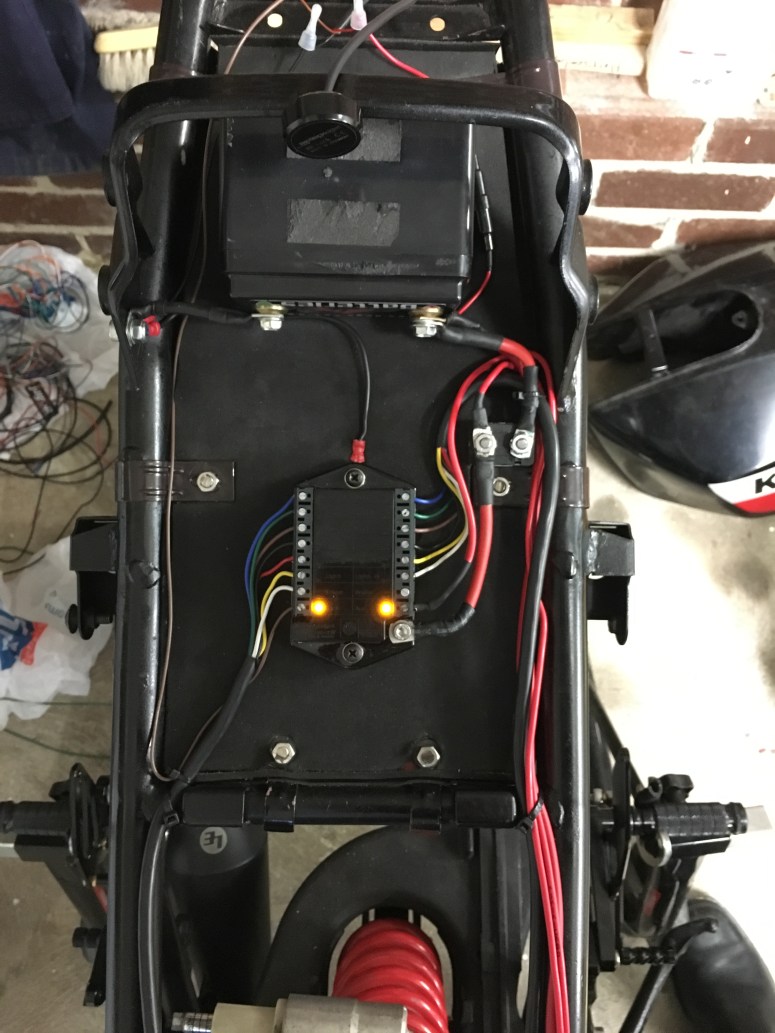
I flirted with blanking the headlight hole in the fairing and mounting spotlights underneath, but gave up trying to find legal LED lights with high and low beam. Decided to mount a modern bi-xenon projector beam inside the stock housing. Dismantling the sealed headlight took 2 days of careful work with a Dremel. The electrics were mounted on yet another plastic chopping board!


All switches are now working.


I’m trying my best to keep the stock airbox, as pod filters can be a pain in the the arse. It requires some modification to fit due to the relocated rear shock.

The original upper fairing never looked cohesive to me, the lines of the tank don’t align withe the creases in the fairing.
I figure if I lower the fairing and tilt it forward, the lines will flow better. I made a new bracket to lower the fairing by 5cm. Looks way better, and as a bonus, have more clearance on the bars.


The lowered fairing means surgery on the side panels.

The Motogadget indicators are sweet!


With the front guard fitted there is not enough clearance for full suspension travel. I’m going to do some surgery on the fairing for the wheel to recess into.
I had limited options on routing the speedo pick up cable.
Fairing is done. I’m liking the tail section.


A full days work to waterproof the sub-frame.


I wanted to lose the keyed gas cap, as the bike was now keyless. I also needed to fill the hole where the old instrumentation was mounted.

I gave the tank to Ben of DOZFAB. He did a great job!

After mounting the tank back on the bike, my trusty side-kick (Dad), asked what will I do when it rains? The eBay fuel cap was a water trap, and on closer inspection, vented to the tank at it’s lowest point. I was not going to have a bike only good for fair weather, so back to the drawing board.
After failing to get the airbox to work, I bought some foam pod filters.
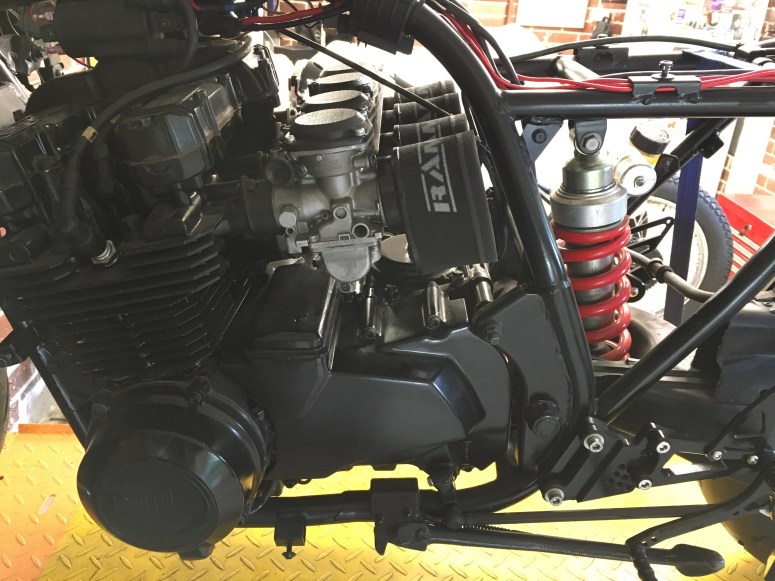
The advise from forums, and all my research convinced me to not even go there. I sourced a second airbox, and decided to modify the back of it to fit around the rear shock. This would give enough room for normal attachment to the carbs.


It fits! Just need to tidy up the joins.
It is time to see if this baby runs. Topped up the oil, and rigged up a fuel tank.


Out of the workshop for the first time to get the seat done.
Aaron from Weird-o-pholstery did a great job.


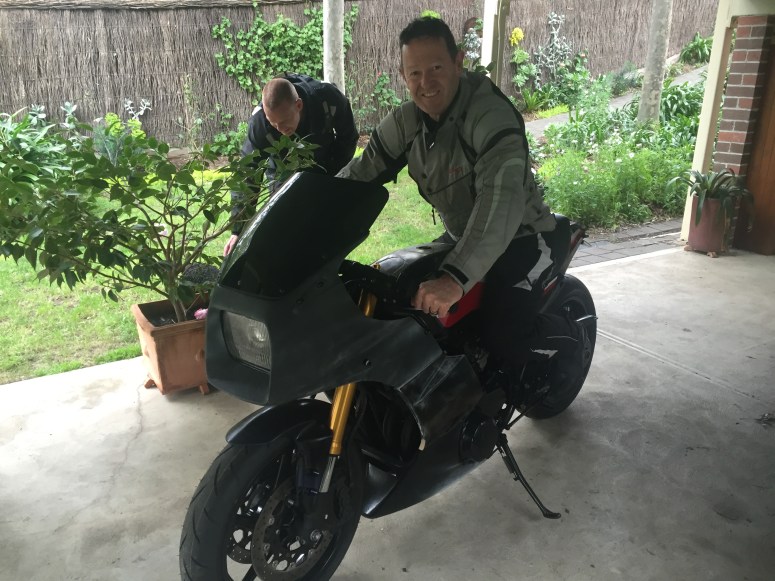
Trying it on for size.
I made a carby balancer from coke bottles.

It worked perfectly!
I’m going to slim the side panels a bit more, and have them shaped to flow into the tail piece.
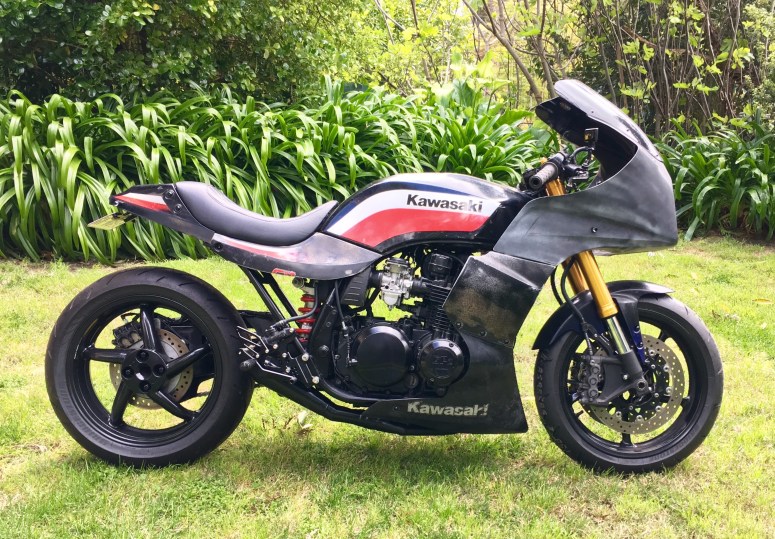
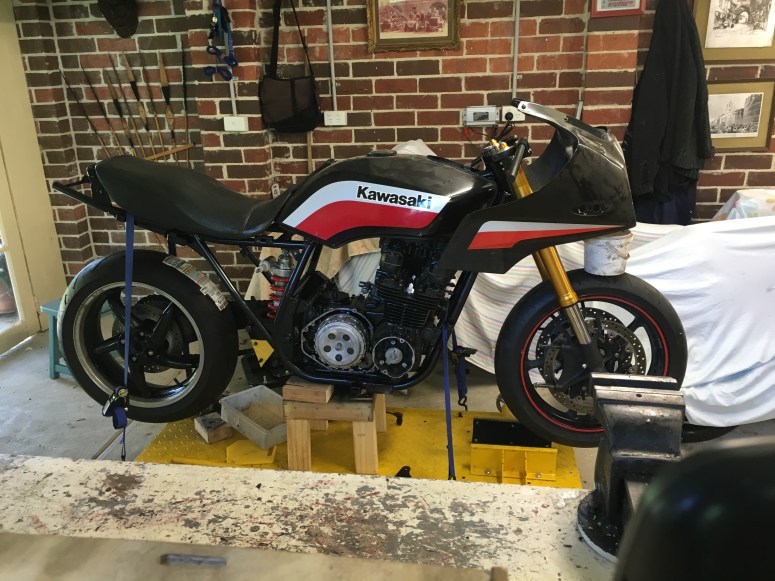
Here is an idea of the progress so far.
Kev has given me a rough idea for the paint (or wrap). The scheme from the latest ZX-10.

I like it!
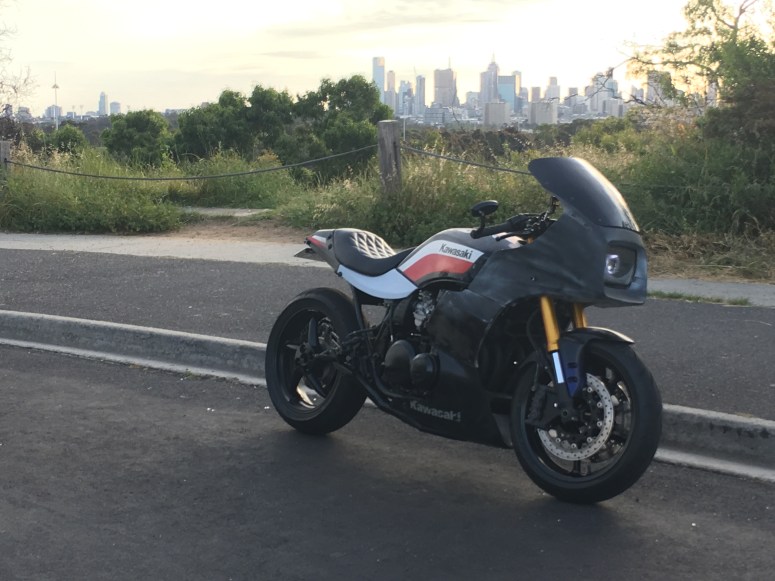
After fitting the Rizoma mirrors, there was no reason not to take it for a small run!
I’m very happy with how it rides, suspension and brakes are fantastic. Oil light is staying on, even though the level is correct, and the speedo didn’t work (think it’s the connector under the tank). Small problems considering the amount of work done. The fuelling is not bad for the first attempt, pulls hard off idle, a bit of stutter in mid range, then is like hitting a powerband when it clears it’s throat!
So many times during this build I was learning something for the first time. It is incredibly satisfying to have it run so well on the maiden ride!
It’s the small details that make a difference. I changed the rear-set bolts from stainless to black.


Back up on the lift to drain oil and investigate.

I found the culprit for my oil light issue.

The oil level sensor is is a sealed unit with an internal float switch. The float is not moving. I was lucky to find on at a wrecker for $40, as new they are about $170!
The speedo fault looks like it was the sensor out of alignment at the wheel.
I’m now just waiting for the fuel tank mod and some changes to the side panels.
All back together and running well. Paint next.
Have decided to go with Steve May of Lizard Designs for the paint. We are on the same page with how it should look, and he’s a good bloke.
Stripped the carbs again to go up on the pilot jet. Decided to replace and colour code the bolts. It’s the little stuff like this I enjoy as much as the big problems.


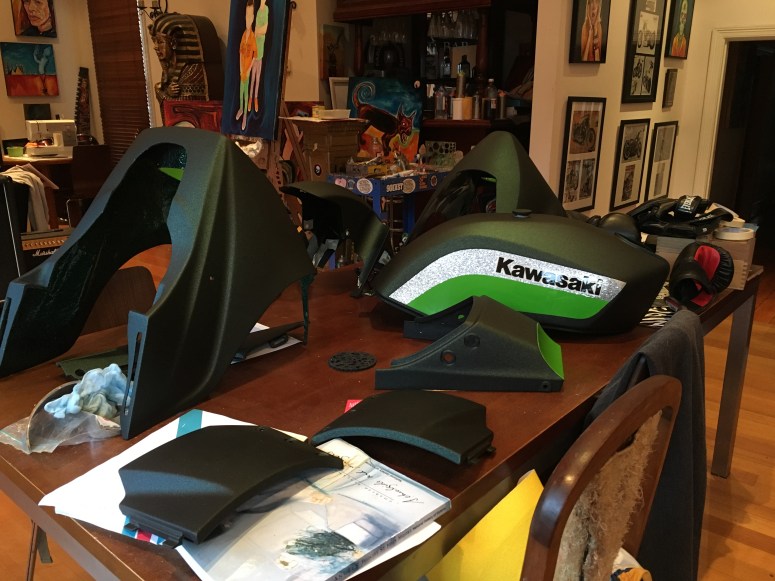
A small preview from Steve.


Now with matte clear.
I got the shocker refurbished while the spring was getting paint.


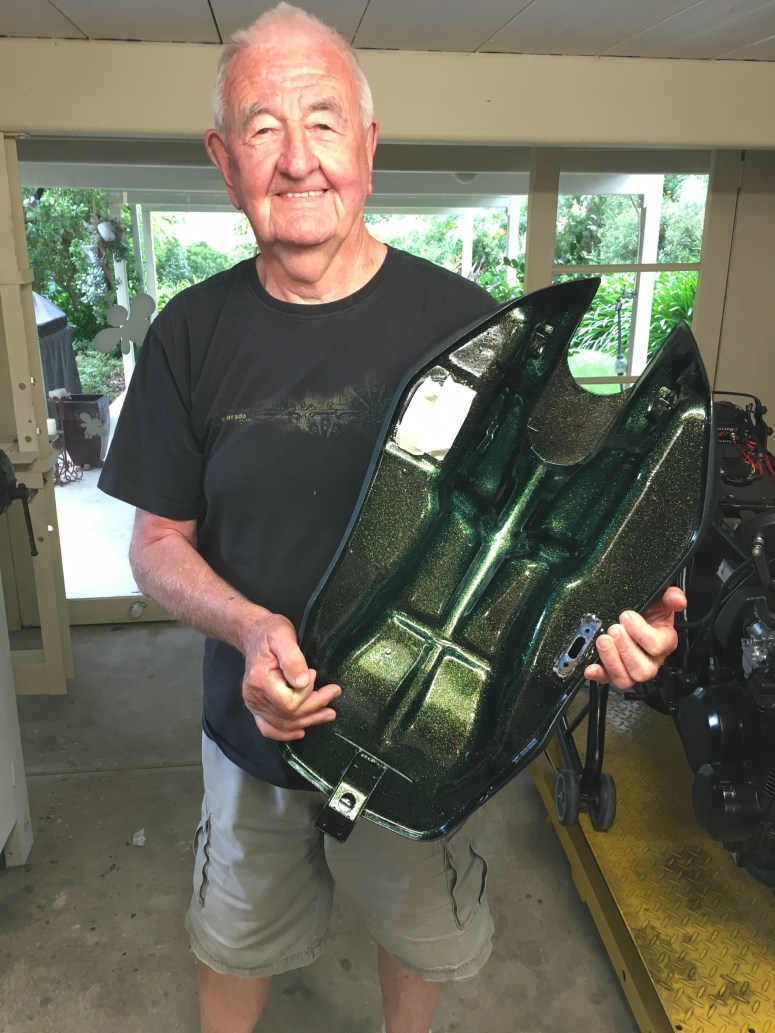
A preview of the paint job. Steve really is a perfectionist. This is the underside of the fuel tank.
A few shots of it going together.


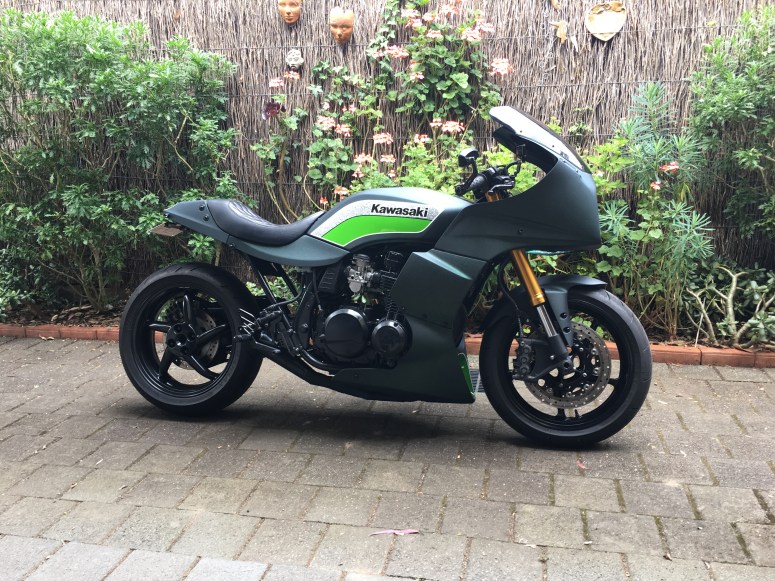
All done, just the decals to go!
The man himself!
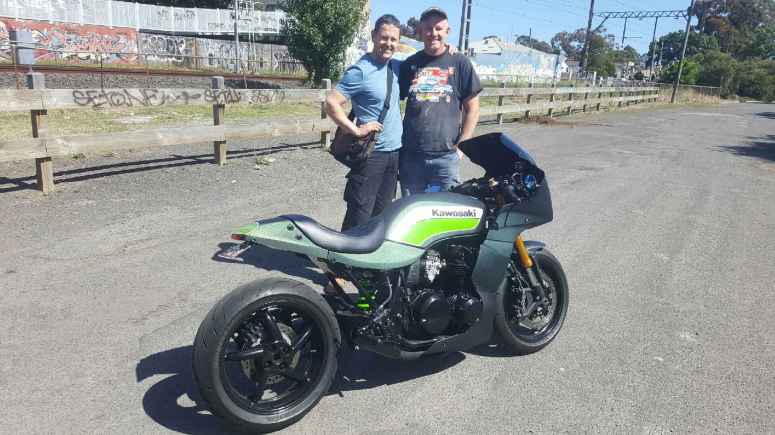
Steve is an artist in every sense of the word, check out Lizard Designs to see some of his work. I went to him with the idea of a matte black finish with some gloss highlights. What we ended up with was a collaborated effort, but mainly driven by Steve’s vision of going beyond a normal matte finish to metal flake matte! His attention to detail and quality is extraordinary (see photo of the underside of fuel tank). The final result is beyond what I thought was possible! Thanks again Steve.
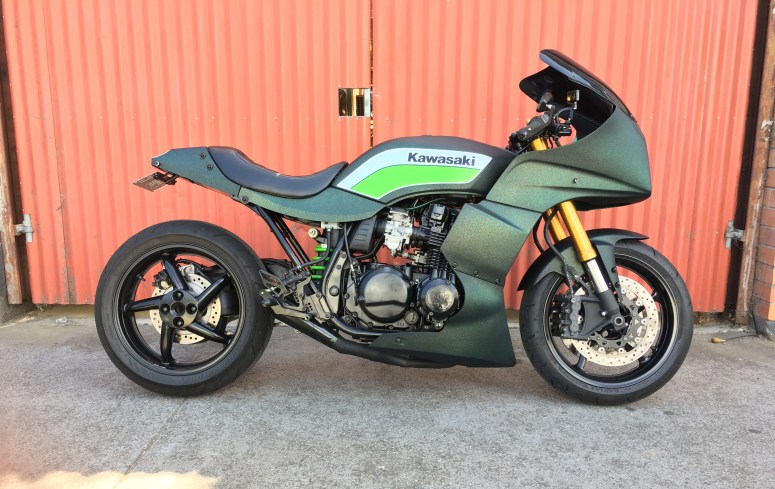
I have got around to finally using a camera.


So……….. after putting a few hundred km on the bike, it started using oil and blowing a bit of smoke when warmed up. Very disappointed! After consulting my cousin Lukas (a mechanic), we diagnosed poor running in procedure, leading to glazing of barrels.
There was no easy solution. The engine had to come out!


The barrels were glazed, but also, some of the valve stem seals had come adrift. Number 3 worst affected.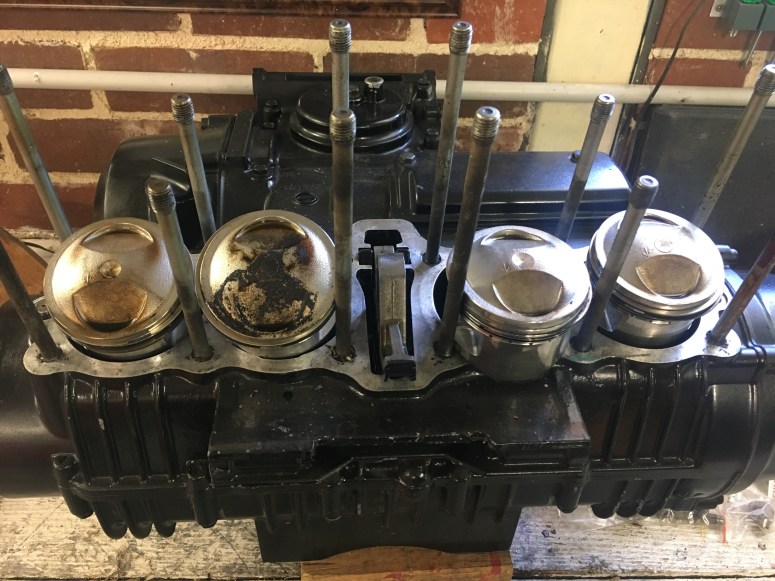
I took the barrels, pistons and heads back to Mick at Crankshaft Rebuilders. He re-honed the cylinders. He discovered the replacement valve stem seals were too loose fitting, and would definitely fail again. I did some research and discovered this was a known problem with this motor. See following forum post.
Mick found some Mazda car seals that were a perfect fit! Problem solved.
I now have 3 days to get it back riding, as a German magazine contacted me and wants hi-res photos by next week!
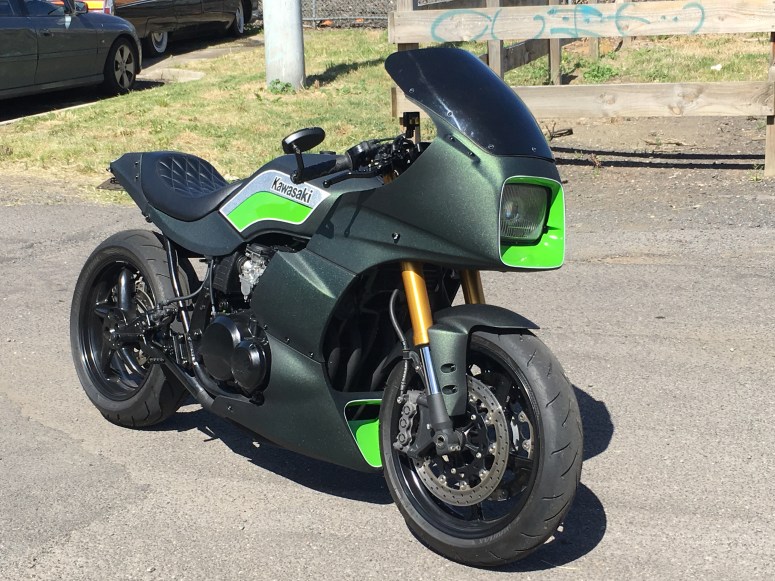
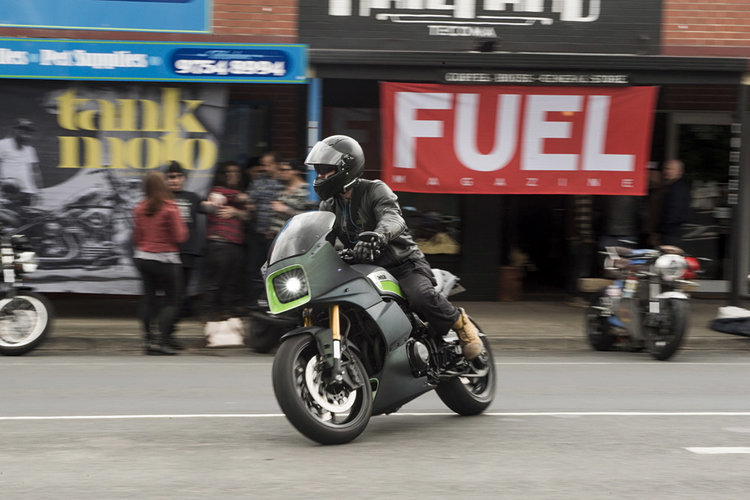
Some photos from shoot.


A second shoot was need for some daytime shots.


Good luck with the GPZ project. I’ve always liked that GPZs masculine looks, but it’s dated and I’m really looking forward to what you come up with! Love the BMW project, some might consider it blasfemic but I think you turned a BMW 80s design into something beautiful. Good luck, and remember to take many pictures as you go along 🙂
WOW. Love your design of the GPZ. Did you have much trouble with grafting the rear swingarm on? I am working on a KZ250 with some….lets say modifications at the moment then onto My GPZ 750. You have inspired me to get straight into the next project.
Great work! And am eager to see the final product.
Paddy
Hi Padi,
Grafting the swingarm was a pain in the arse. The suspension mount, custom lower plates and dogbone. Sprocket alignment was also difficult, a custom 530 front sprocket with offset was needed, along with some mods to rear hub.
Having said all that, I’m wrapped with the result!
Paul
I just found this link via thebikeshed. I’m completely silent after seeing this. What a bike.
picture 65 and 66 – I would have stopped there, bike has a very nice flow to it there. 1st gpz that I actually like. great job.
I could read a whole post just about your home-made carby balancer from coke bottles. I was searching for m.unit install inspiration but the rest of your work pulled me in. I’m doing a restomod to an old Beemer R80 this winter but you got me thinking about what more my true love, a ’78 KZ650, could do.
Glad you enjoyed it
Greta work you have done. Can you please tell me by installing front forks and rear swing arm from donor motorcycles did you change the wheel base of Kawasaki?
Hi Mirko,
The swingarm from the Honda was about 3mm longer, so not much
As me being from Europe i was wondering how did you do with MoT? Any problems with passing it and what documentation( in regards of doing modifications) did you have to have in order to pass it?
Engineering inspection required. I’m sure the rules are different in Europe
Were you also looking in to some other modern rear swing arm options?
No, I wanted to go single sided at the start of my build.
Hello 👋
I also have Kawasaki gpz 750 coffe racer.
I want to change front fork.
Did you use front forks from Yamaha R1 2009 ?
Yes
Thank you for the answer!!! 🙂
I would like to ask also… What about triple clamp ? did you use the same from R1 or needed to remake ?
I used the R1 clamp, but trimmed the ignition key mount.
Wow what a build, I’m building a gpz550 and want to fit upside down forks. How much did you have to modify to fit the r1 forks? Did you have to modify the frame?
G’day Kieran, the Yamaha triple clamps work fine. Needed to make a new post to work with clamps and Kawasaki bearings
Great build!
I´m just browsing around for ideas as I recently got hold of an old Gpz 1100 unitrack.
Looks like you had an awesome time building your bike!
Cheers
Hello fantastic build! i am also rebuilding a gpz 750 and am very interested in how you modified the side fairings to line up with the rear fairing?:)
Hi William,
I just used a dremil tool to trim the side panels.
Paul
Saw your build thru Return of the Cafe Racers, Beautiful job Paul, I really like the way you’ve re-styled the fairing and shortened the seat down, to me it looks like it was meant to be, well done. The M-unit is a great product, I used it on my boldor along with the keyless ignition, made the wiring job so much easier. Good stuff
cheers Mike
Thanks Mike,
Haven’t updated this blog for a few years now, about 9000 trouble free km on the bike now. Still love it!